7 Geo Index and Elasticsearch Introduction
7 Geo Index and Elasticsearch Introduction
Goal
- A brief introduction to geo index and Elasticsearch.
- Install and restart Elasticsearch on your GCE instance.
Geo Index and Elasticsearch
Geo Index
Let’s start with a simple question, how to perform a range search from a given array?
Input data: array = [15, 7, 19, 10, 17, 4, 25], range = [3, 18]

What about 2-dimensional data?
- Weight between [50kg, 80kg], height between [150cm, 180cm]
- Geo index: lat between [10, 11] and lon between [120, 122]
K-d tree is one implementation to solve such a k-dimensional search problem.
Input data: [(4, 7), (2, 3), (7, 2), (5, 4), (8, 1), (9, 6)], How could you build a k-d tree for them?
First, we choose one median point and split the space into two parts horizontally.

Continue to split them into more parts (vertically)

Question: how to find all the points within a Range (R)?

Range Search Algorithm:
-
If the current point is in the box, add it to the result.
-
If the left branch intersects with the search box, recurse left.
- If the right branch intersects with the search box, recurse right.

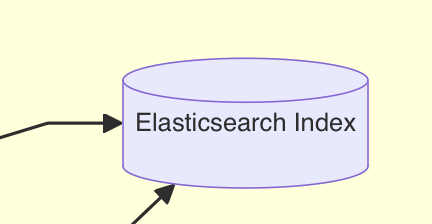
Elasticsearch
Elasticsearch is an open-source, distributed, RESTful search engine. As the heart of the Elastic Stack, it centrally stores your data so you can query the data quickly. Official website: https://www.elastic.co/elasticsearch
We’ll use Elasticsearch to support geo-based search in our project.
Basic Concepts
- Index: like a database in a relational database management system.
- Type: like a table of a database, but deprecated after Elasticsearch 6.0.
- Document: like a row of a table.
- Property: like a column of a table.
- Mapping: like a schema of a database table.
Start Elasticsearch on GCE instance
Create a Firewall Rule
- Go back to the GCP home page at https://console.cloud.google.com and open the navigation menu
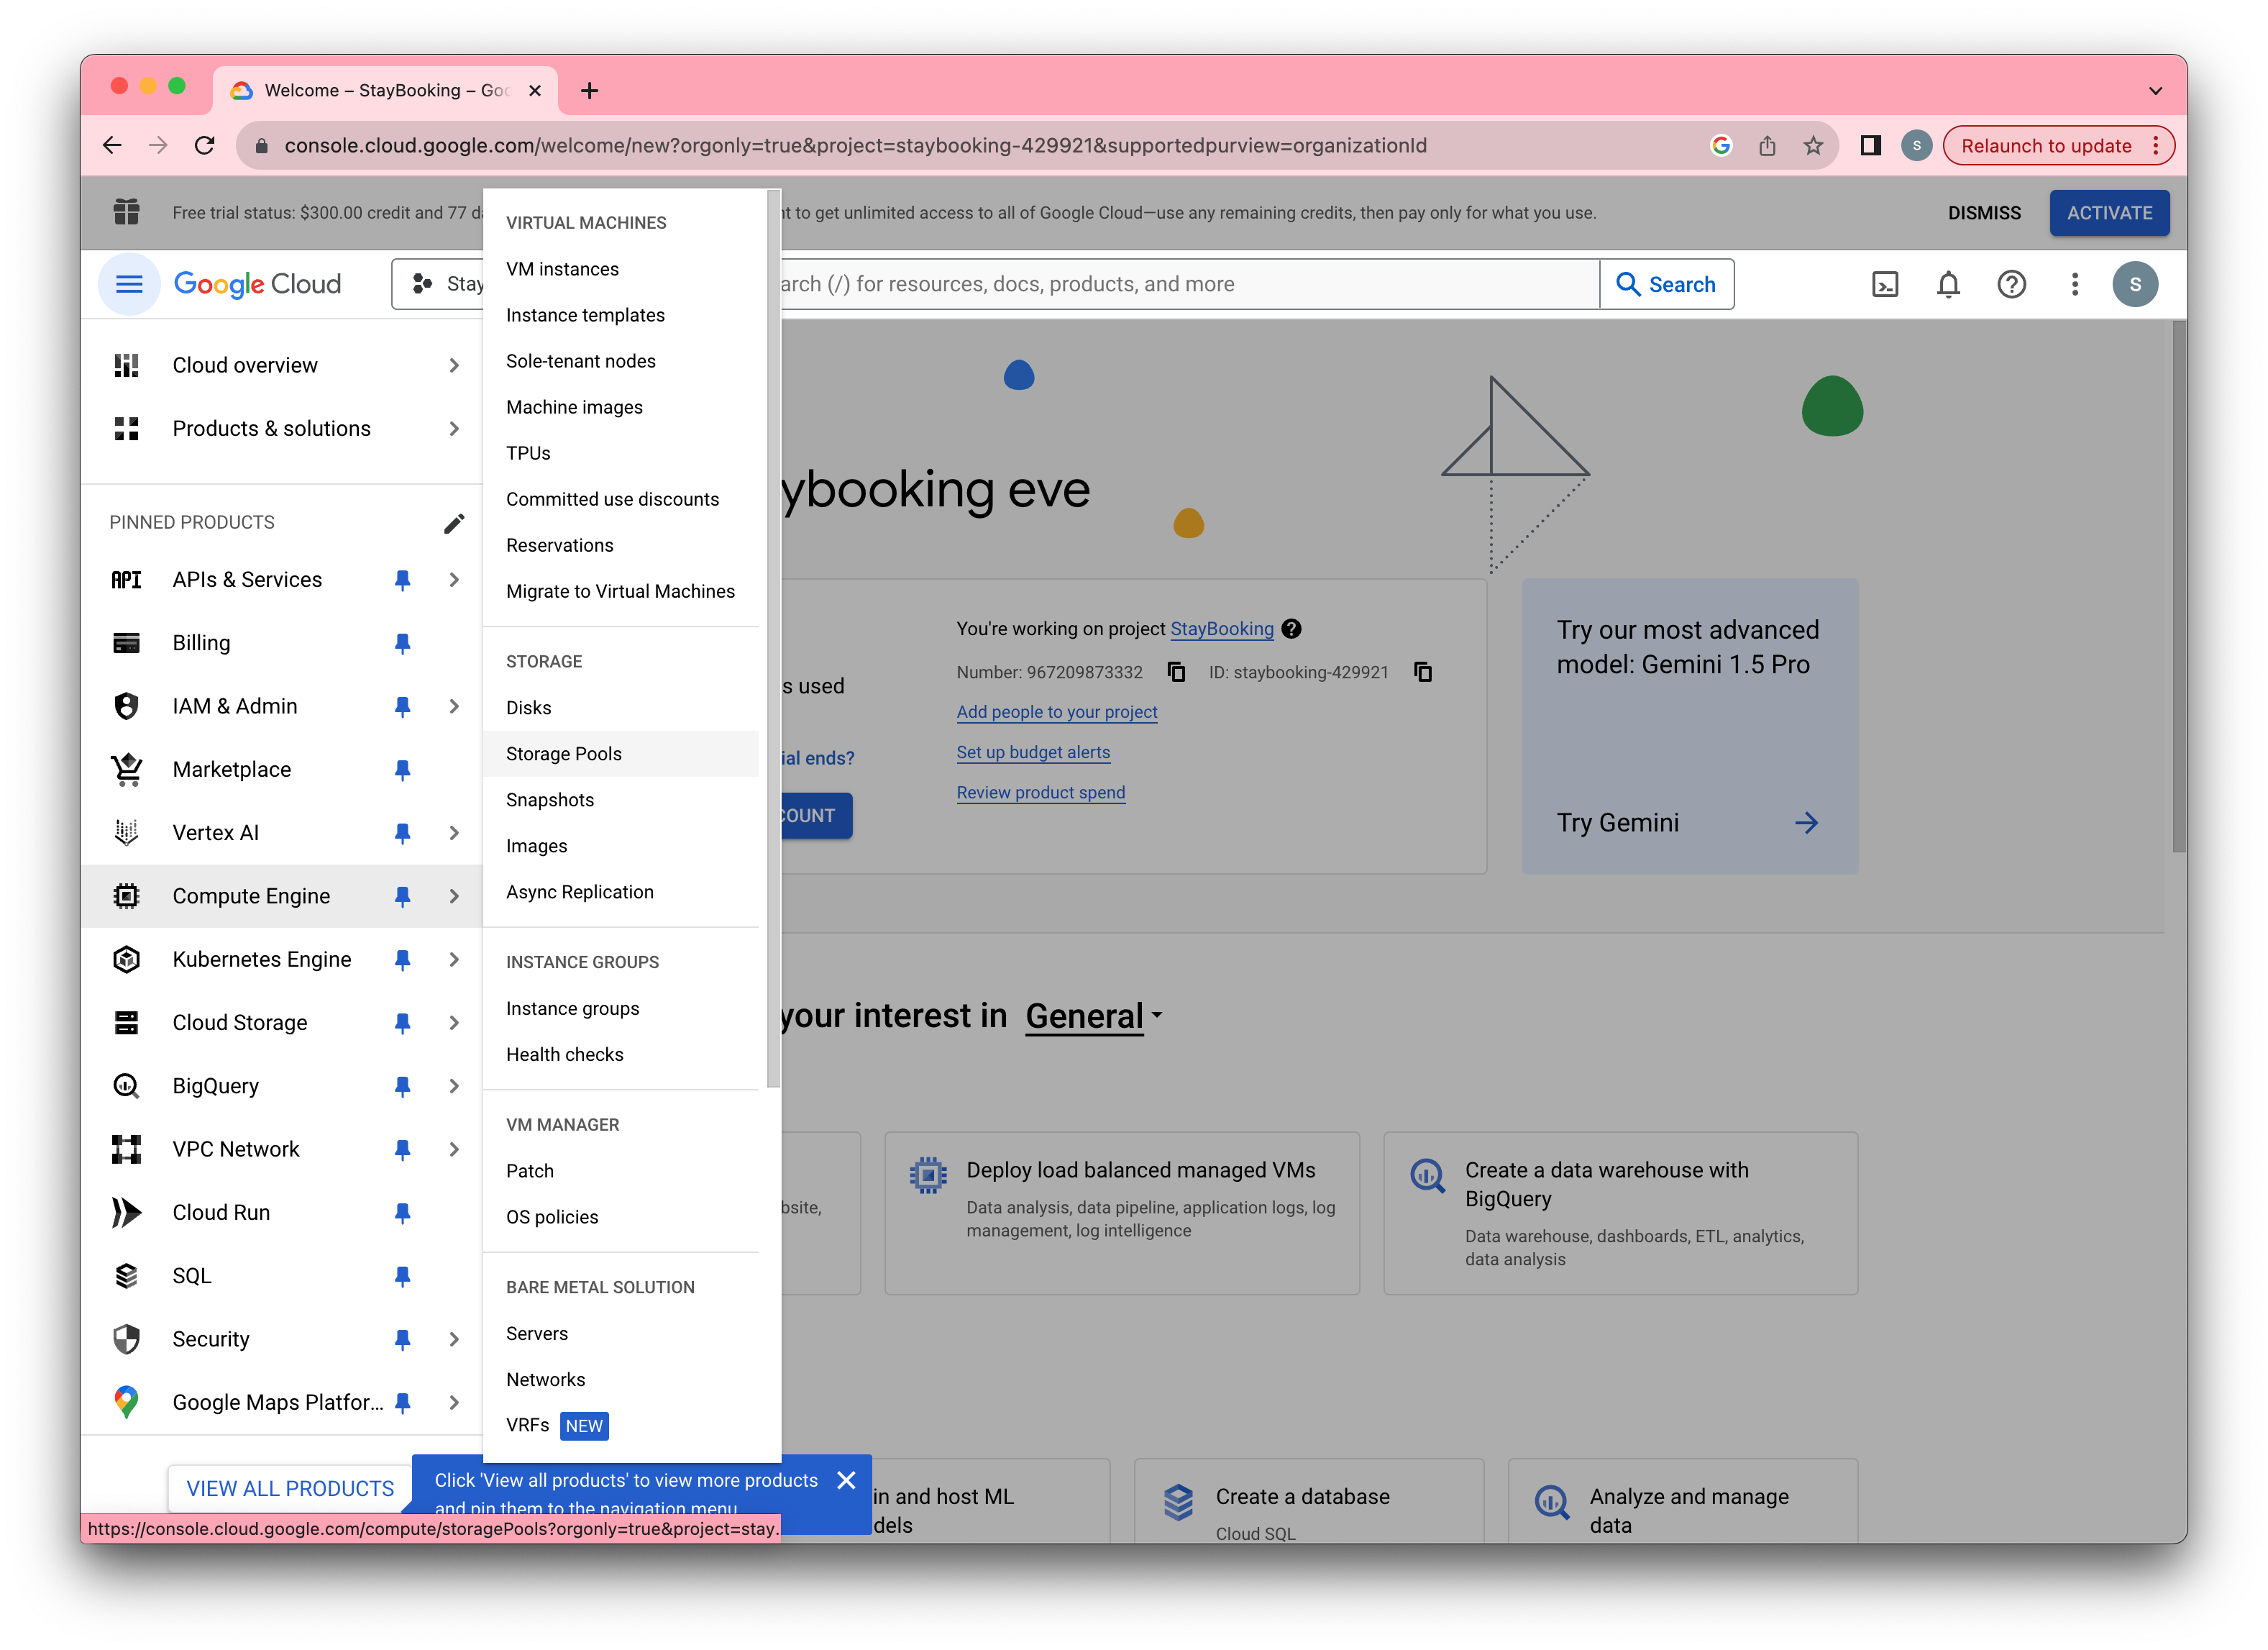
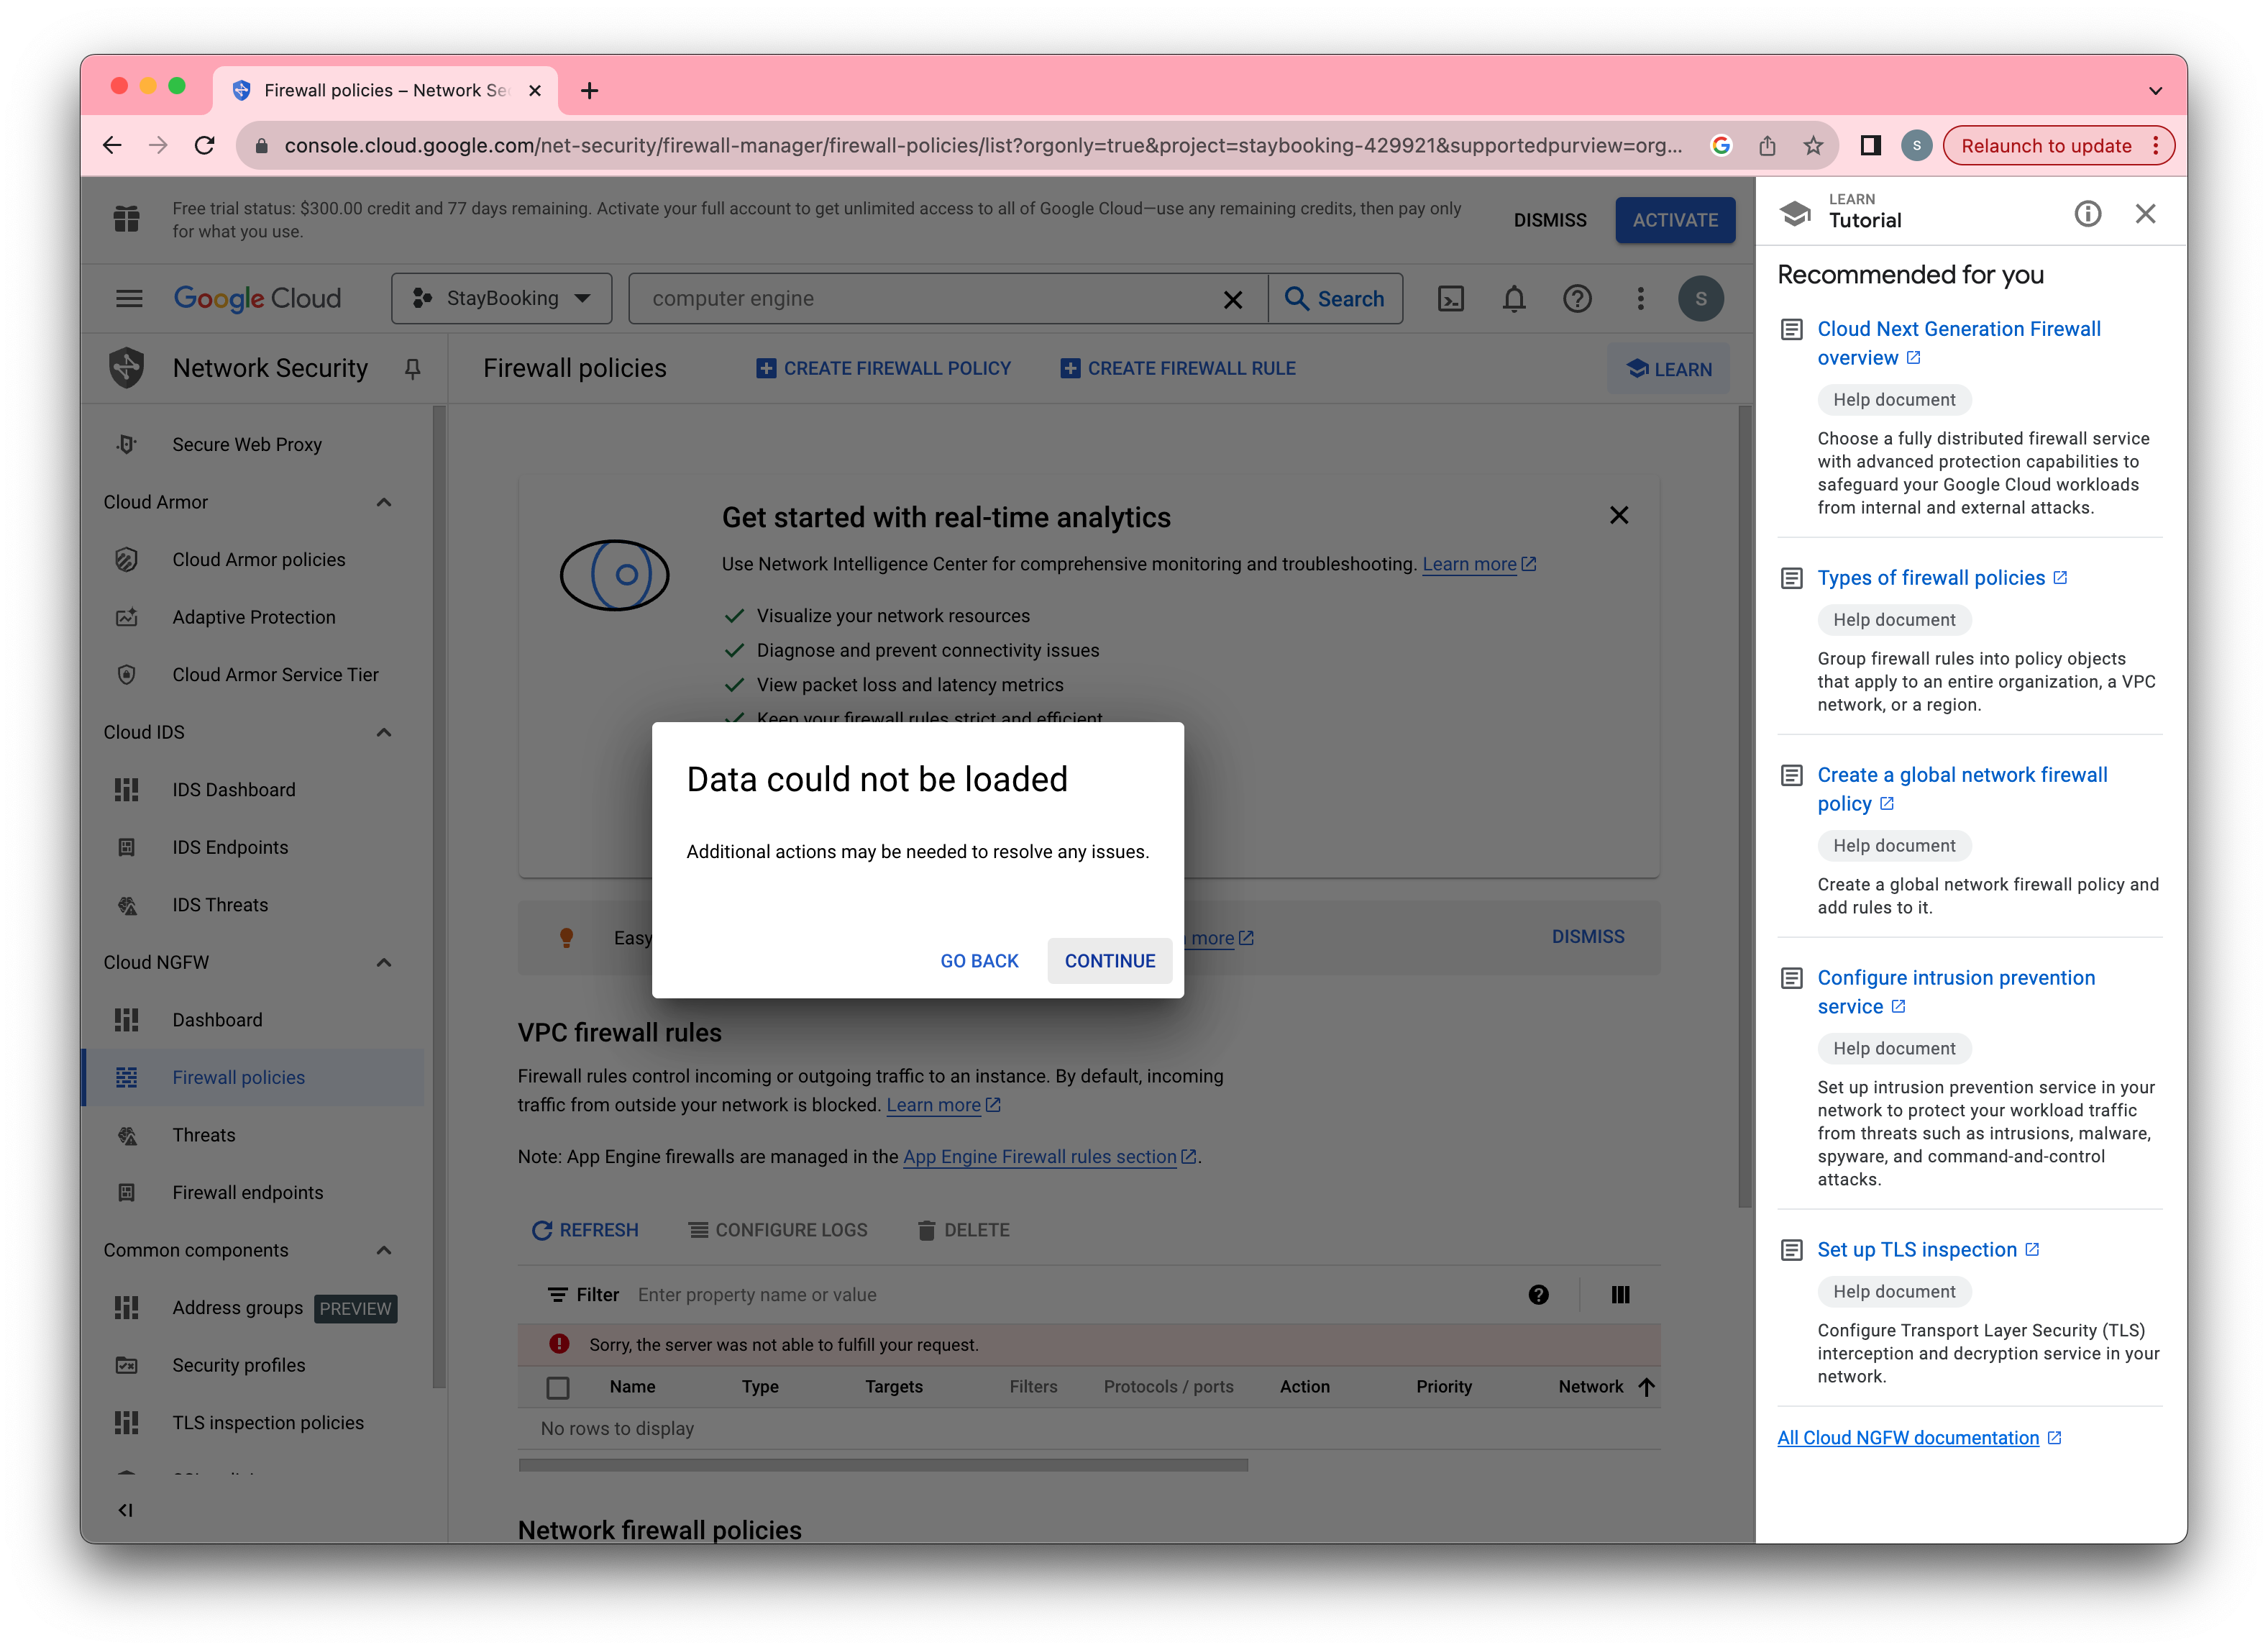
- Under the navigation menu, click Firewall rules under the VPC network section.
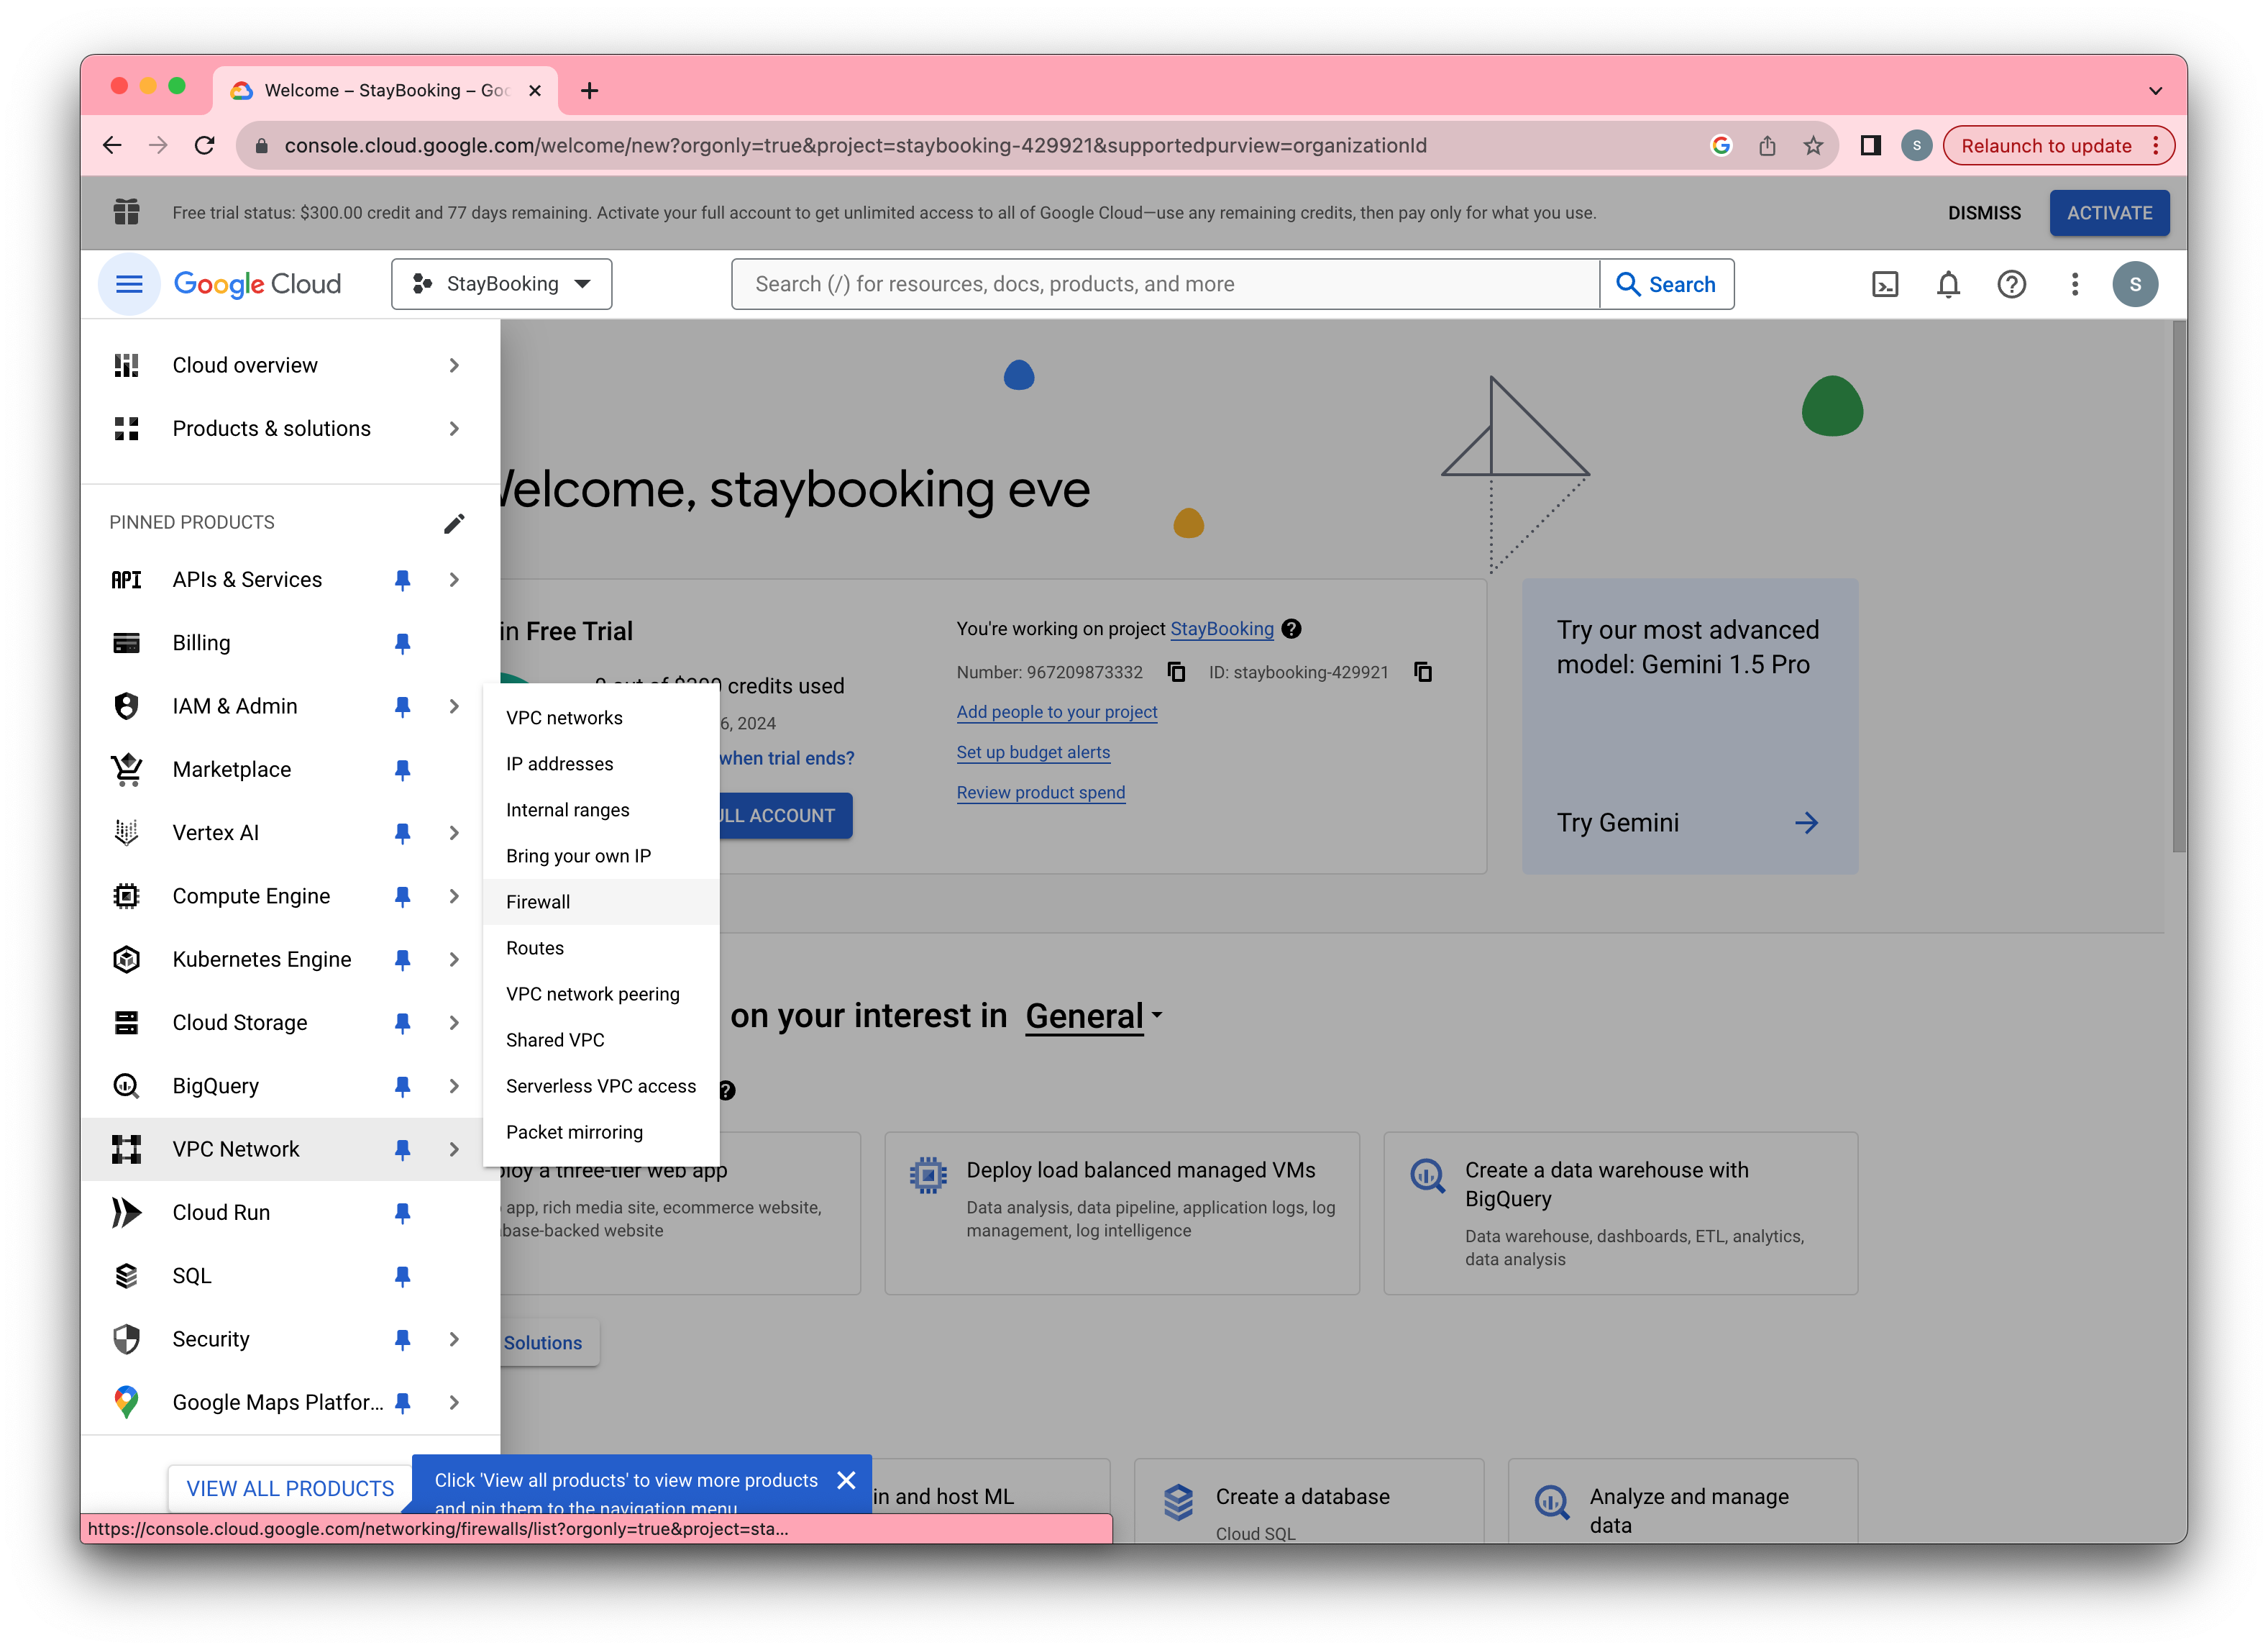
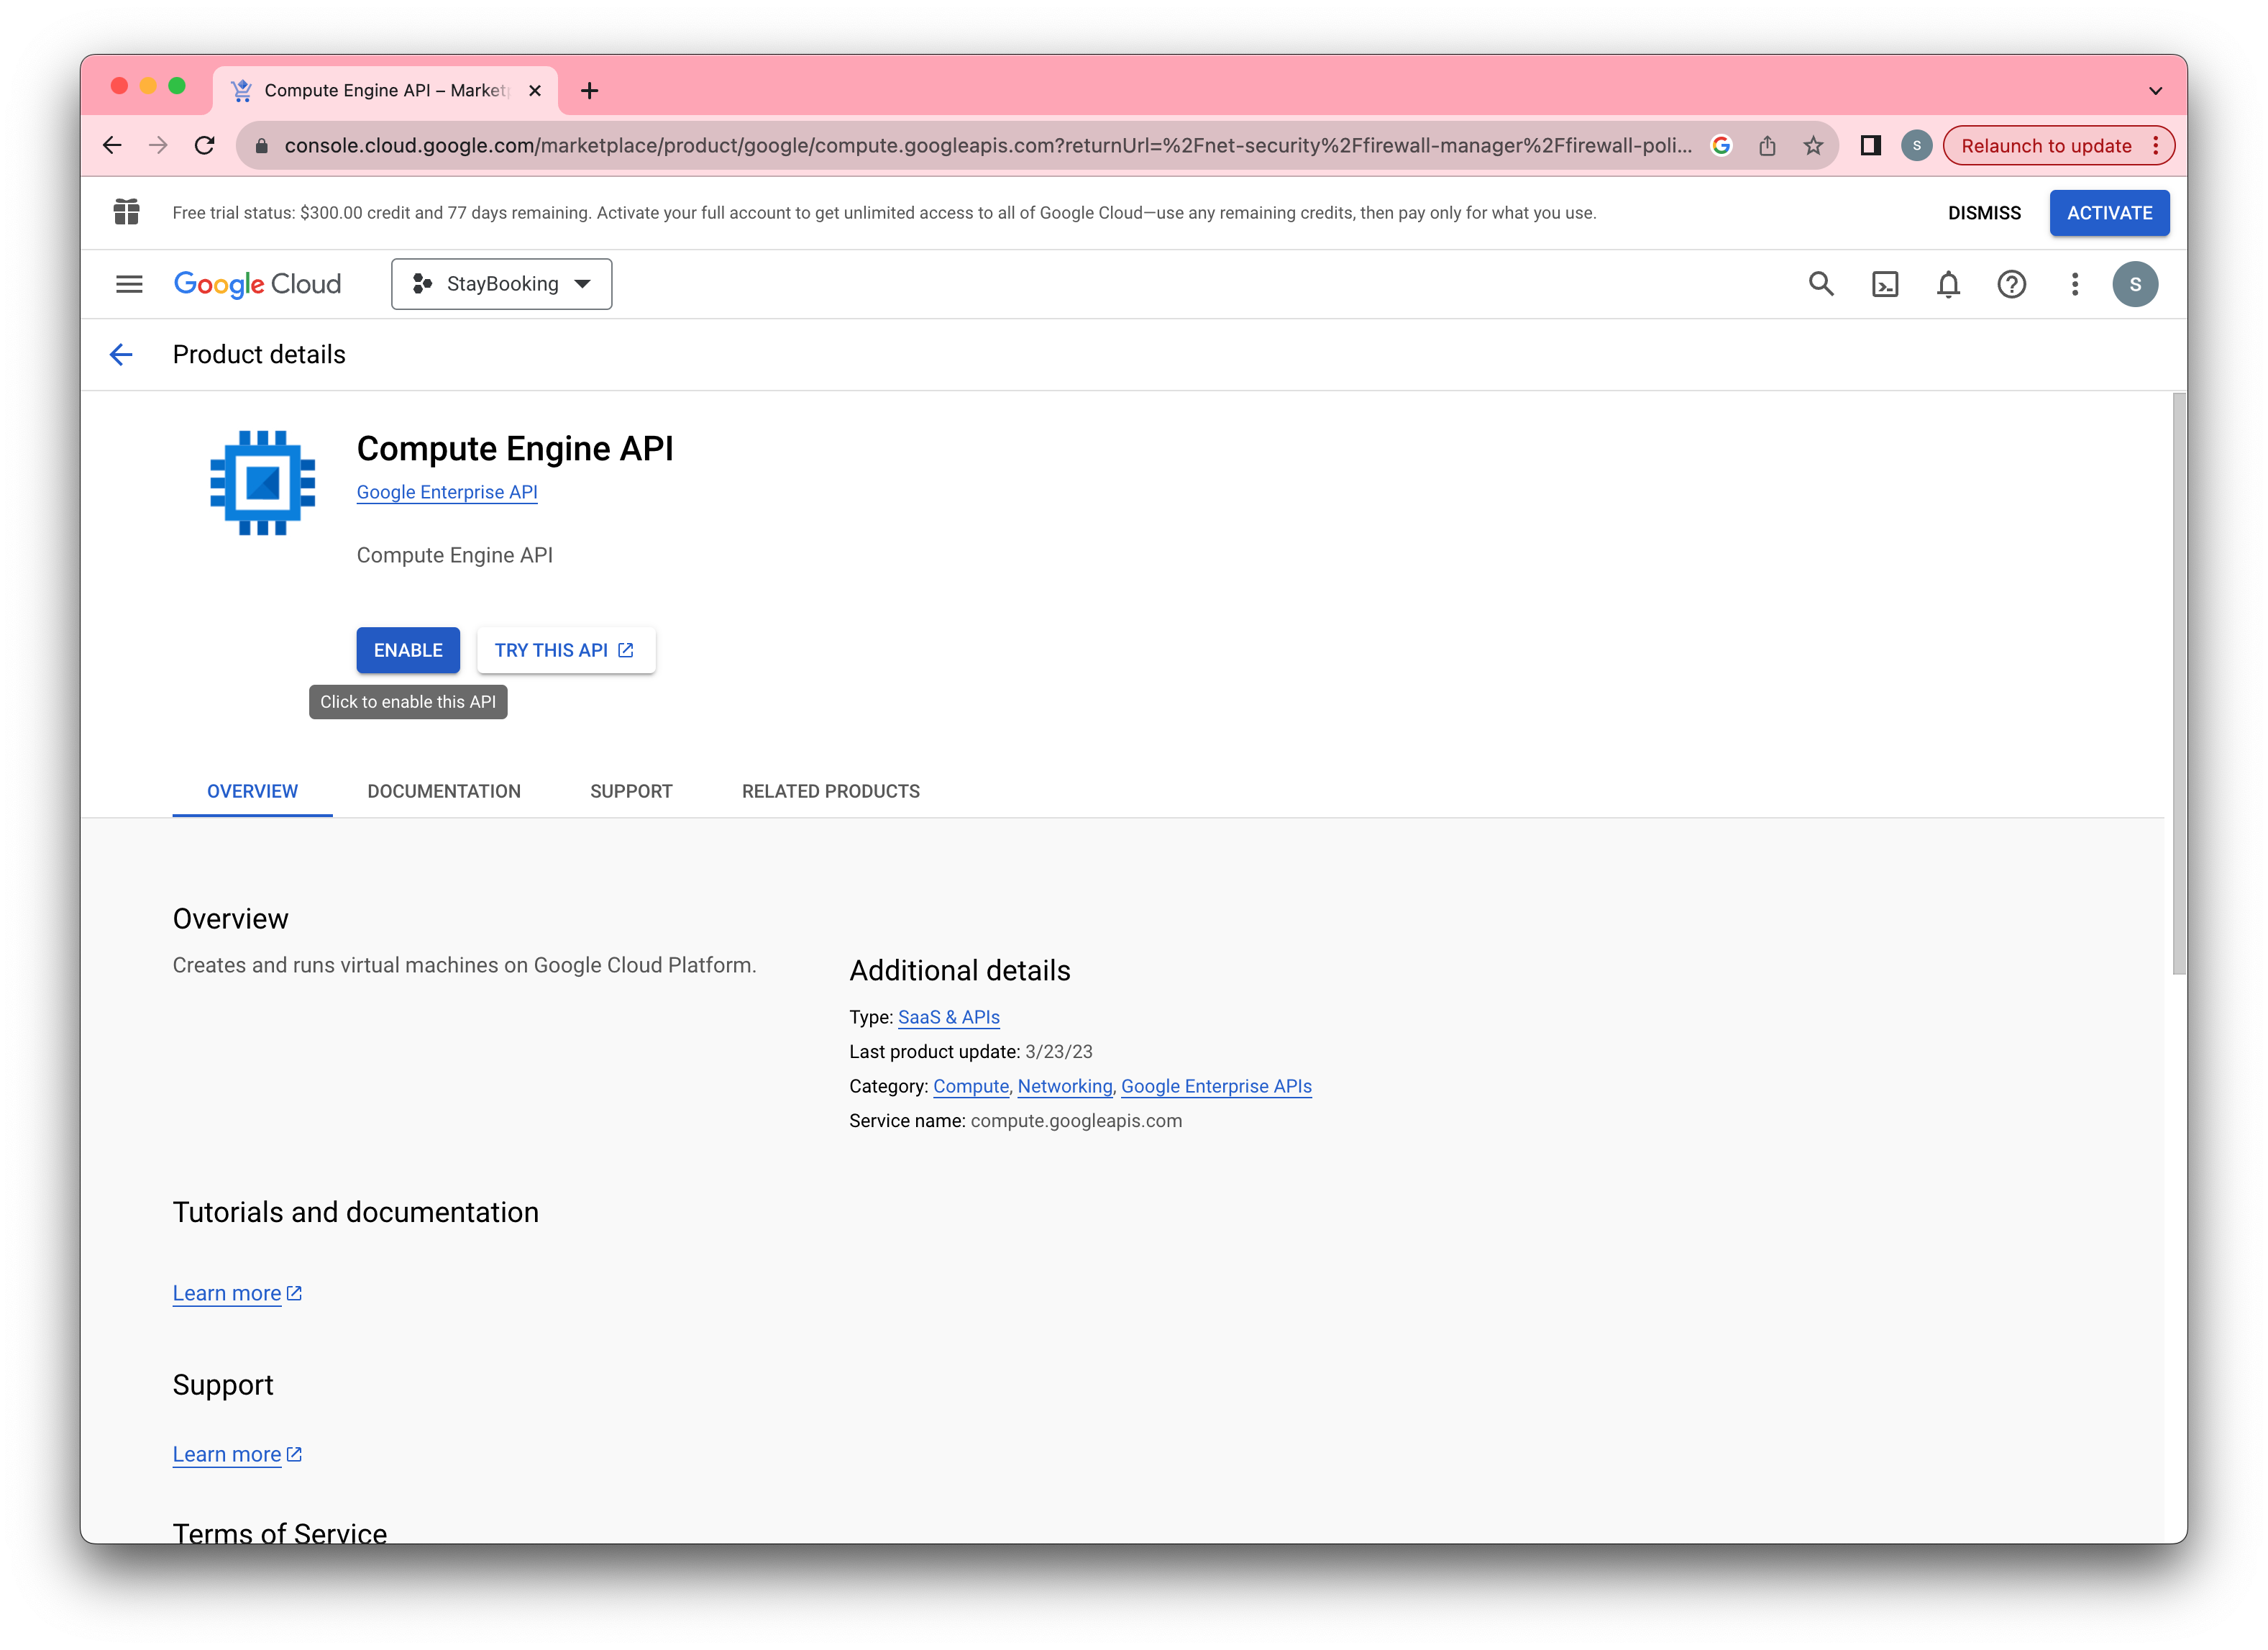
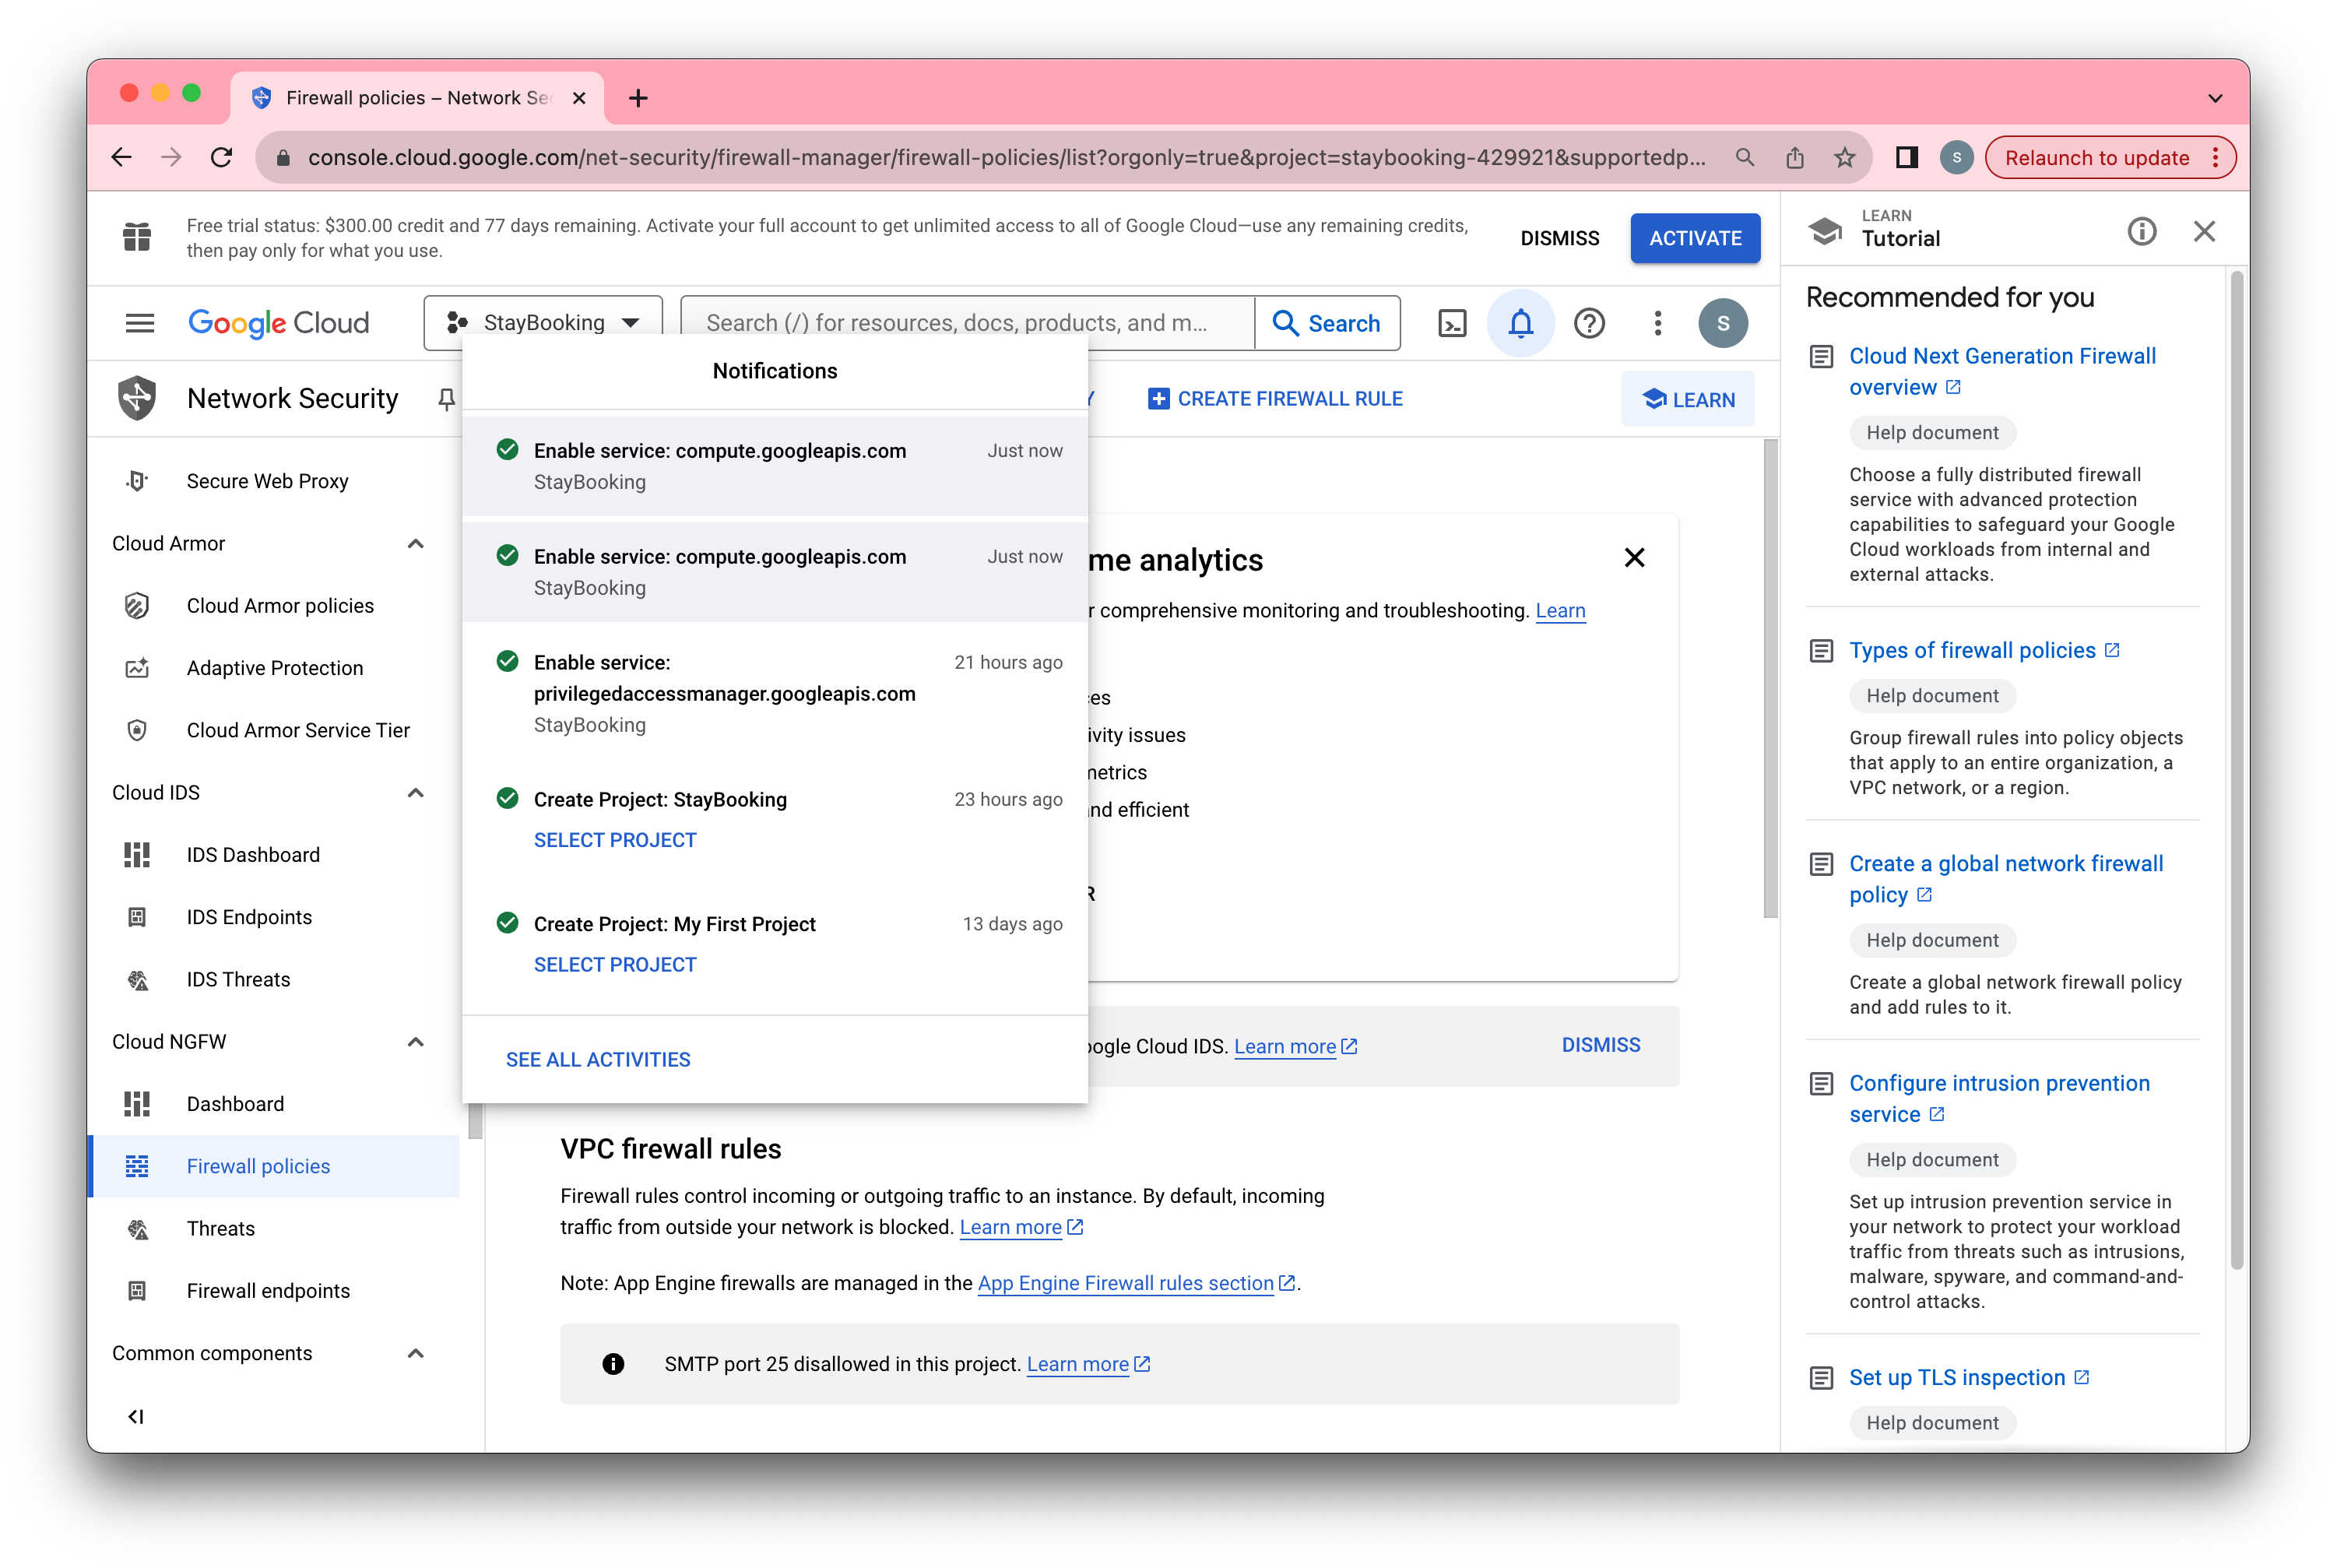
If you can not open the rules, you should enable the computer engine.
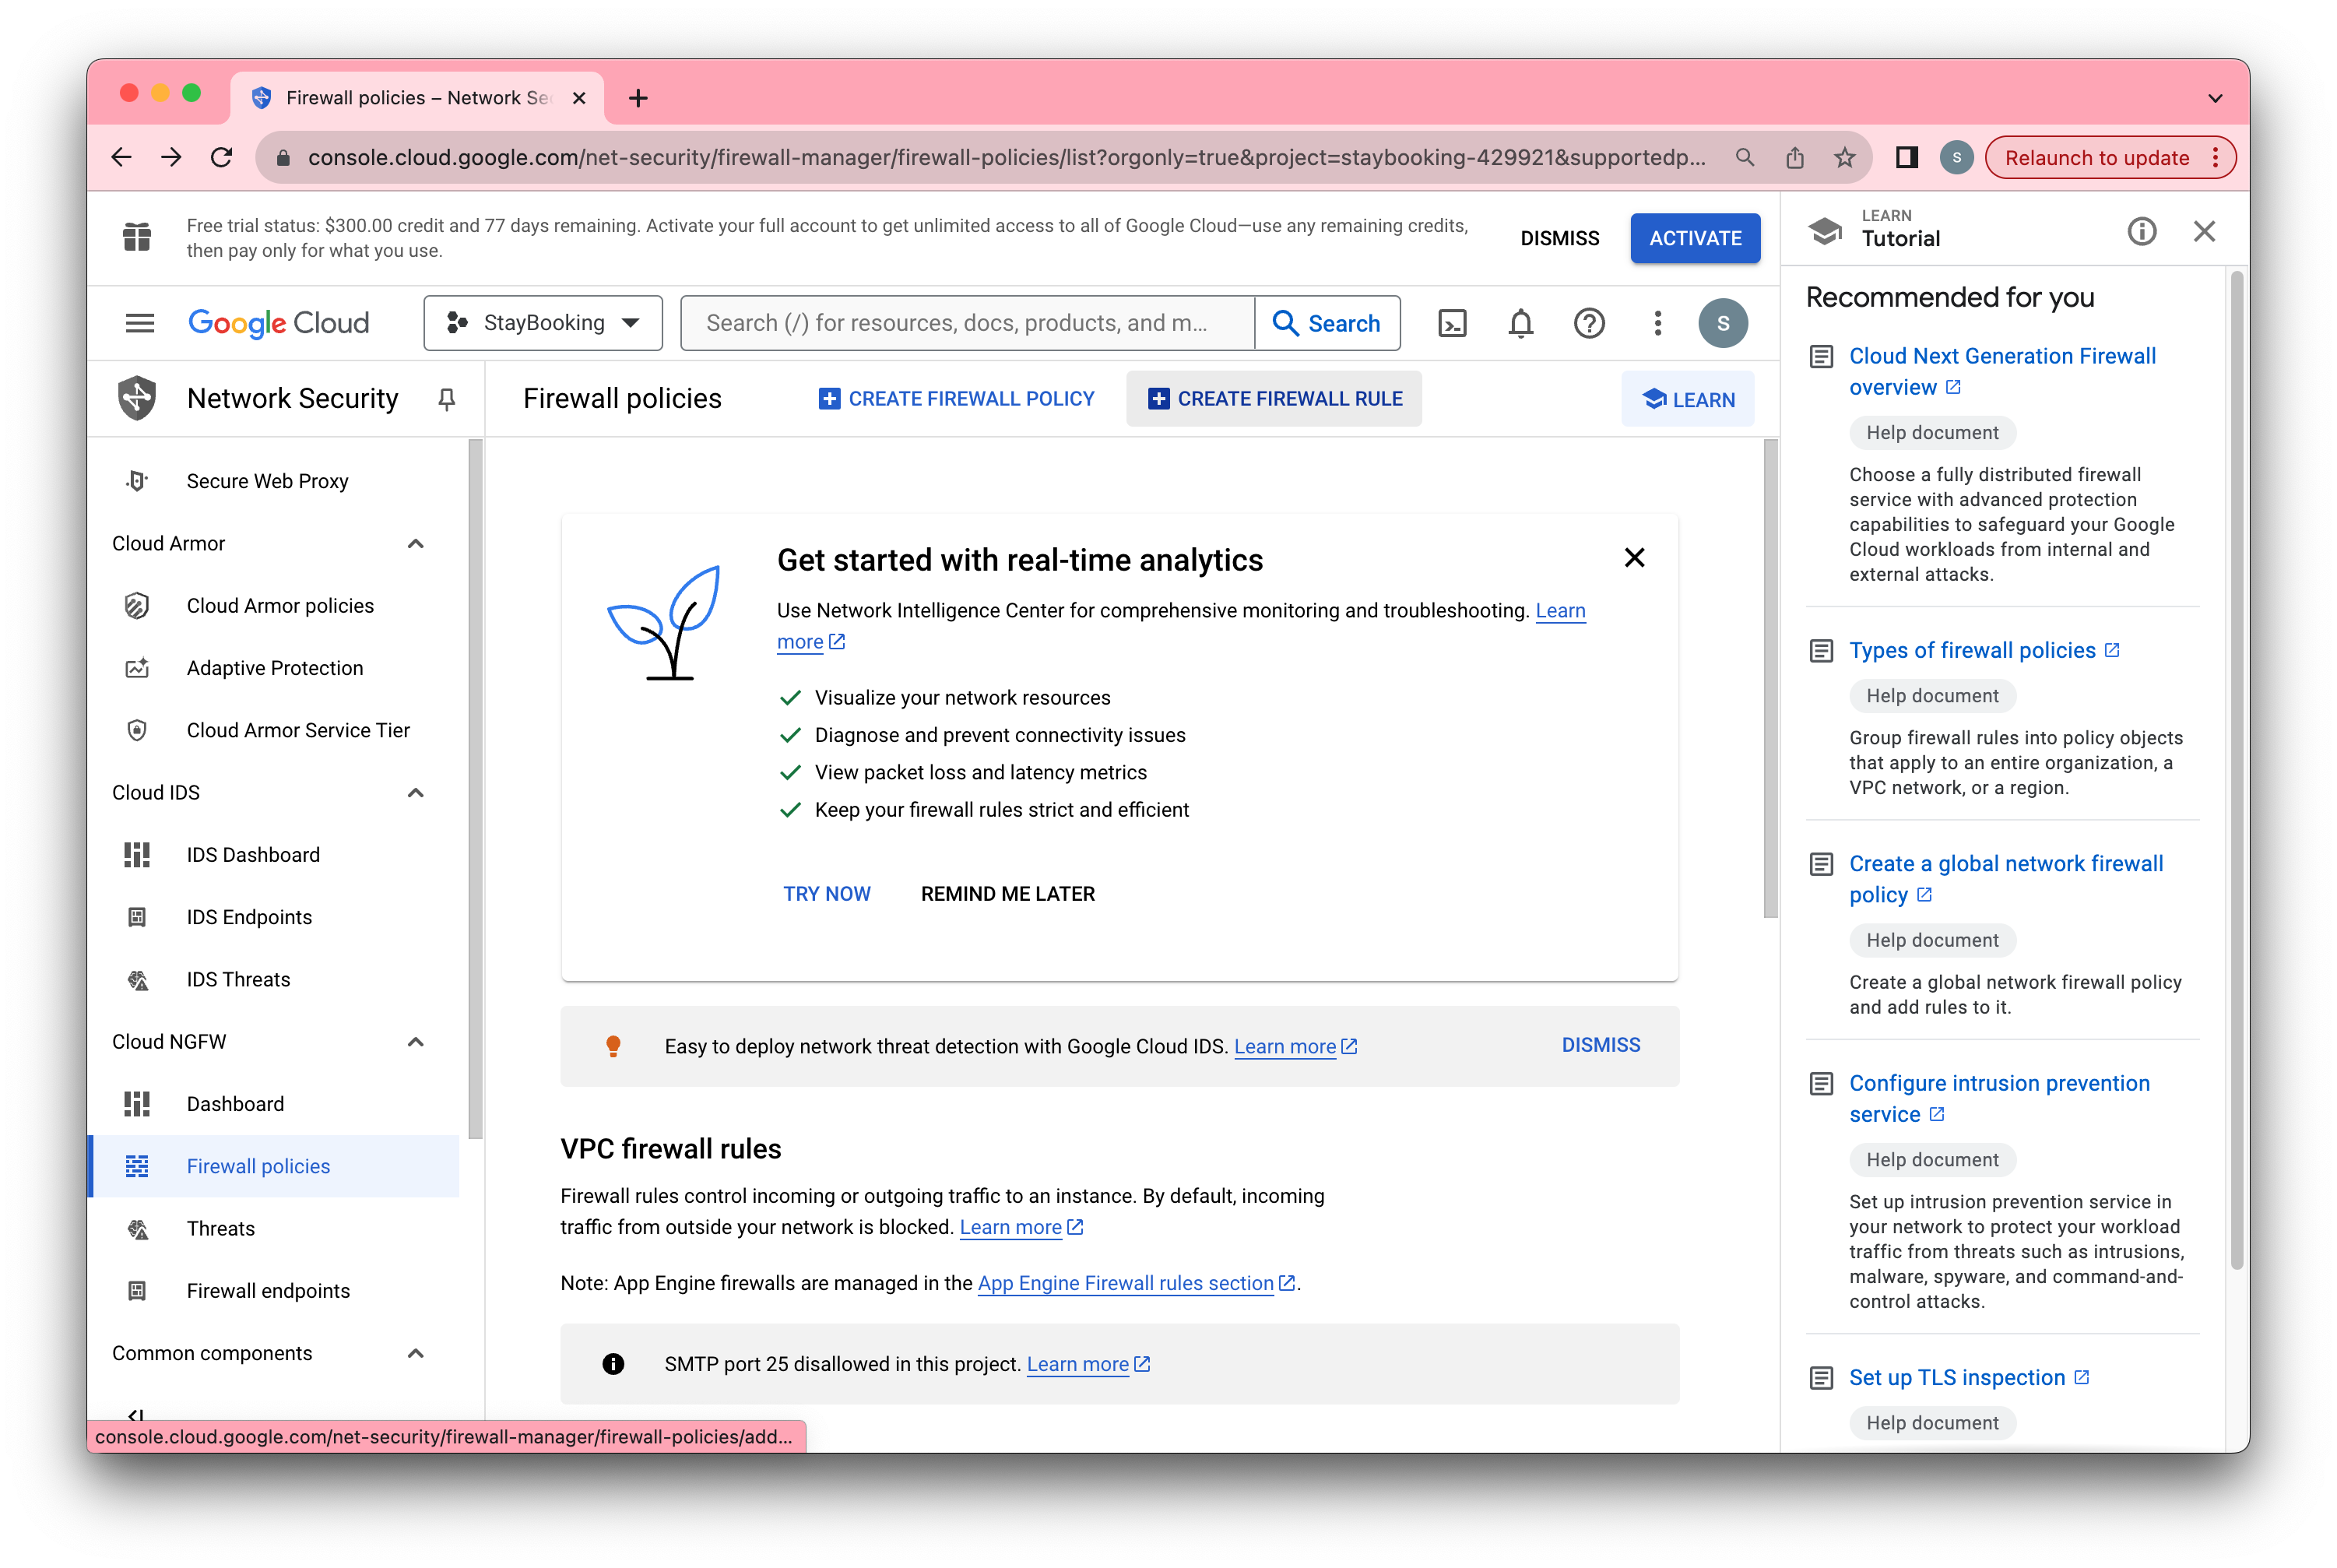
- Step 3, Click CREATE FIREWALL RULE.
- In the firewall rule creation page, fill in a name you like(e.g. around) and use the same name under Target tags.
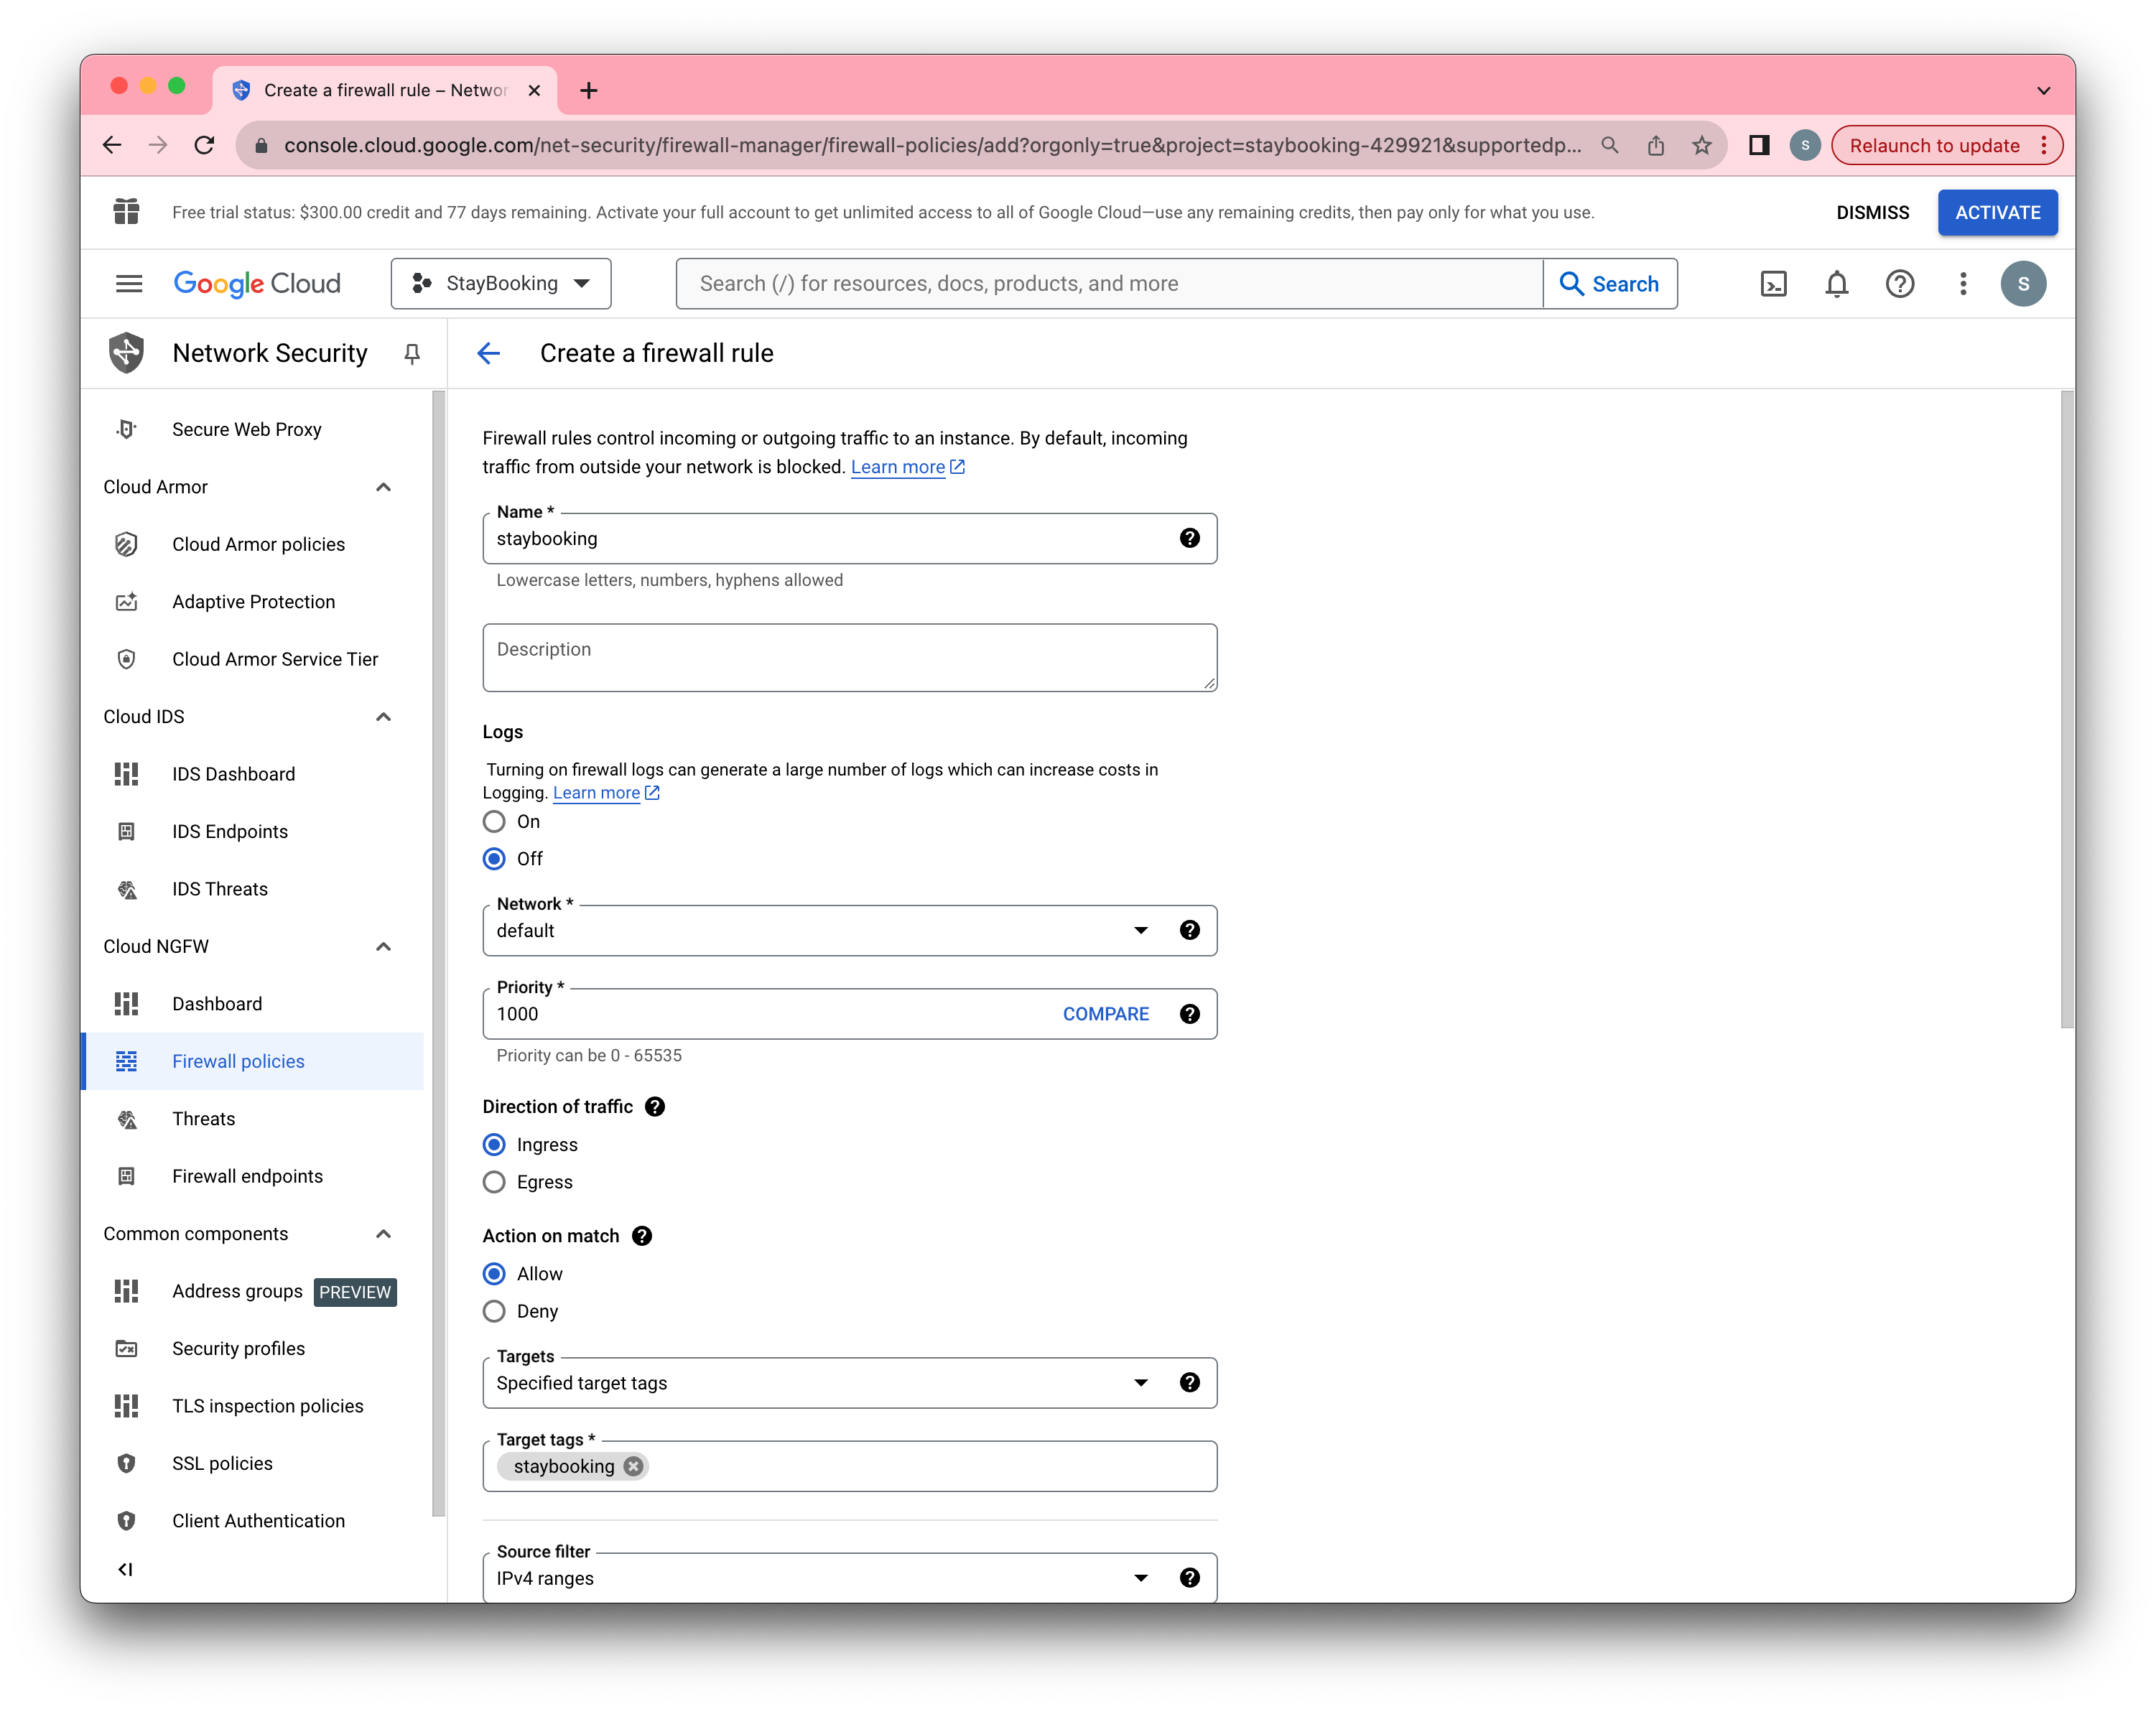
- Under the same page, set Source IP ranges to 0.0.0.0/0, check TCP under Protocols and ports, and specify 9200.
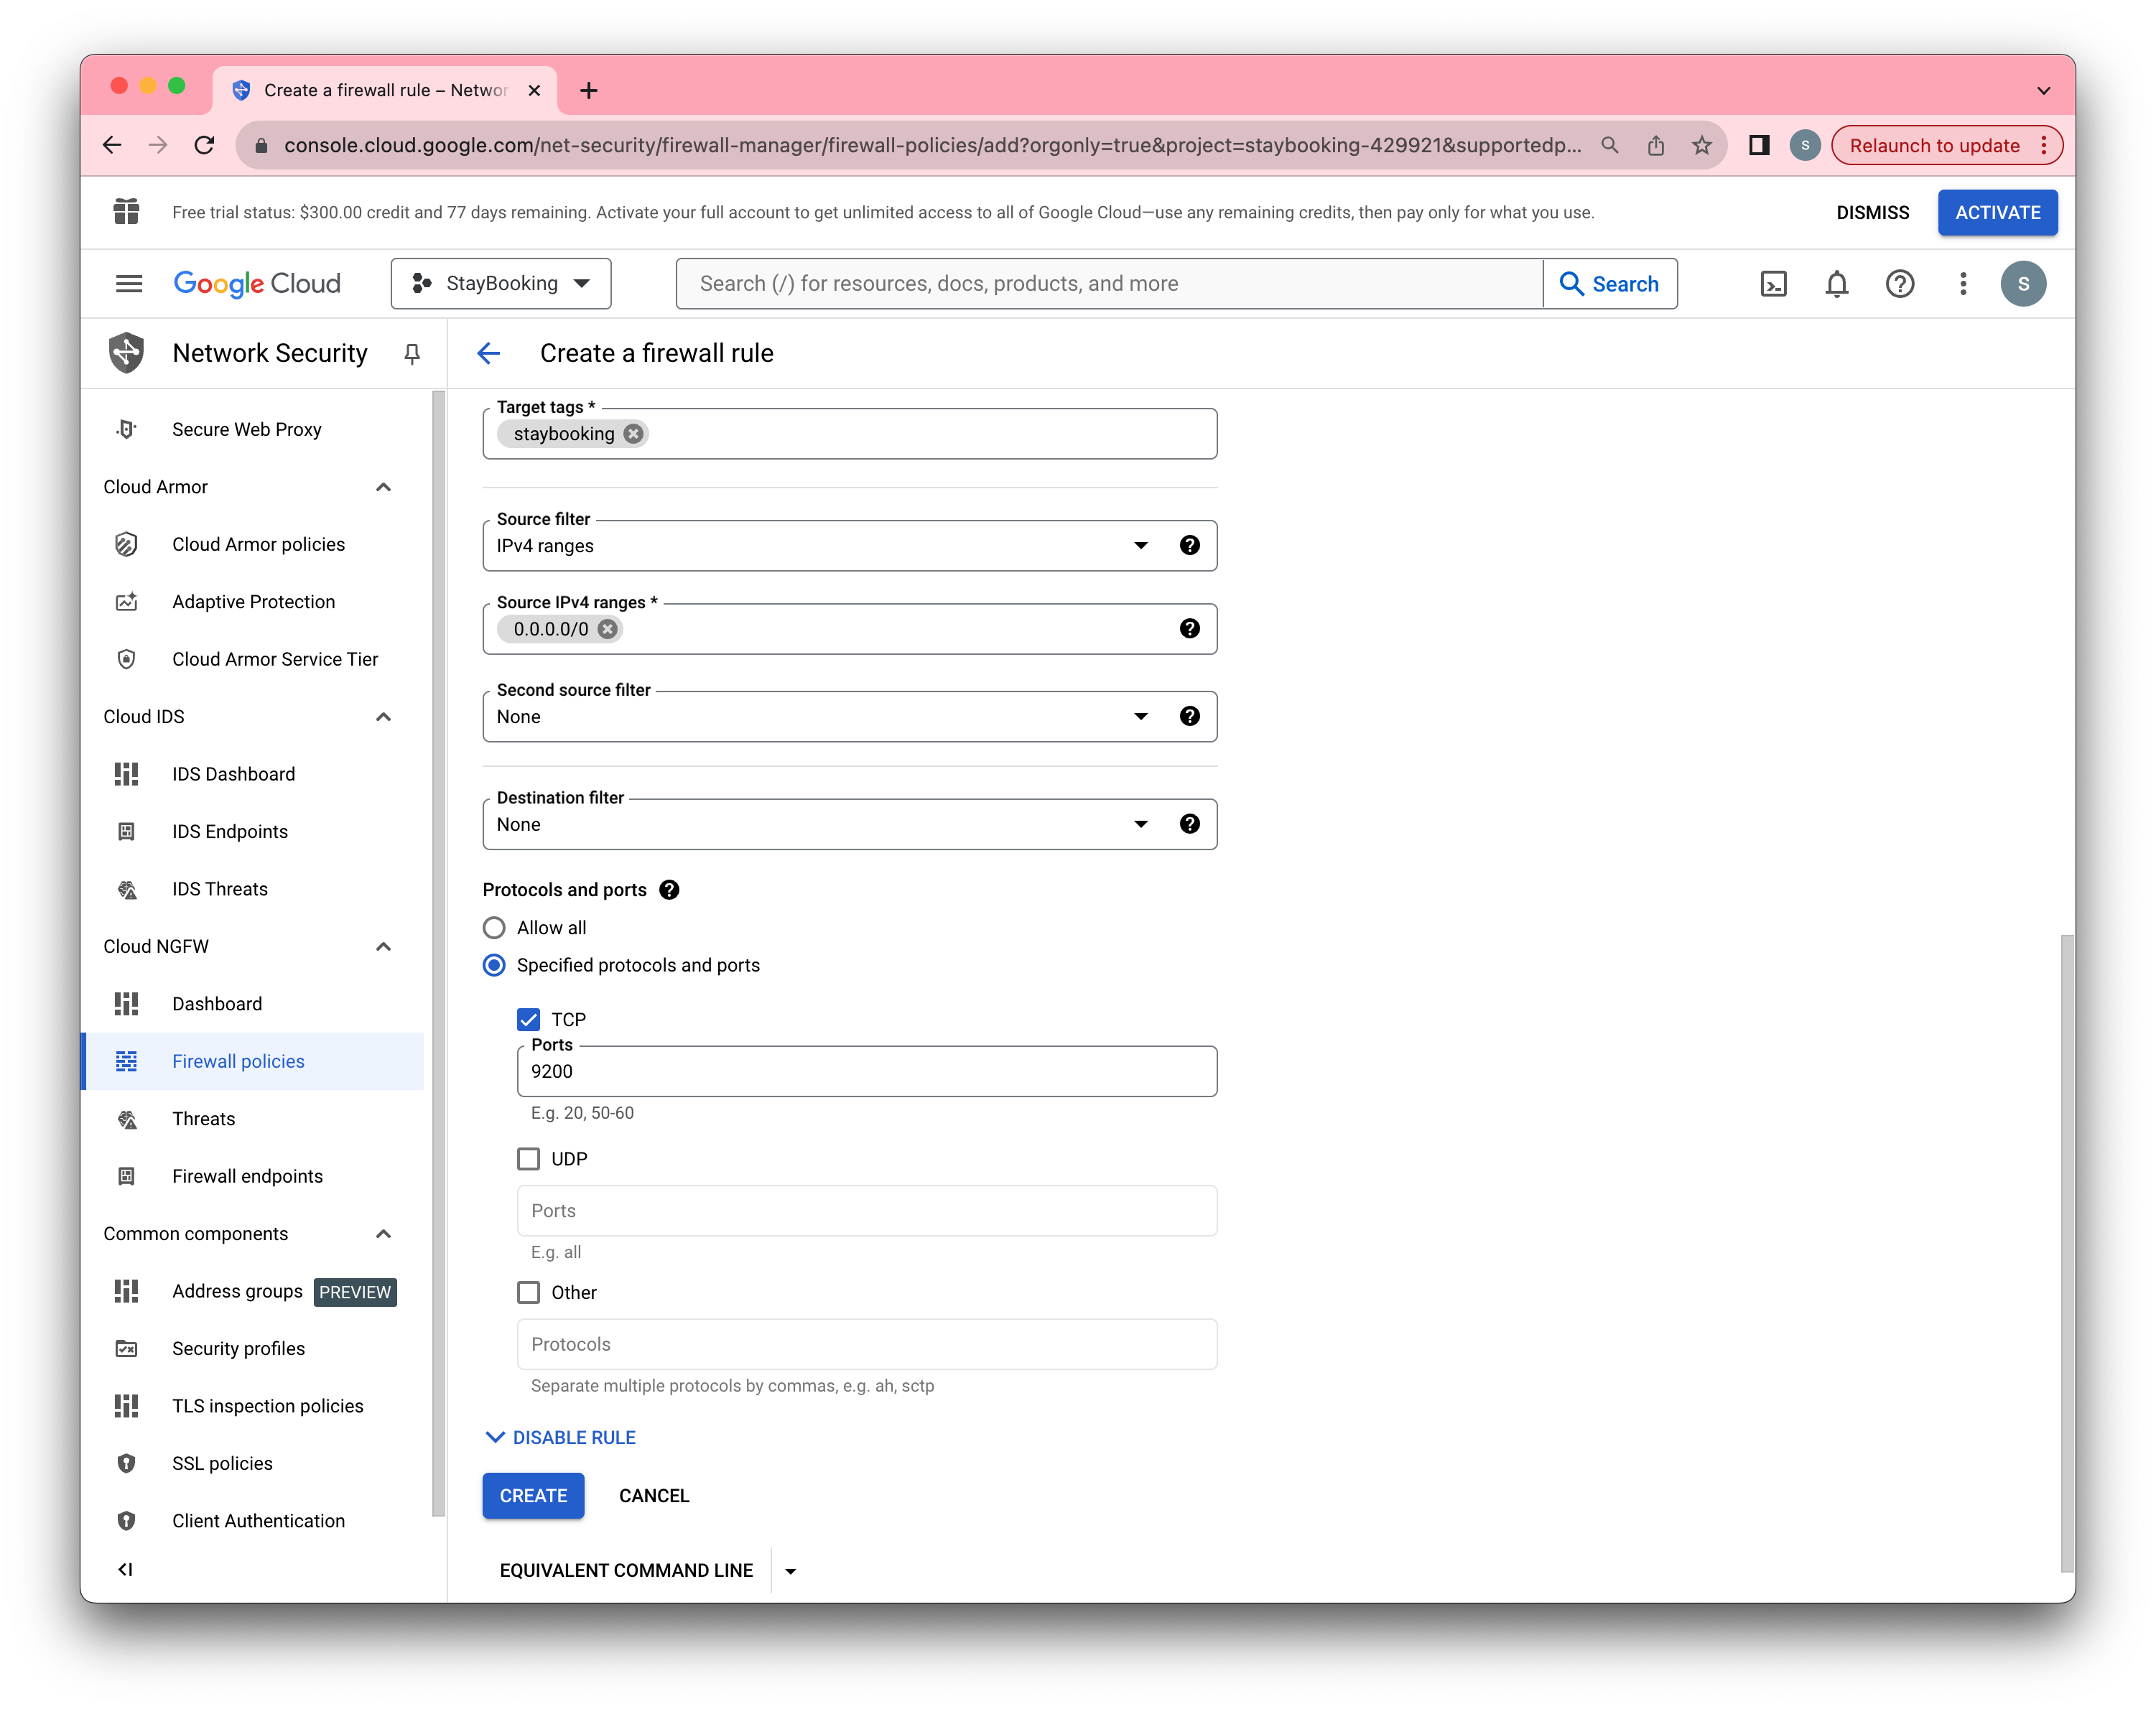
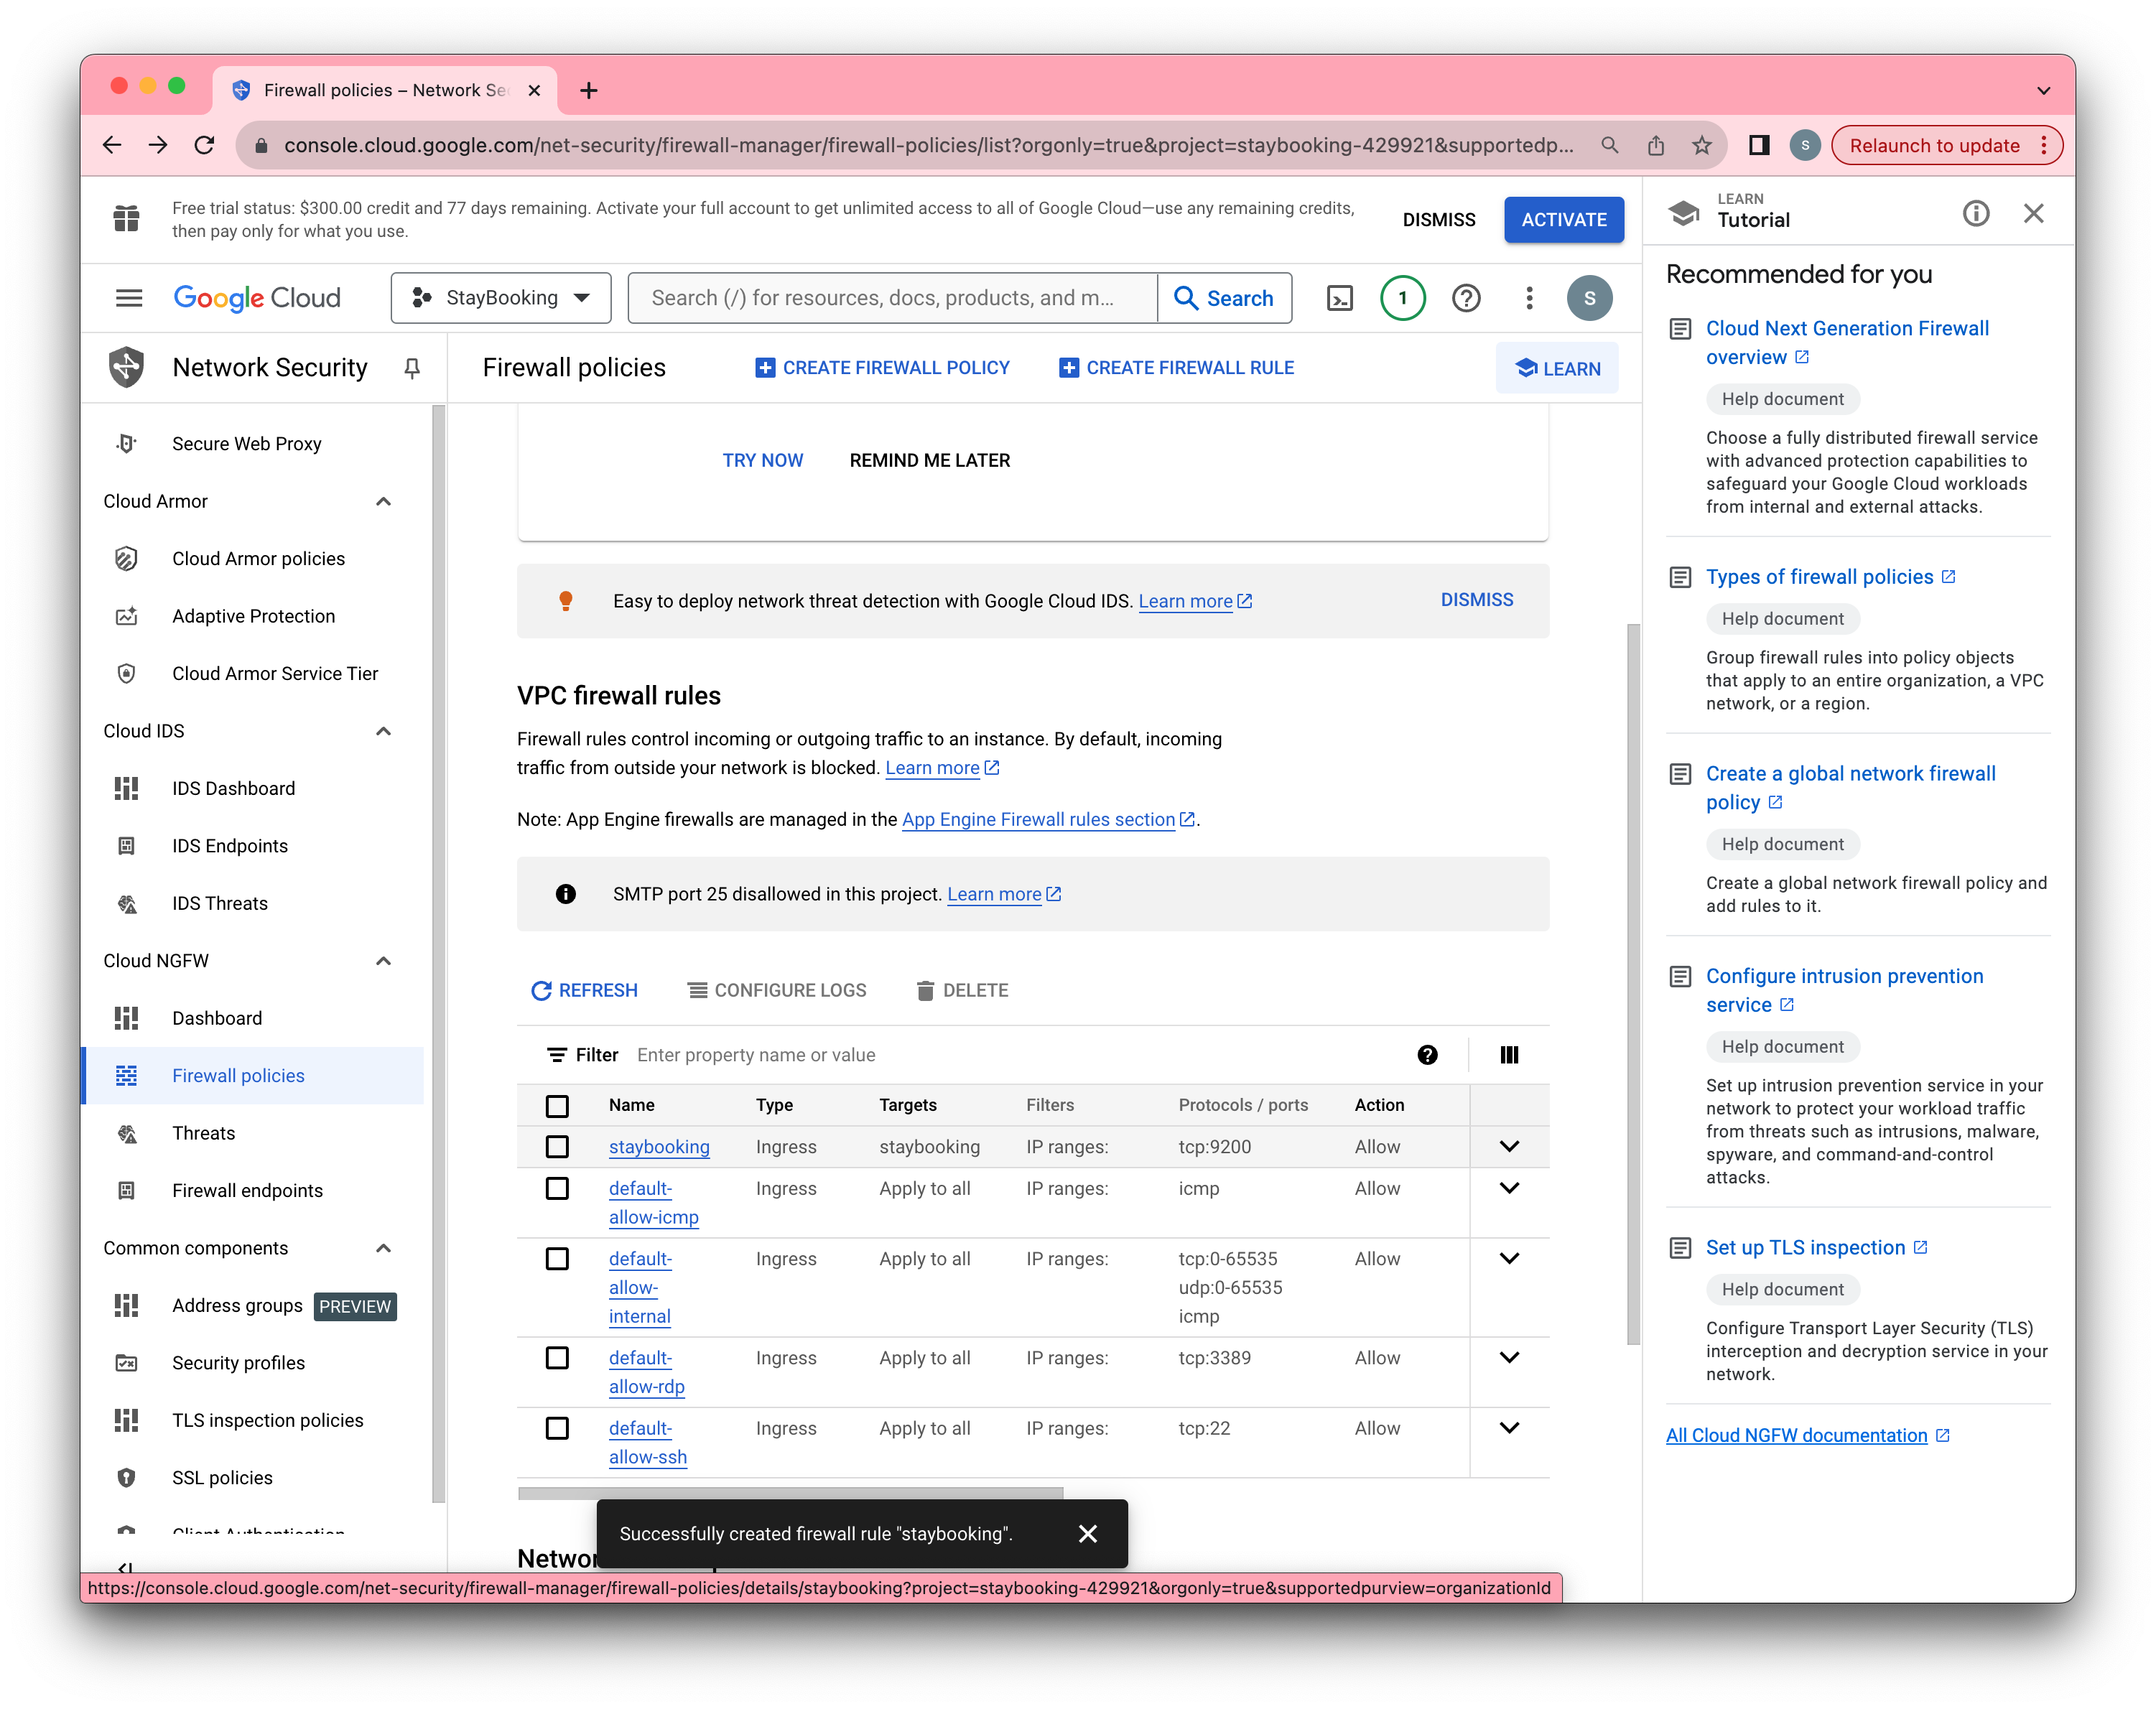
- Click Create and wait until the firewall rule is created.
Lauch a GCE Instance
- Go back to the Navigation menu, click VM instances under Compute Engine in the navigation menu.
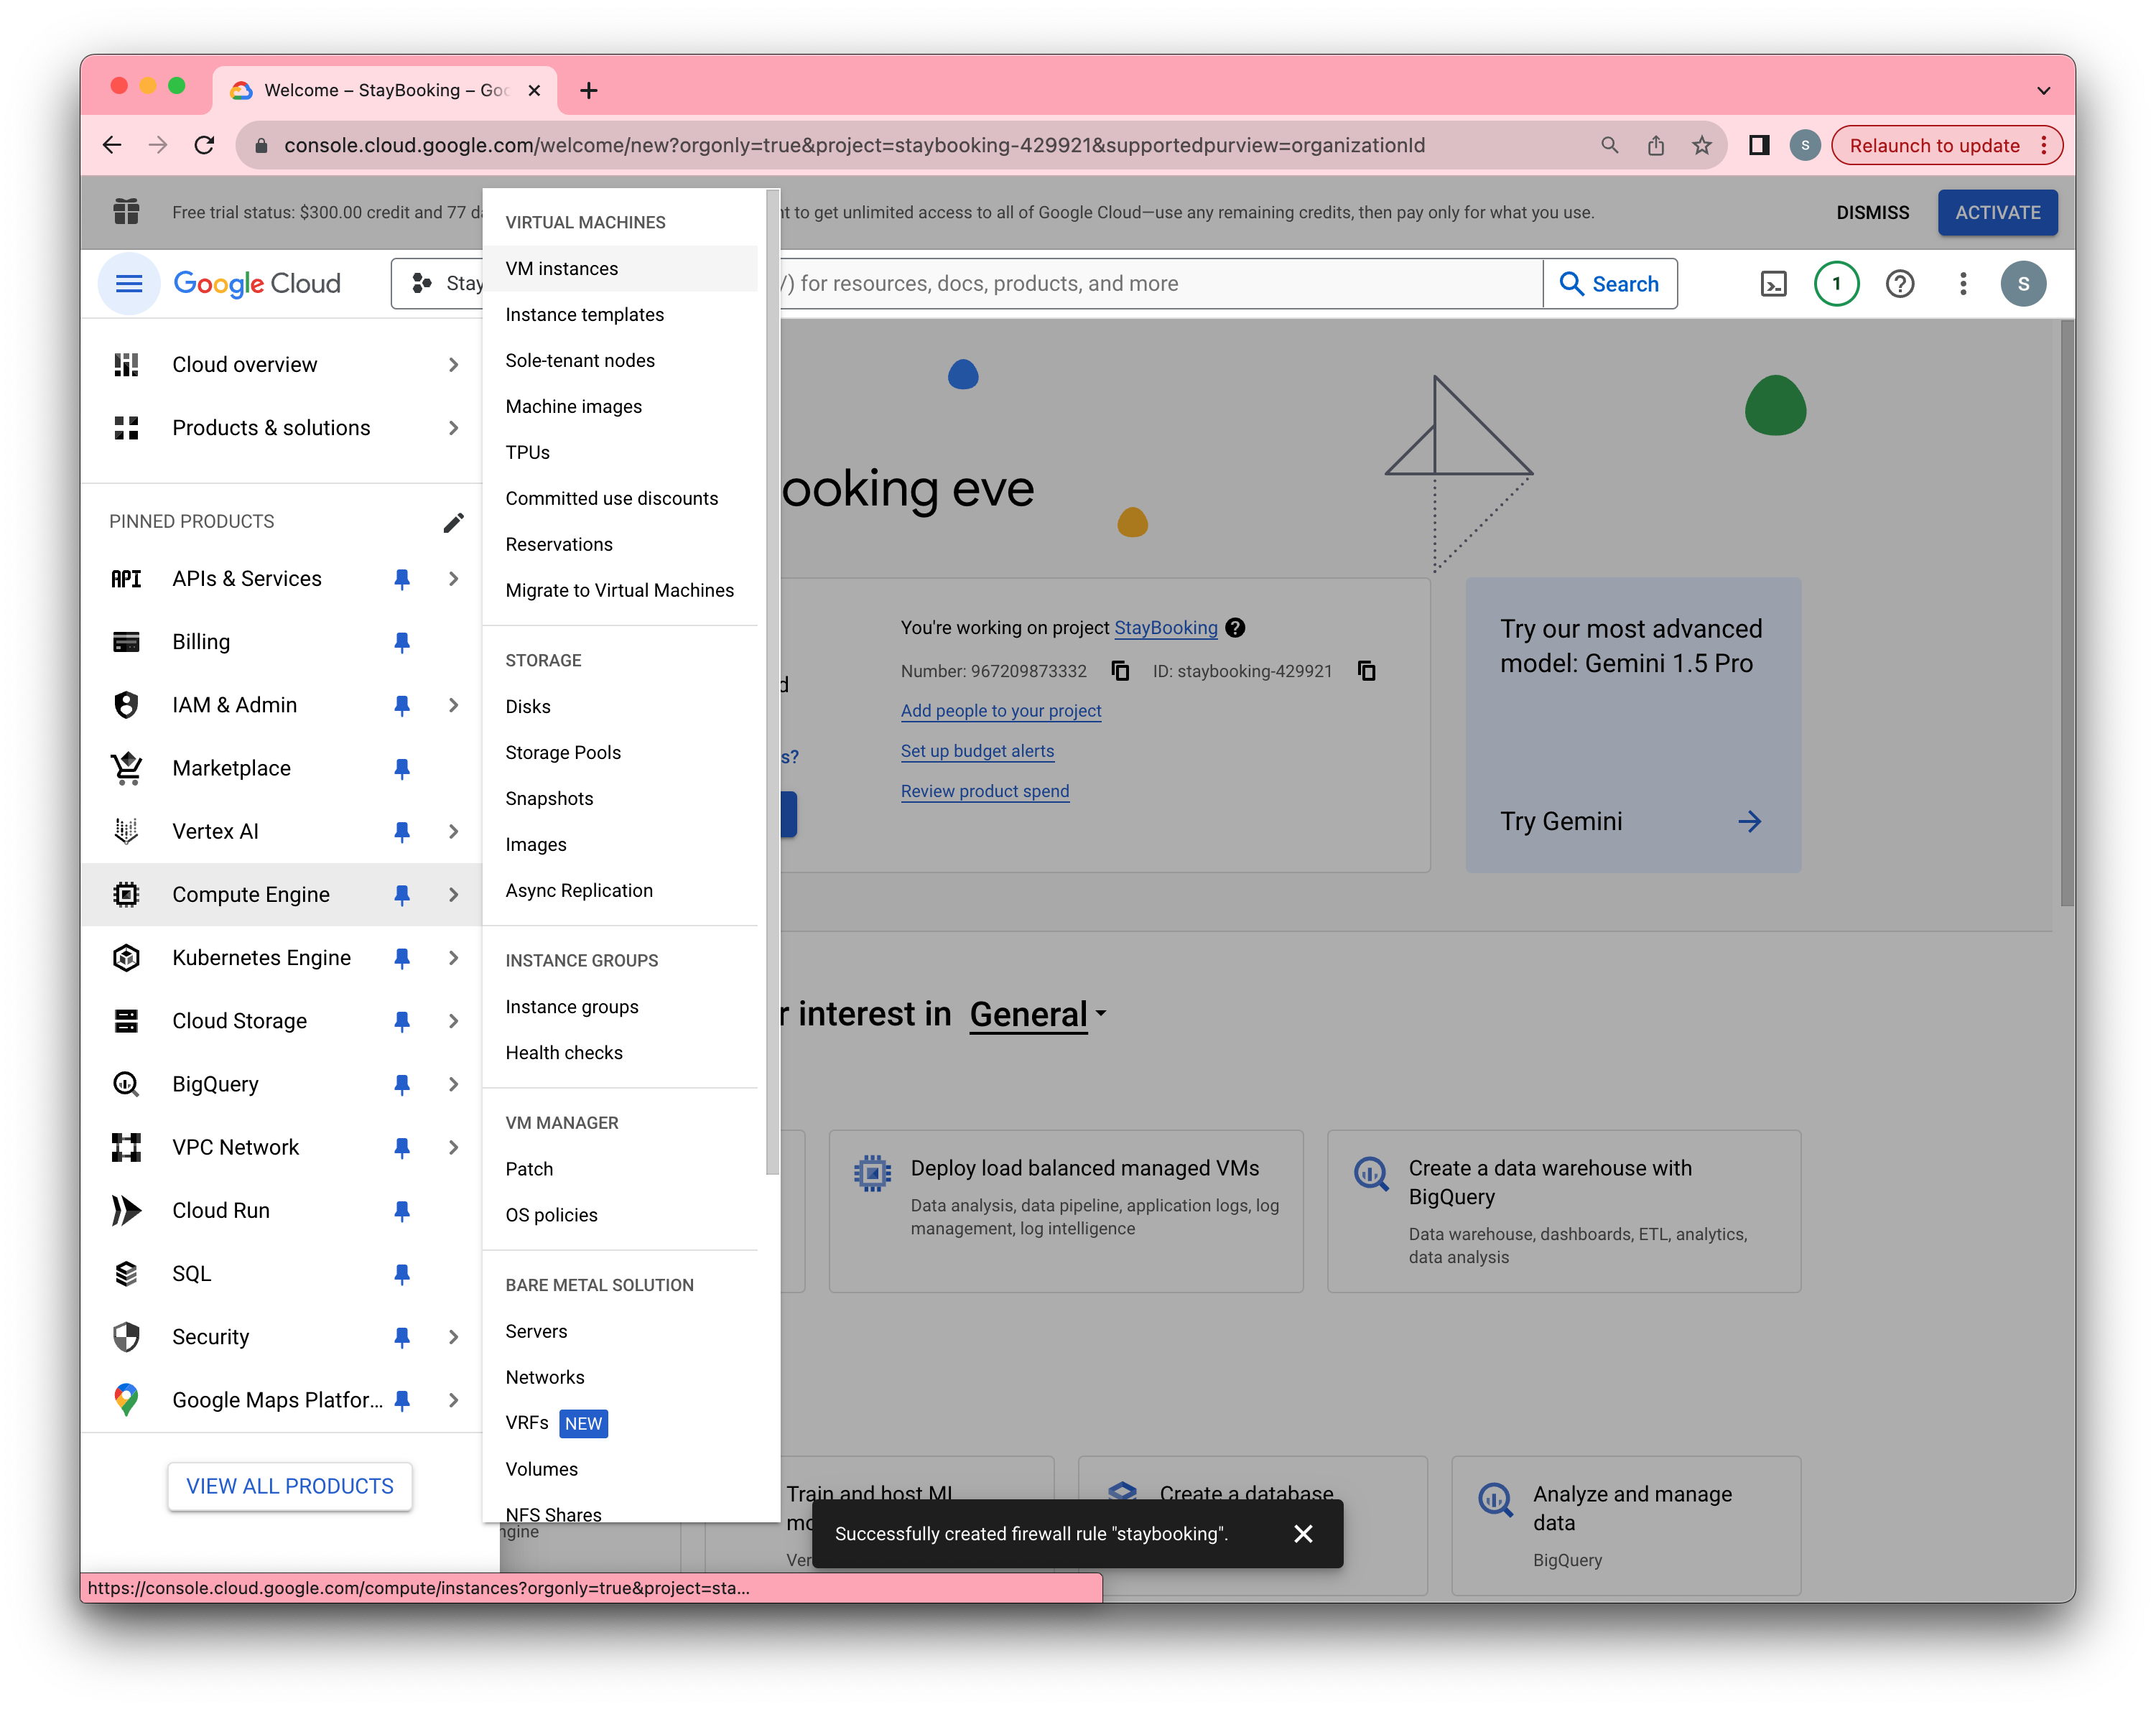
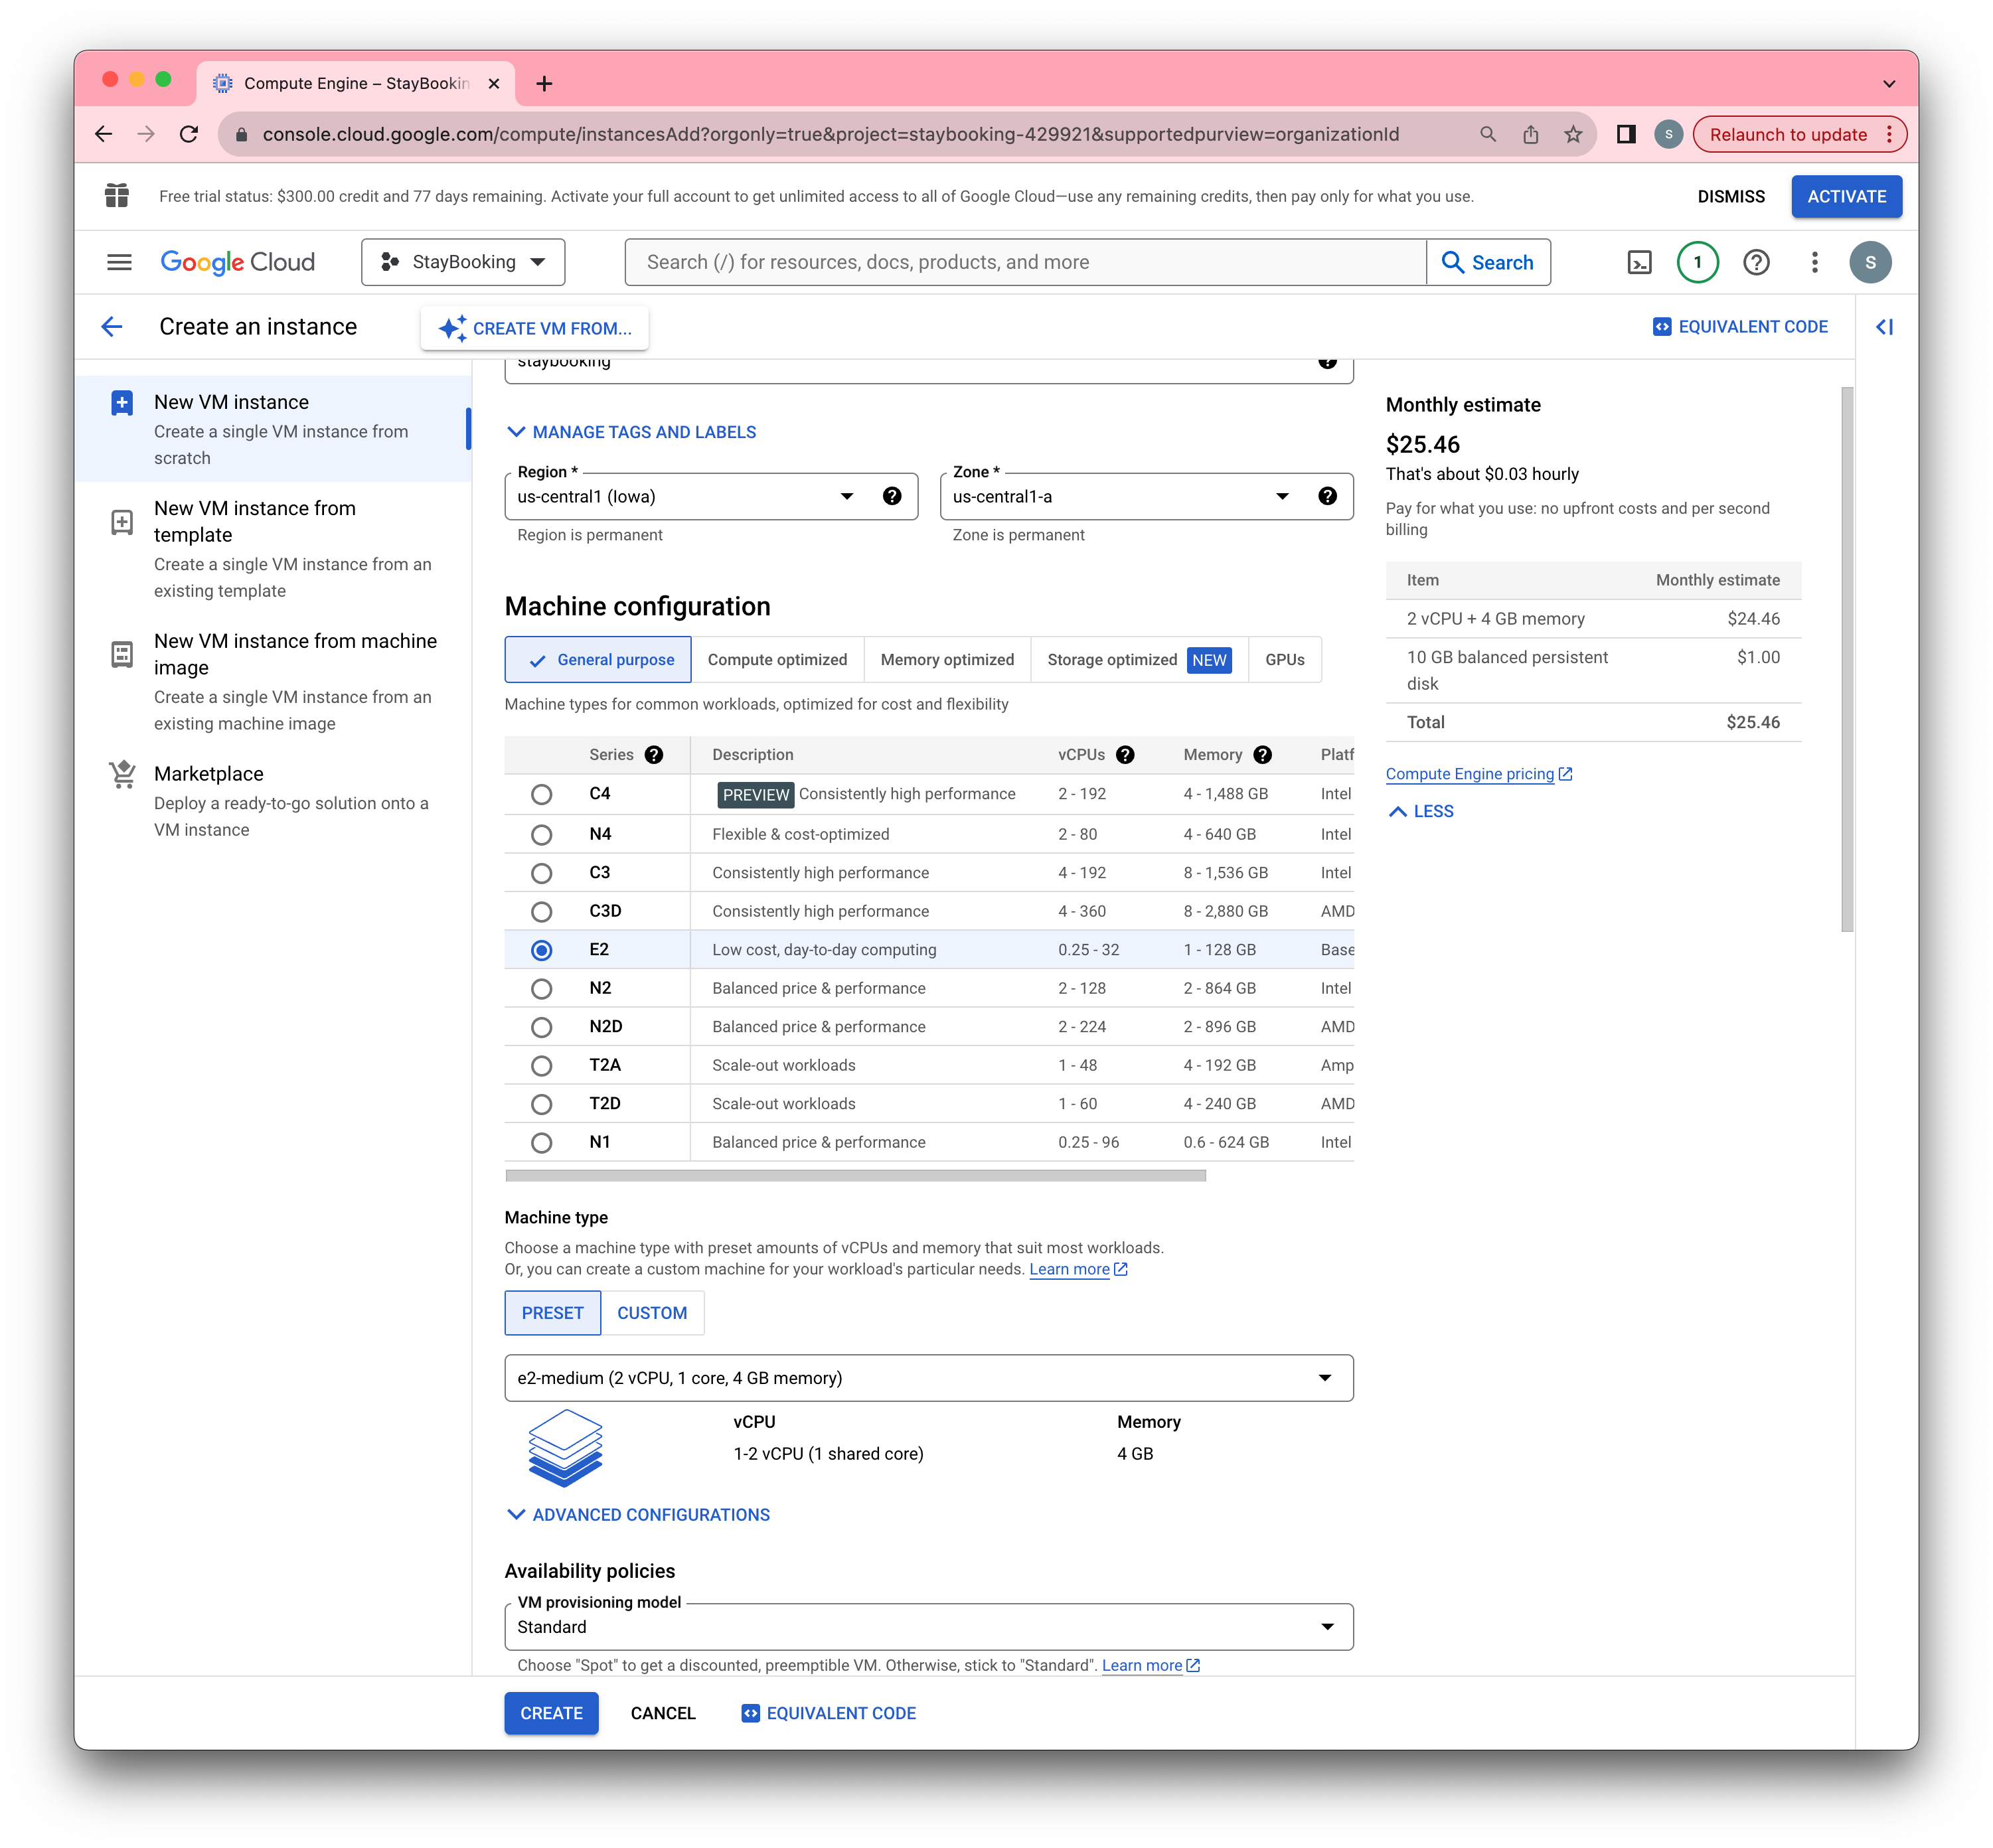
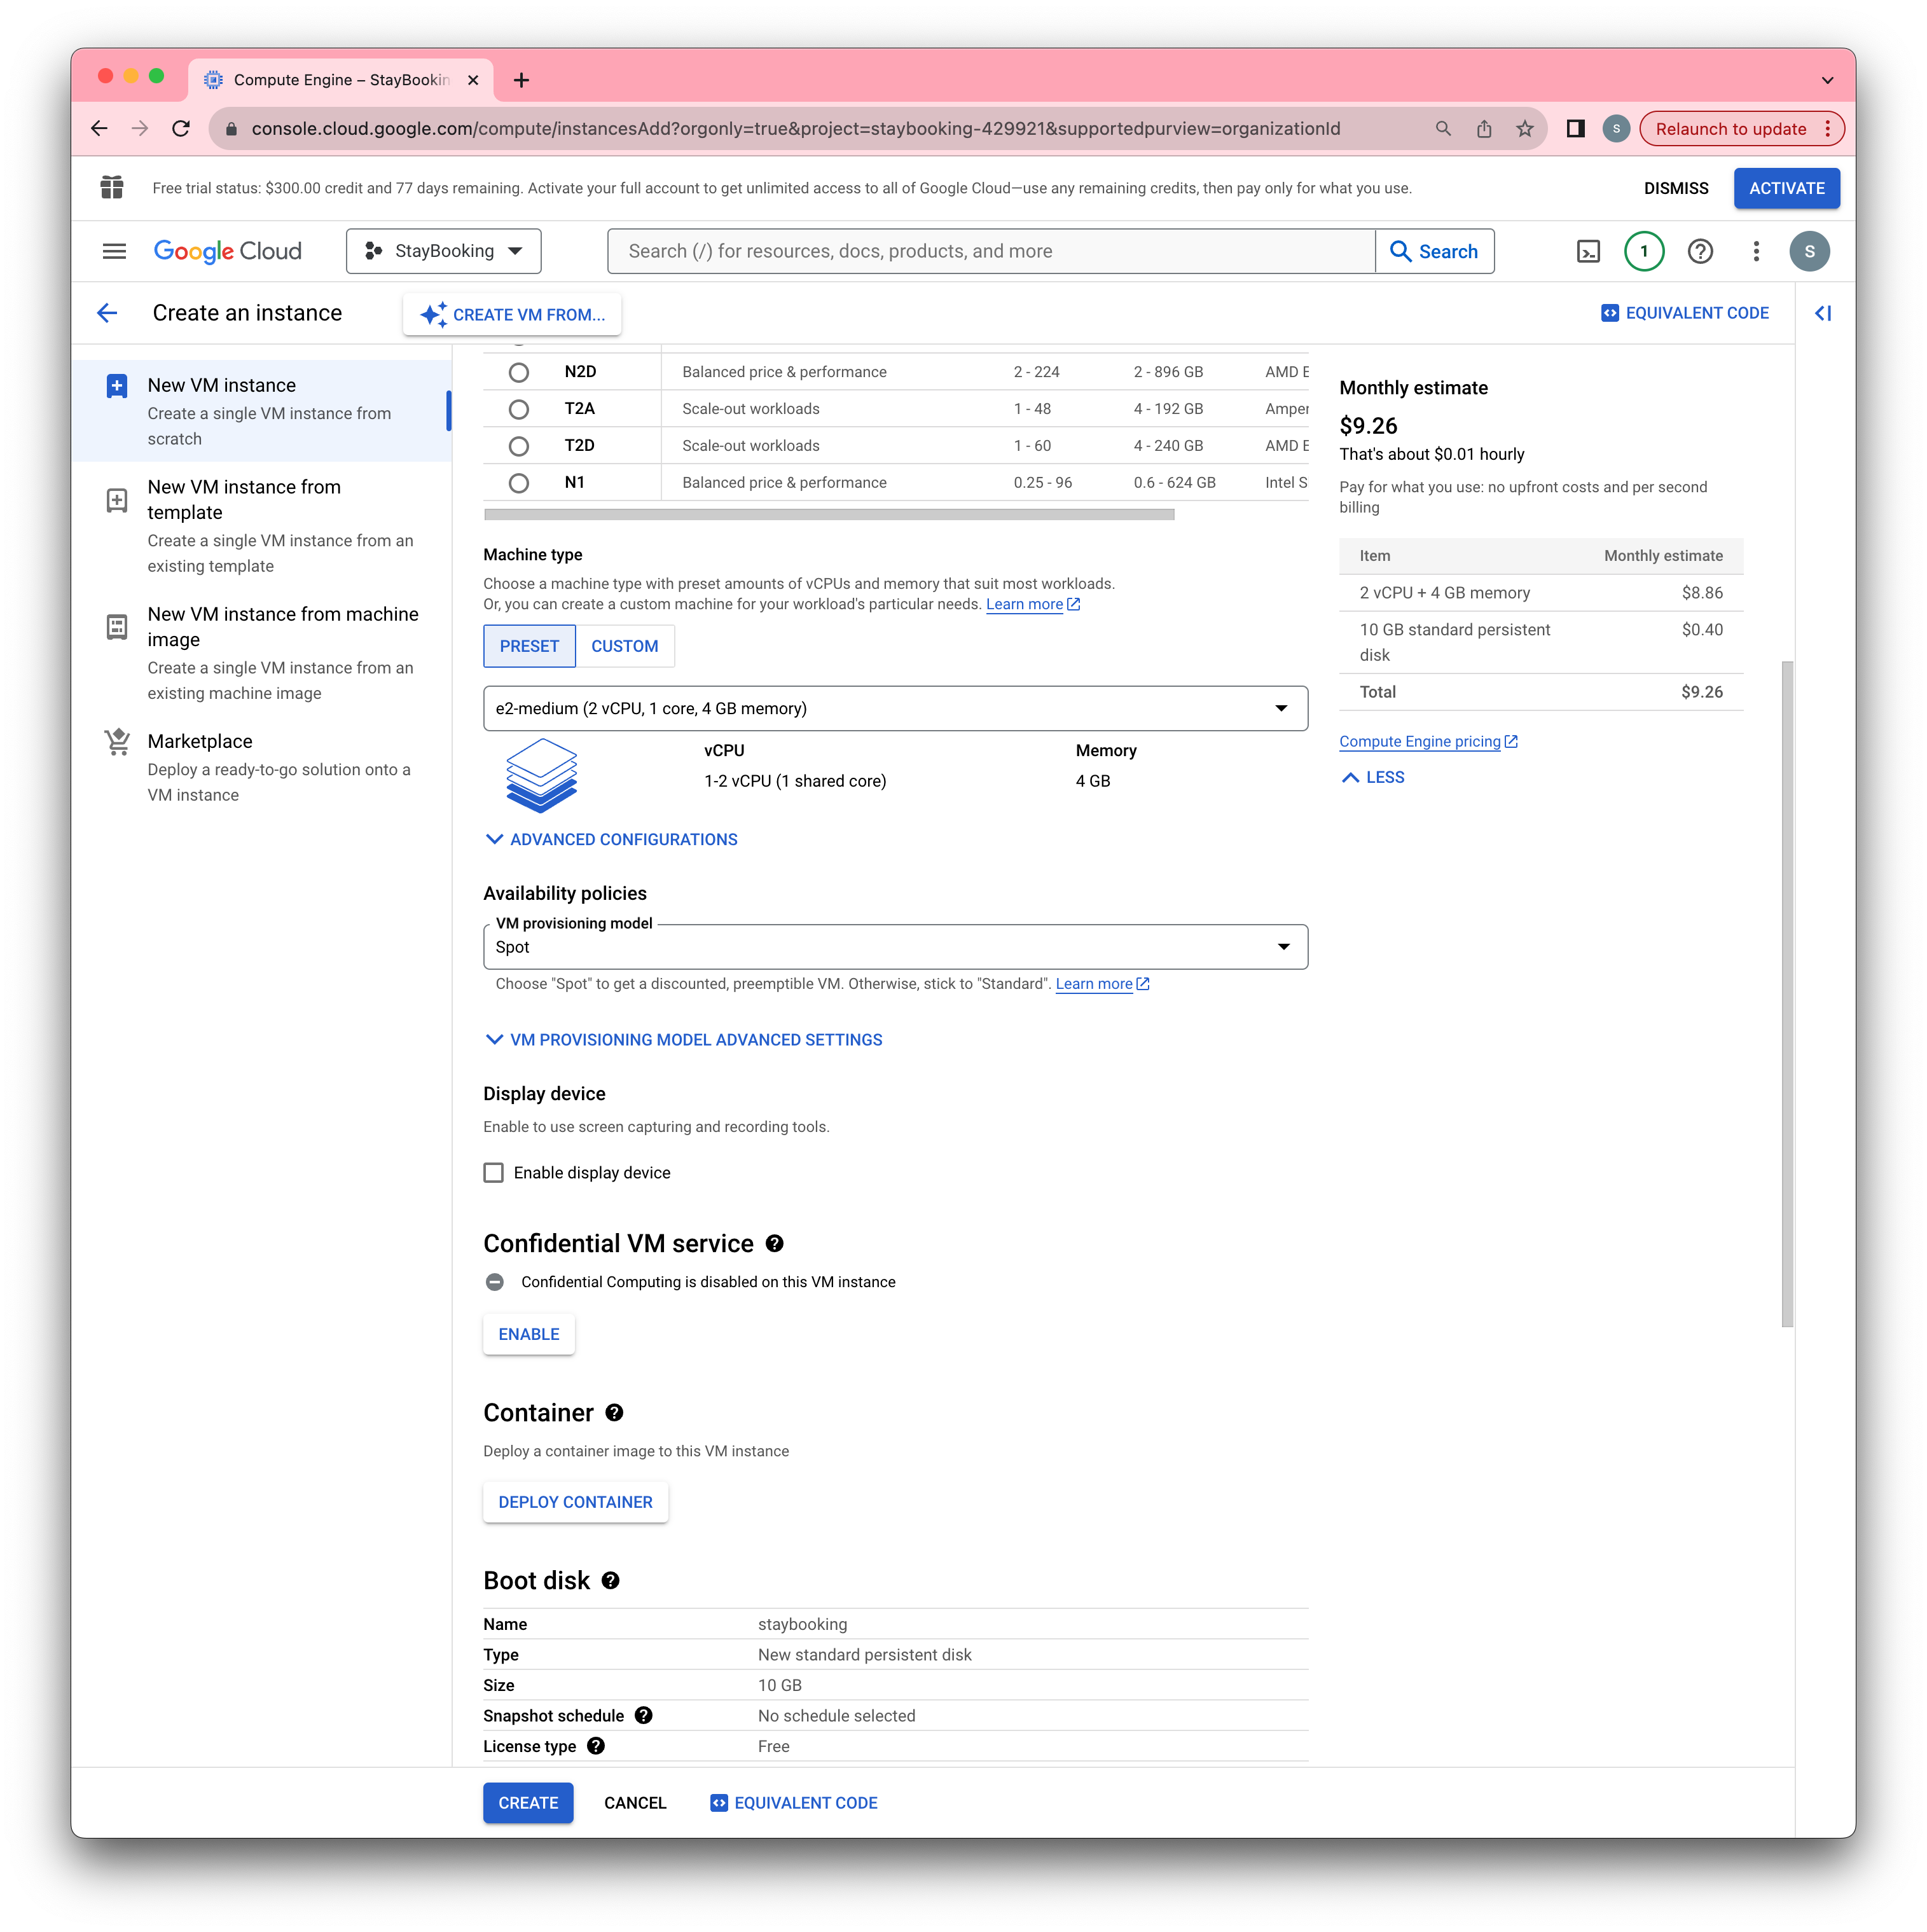
- Under Compute Engine page, click the “Create” button to launch a new instance.

- Under the instance creation page, pick a name you like and put it in the Name field.
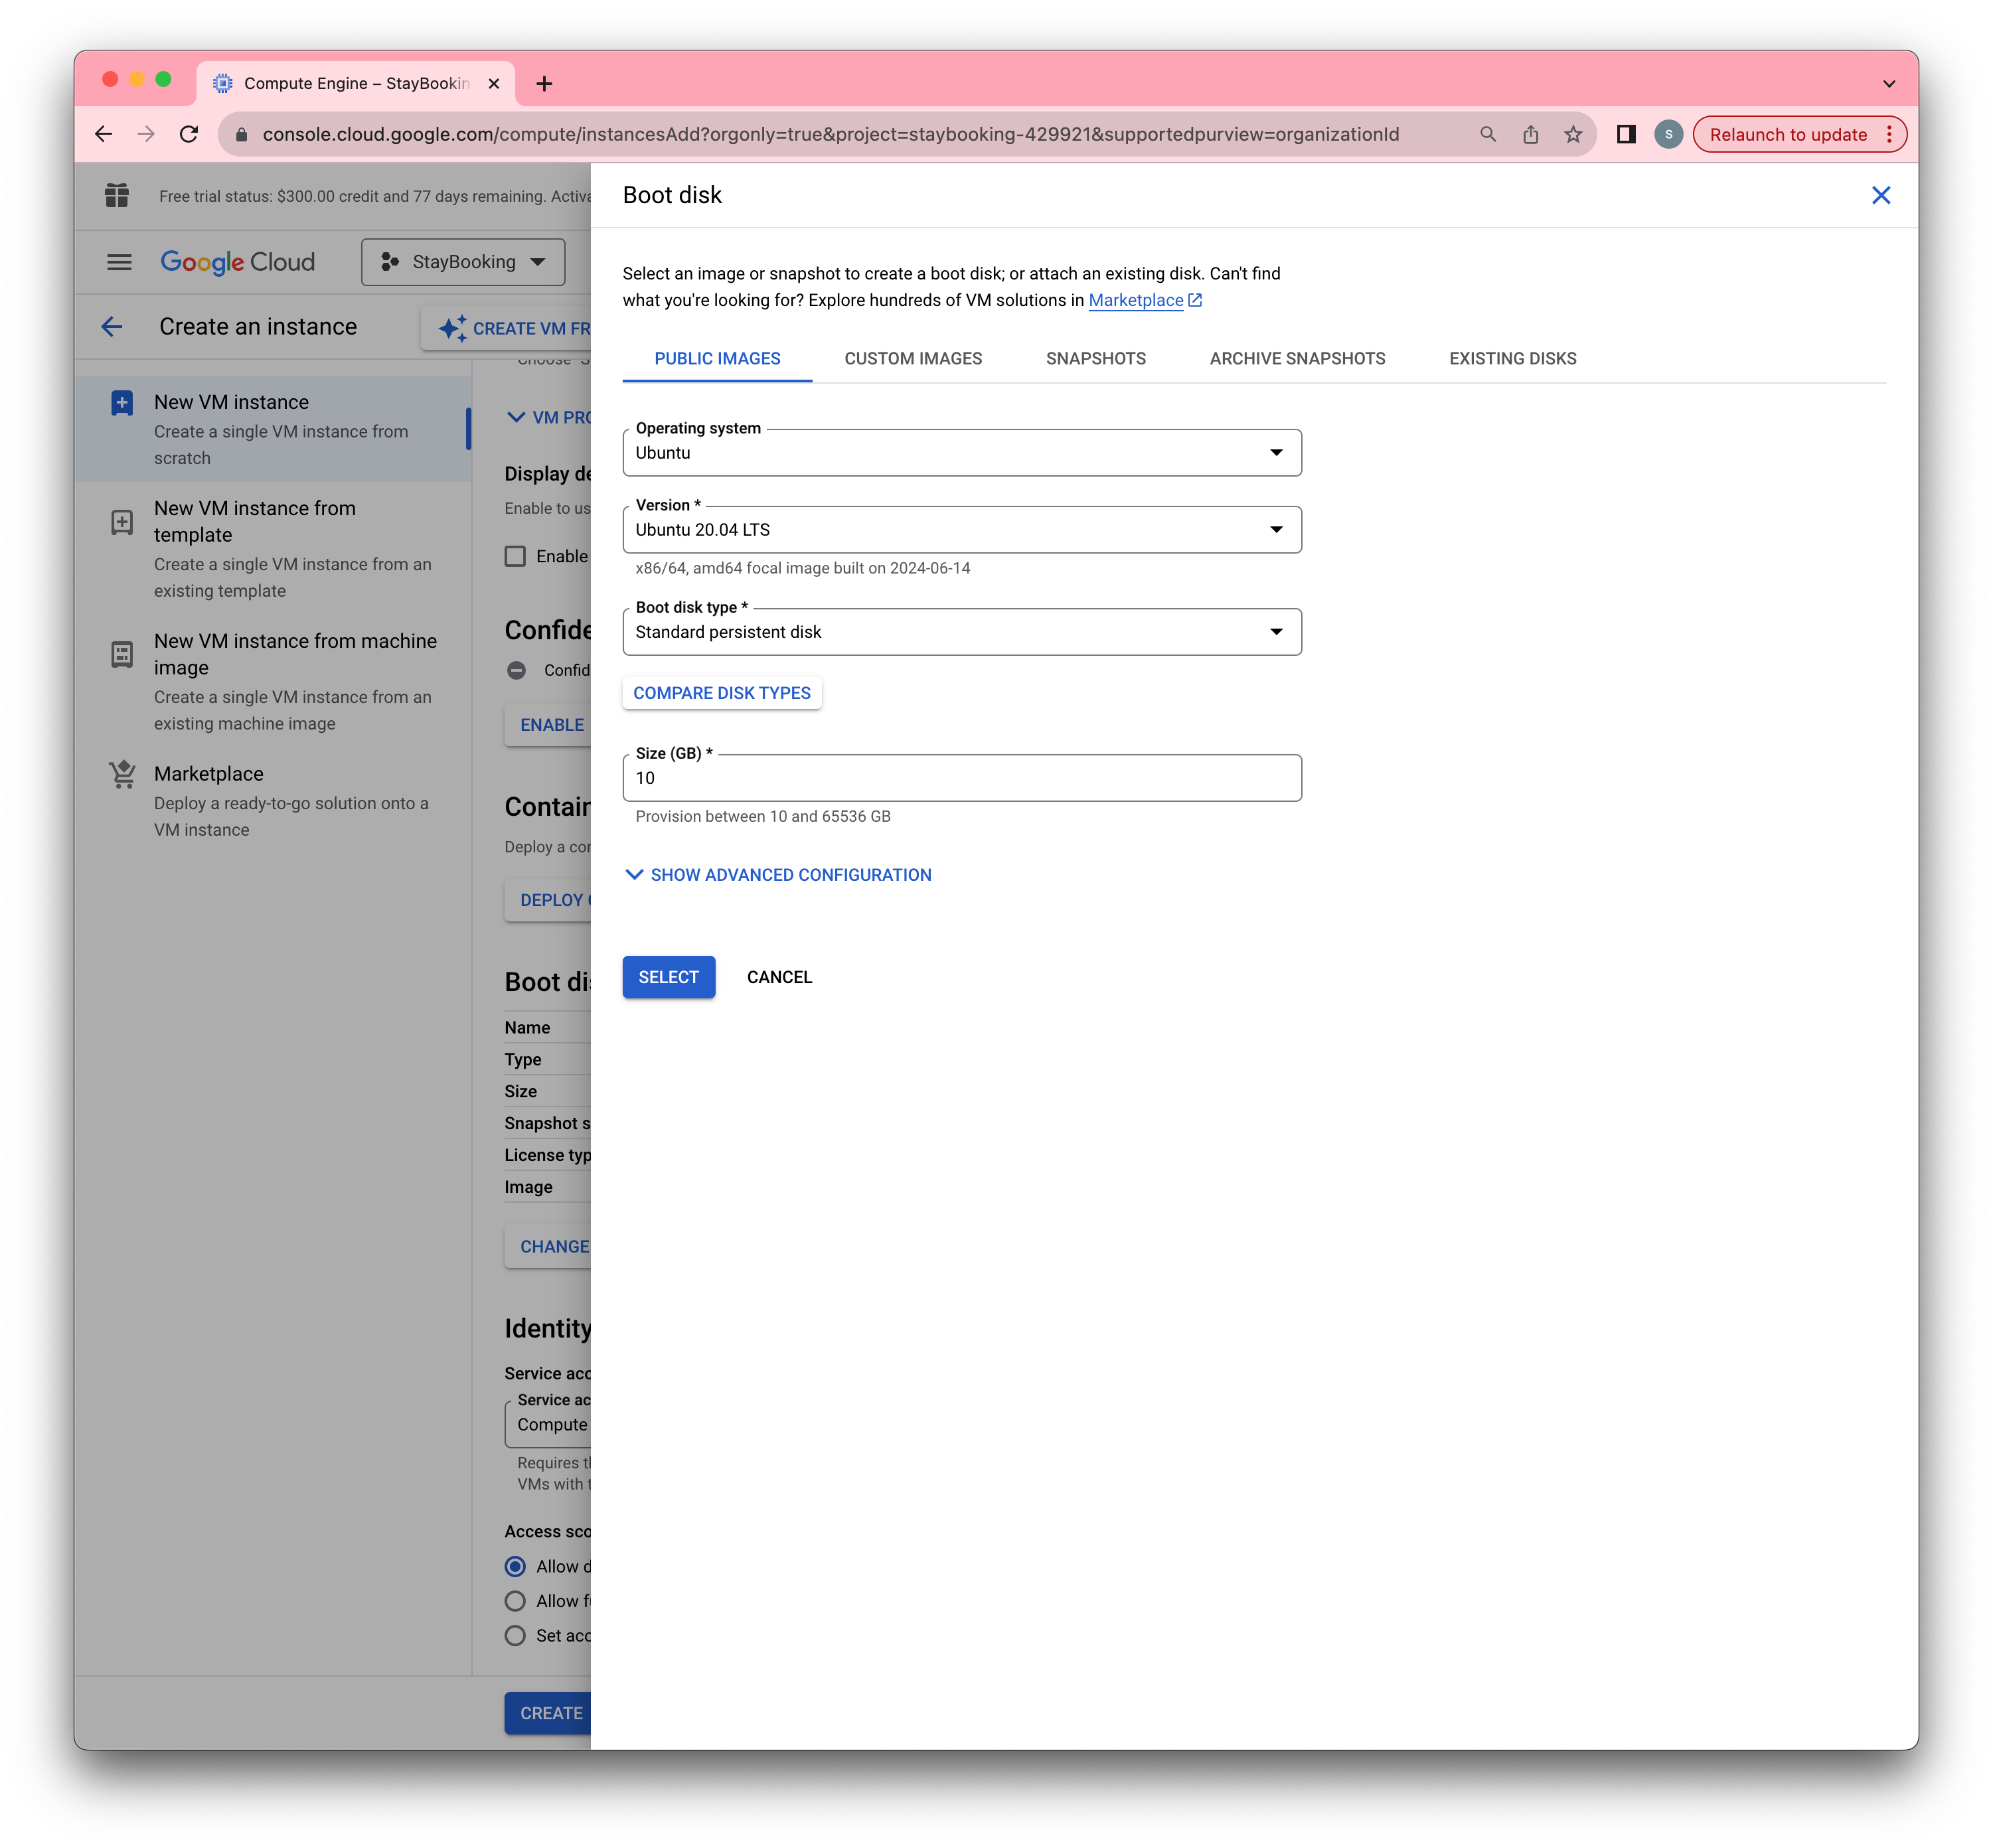
- Under the same page, scroll down to the Boot disk section and click the Change button. In the popup window, select Ubuntu 18.04 LTS.
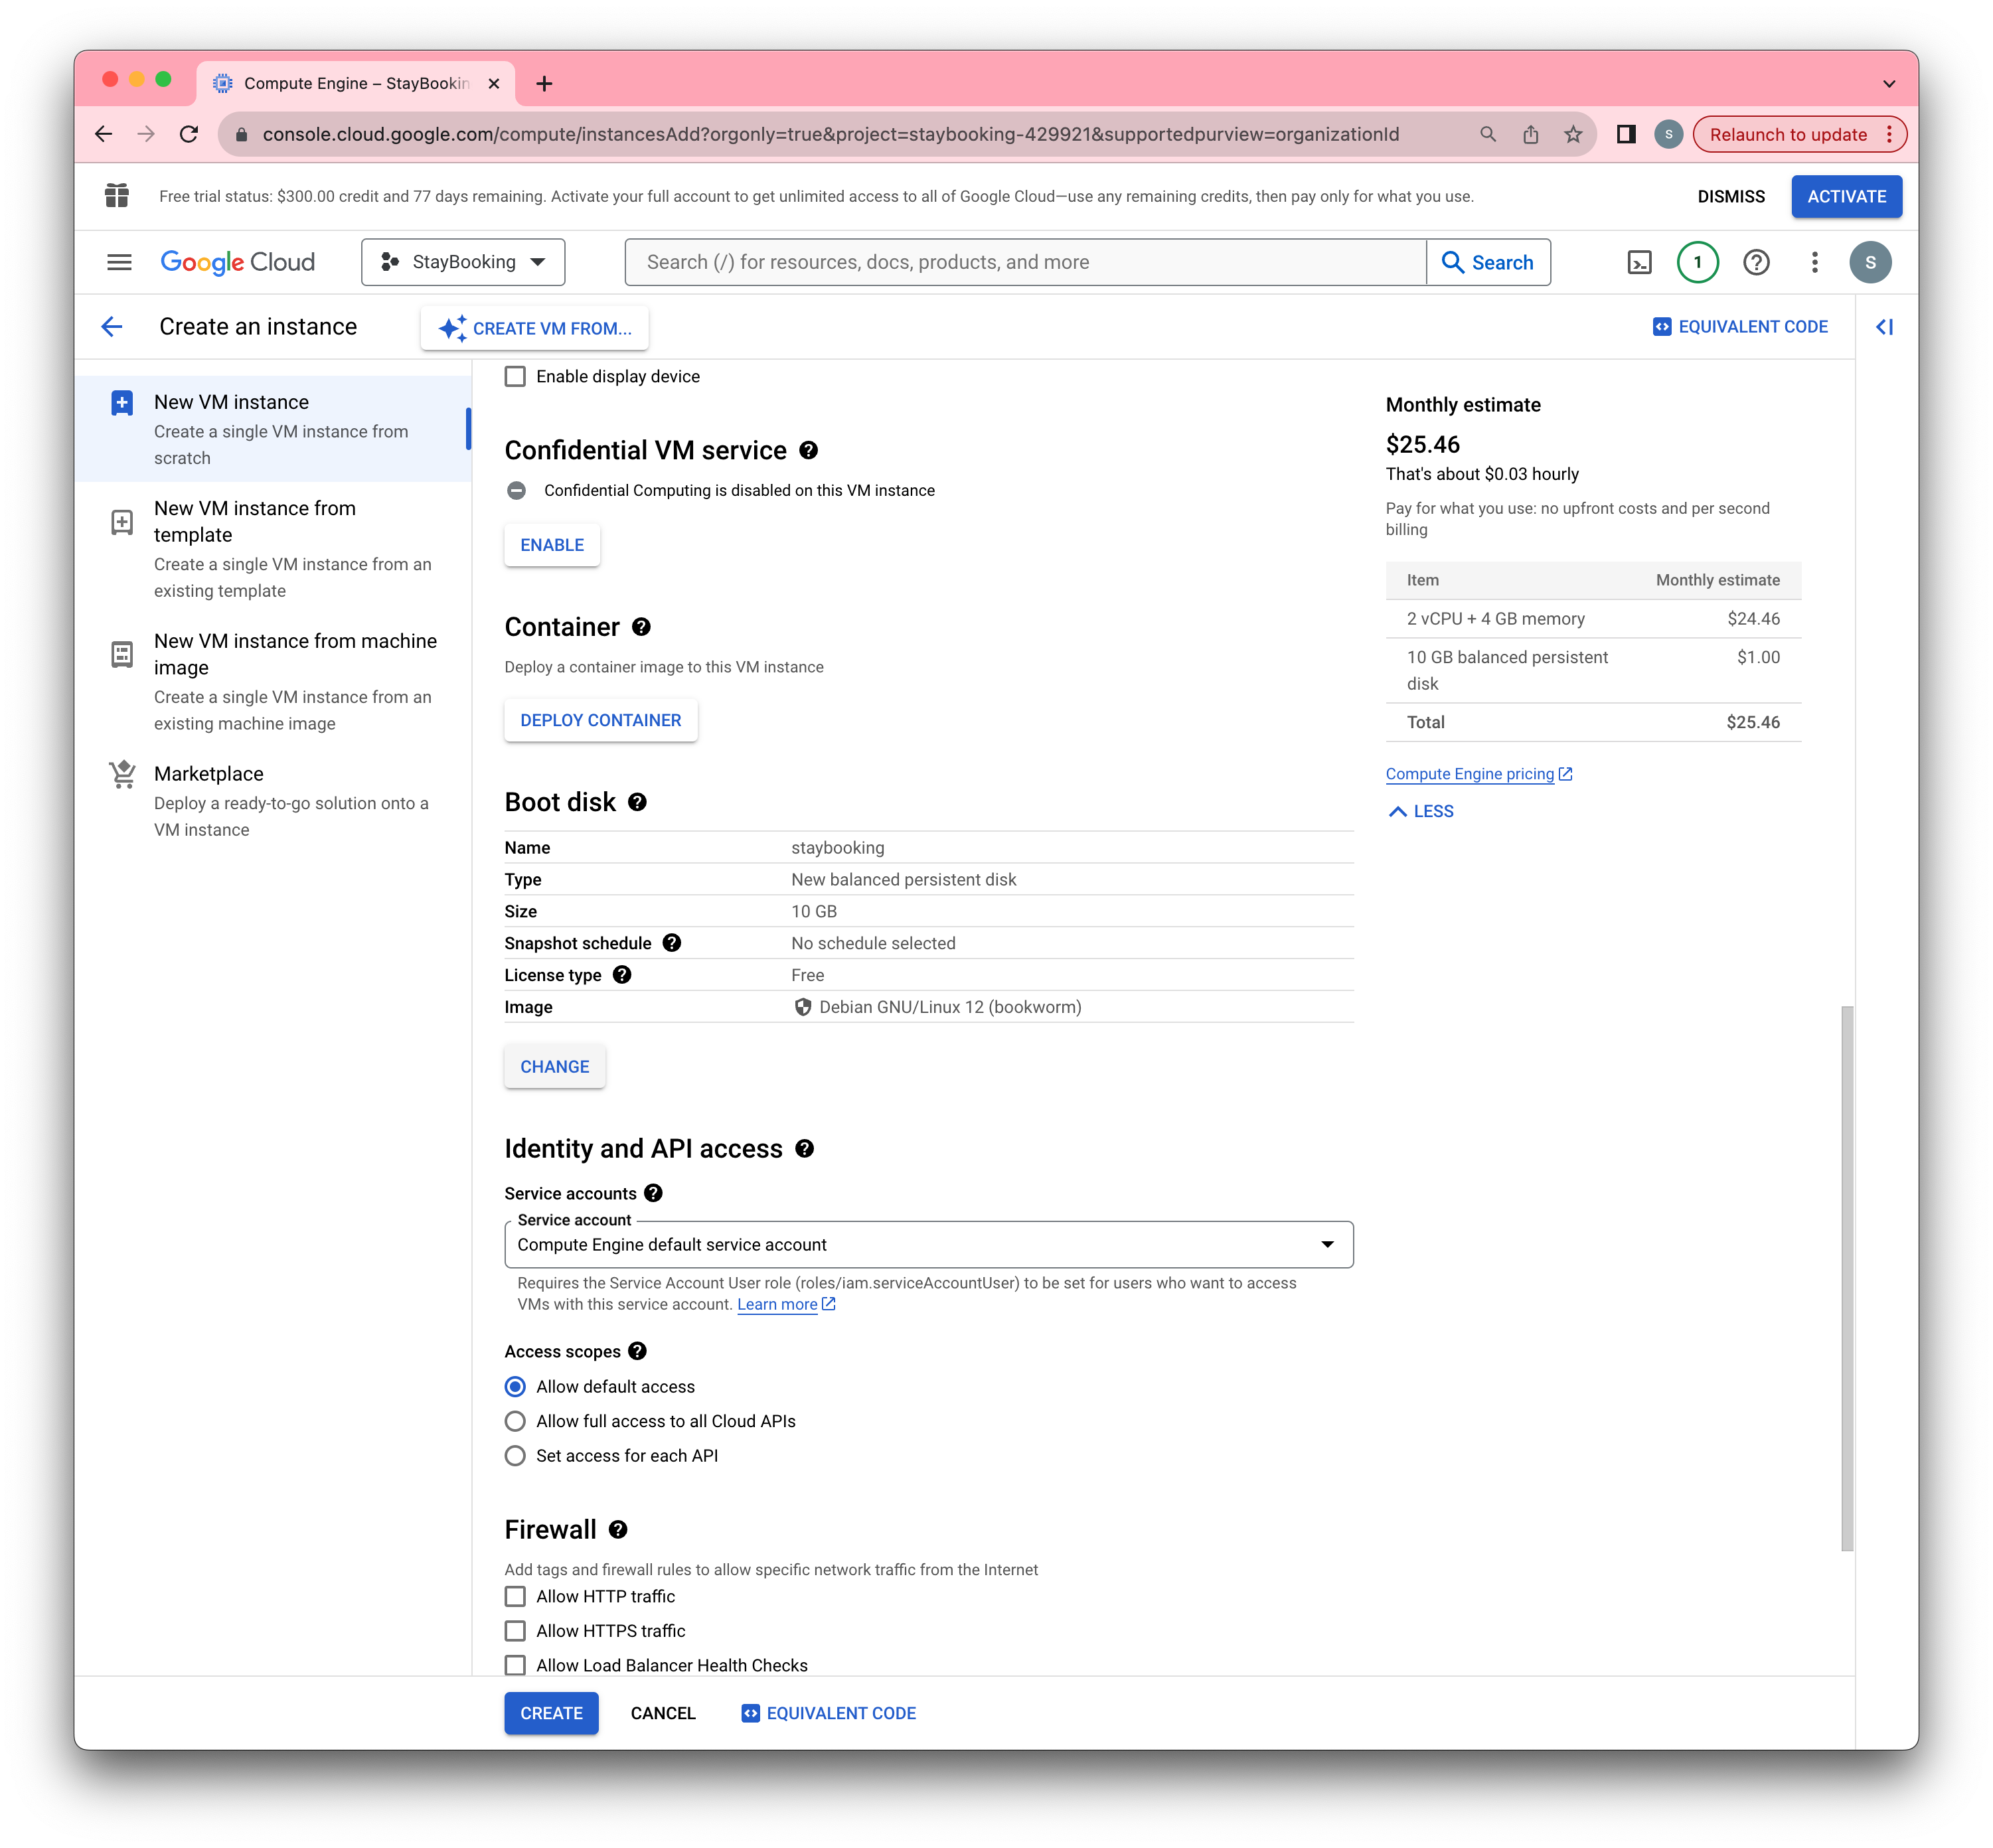
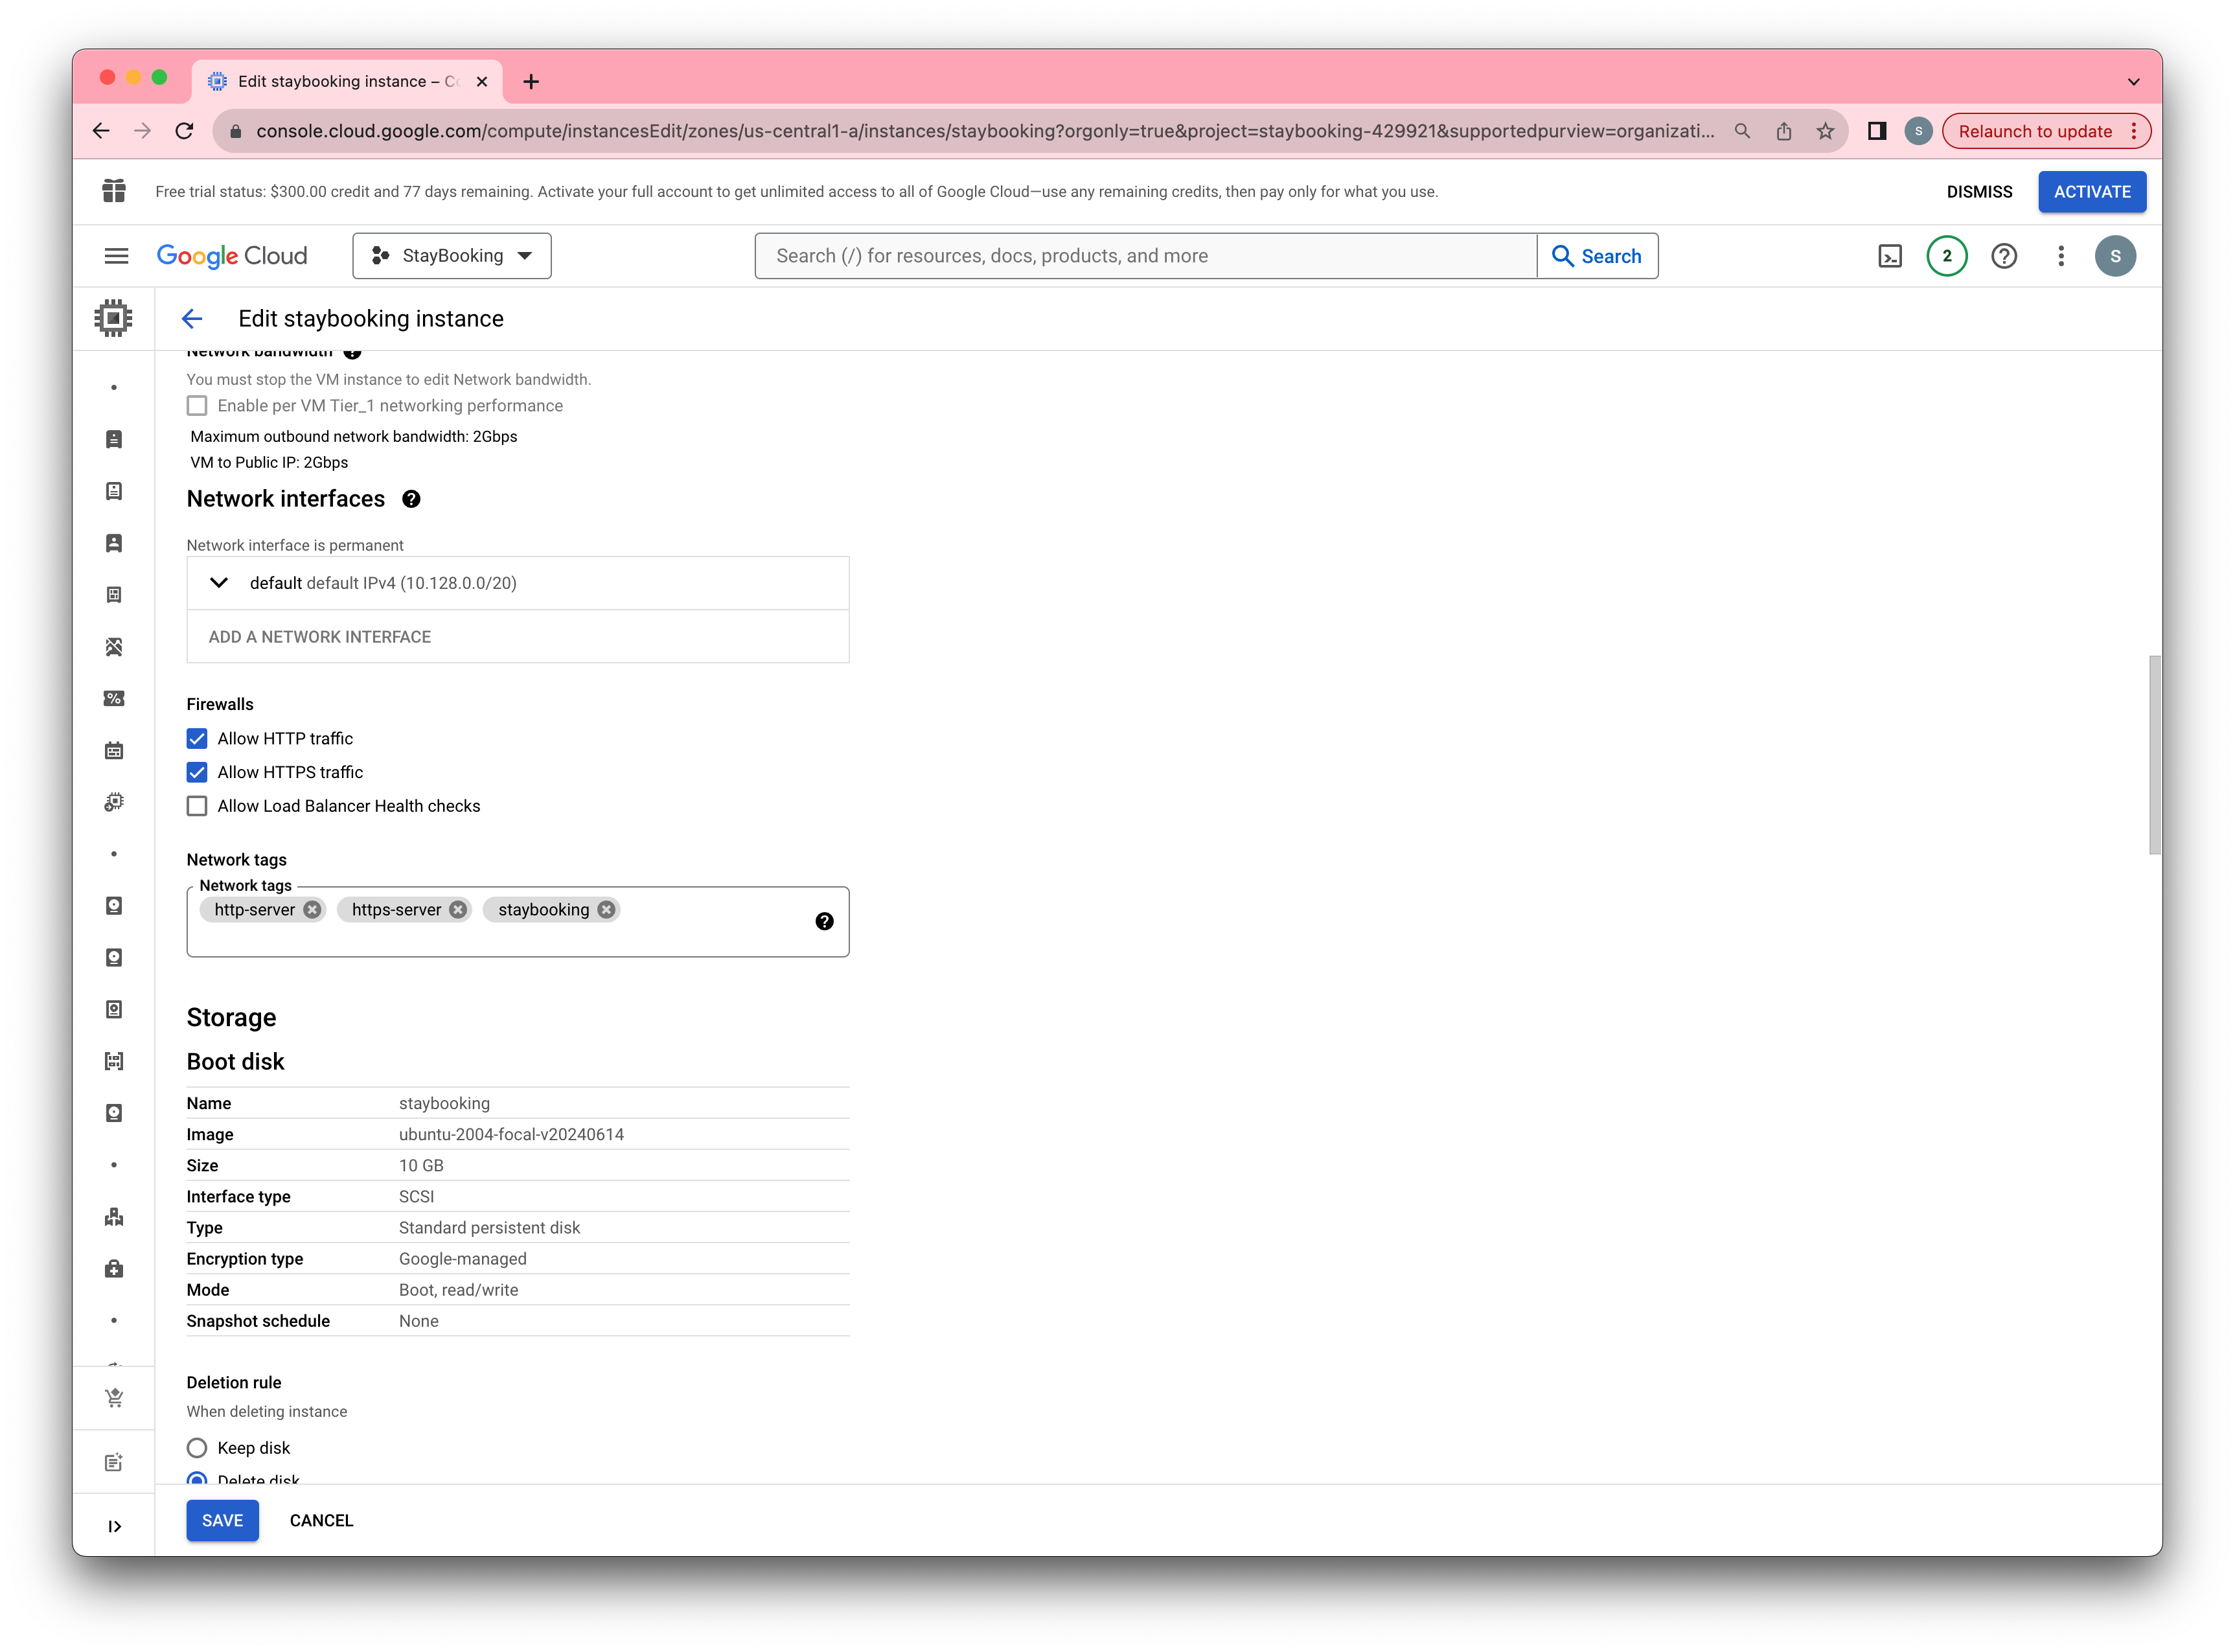
- Under the Firewall section, check both “Allow HTTP traffic” and “Allow HTTPS traffic”.
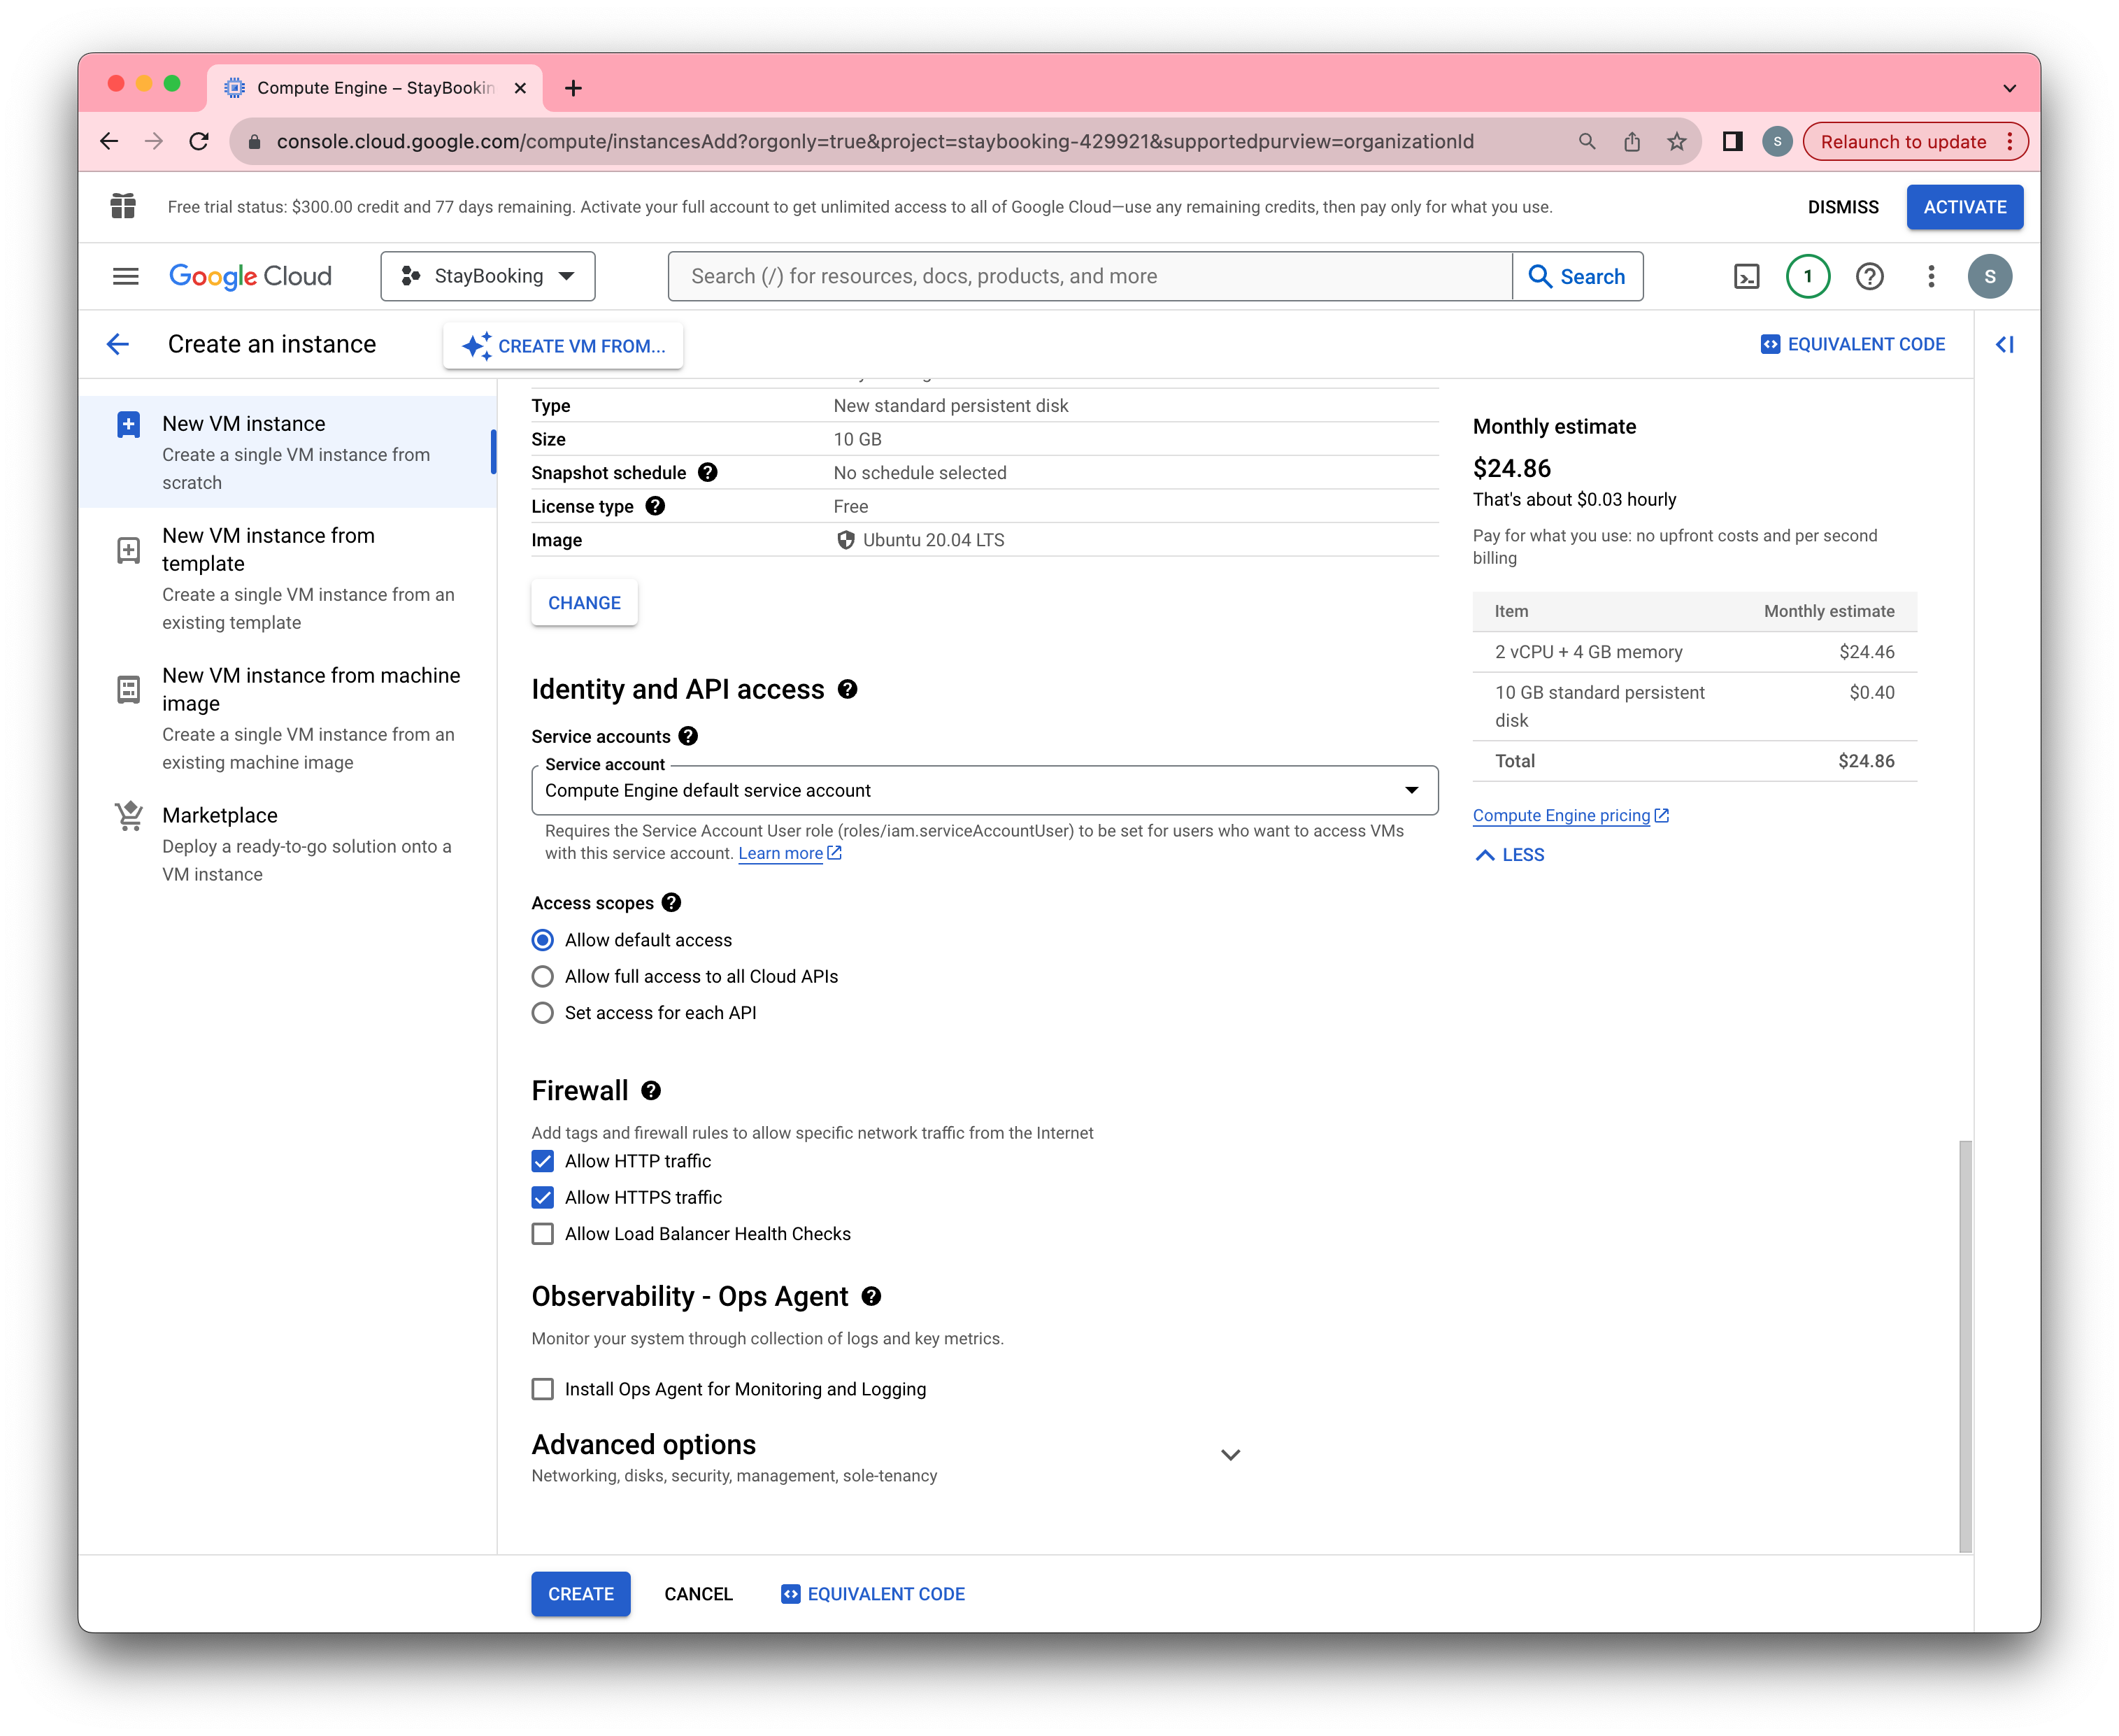

- Finally, click Create to start your instance.
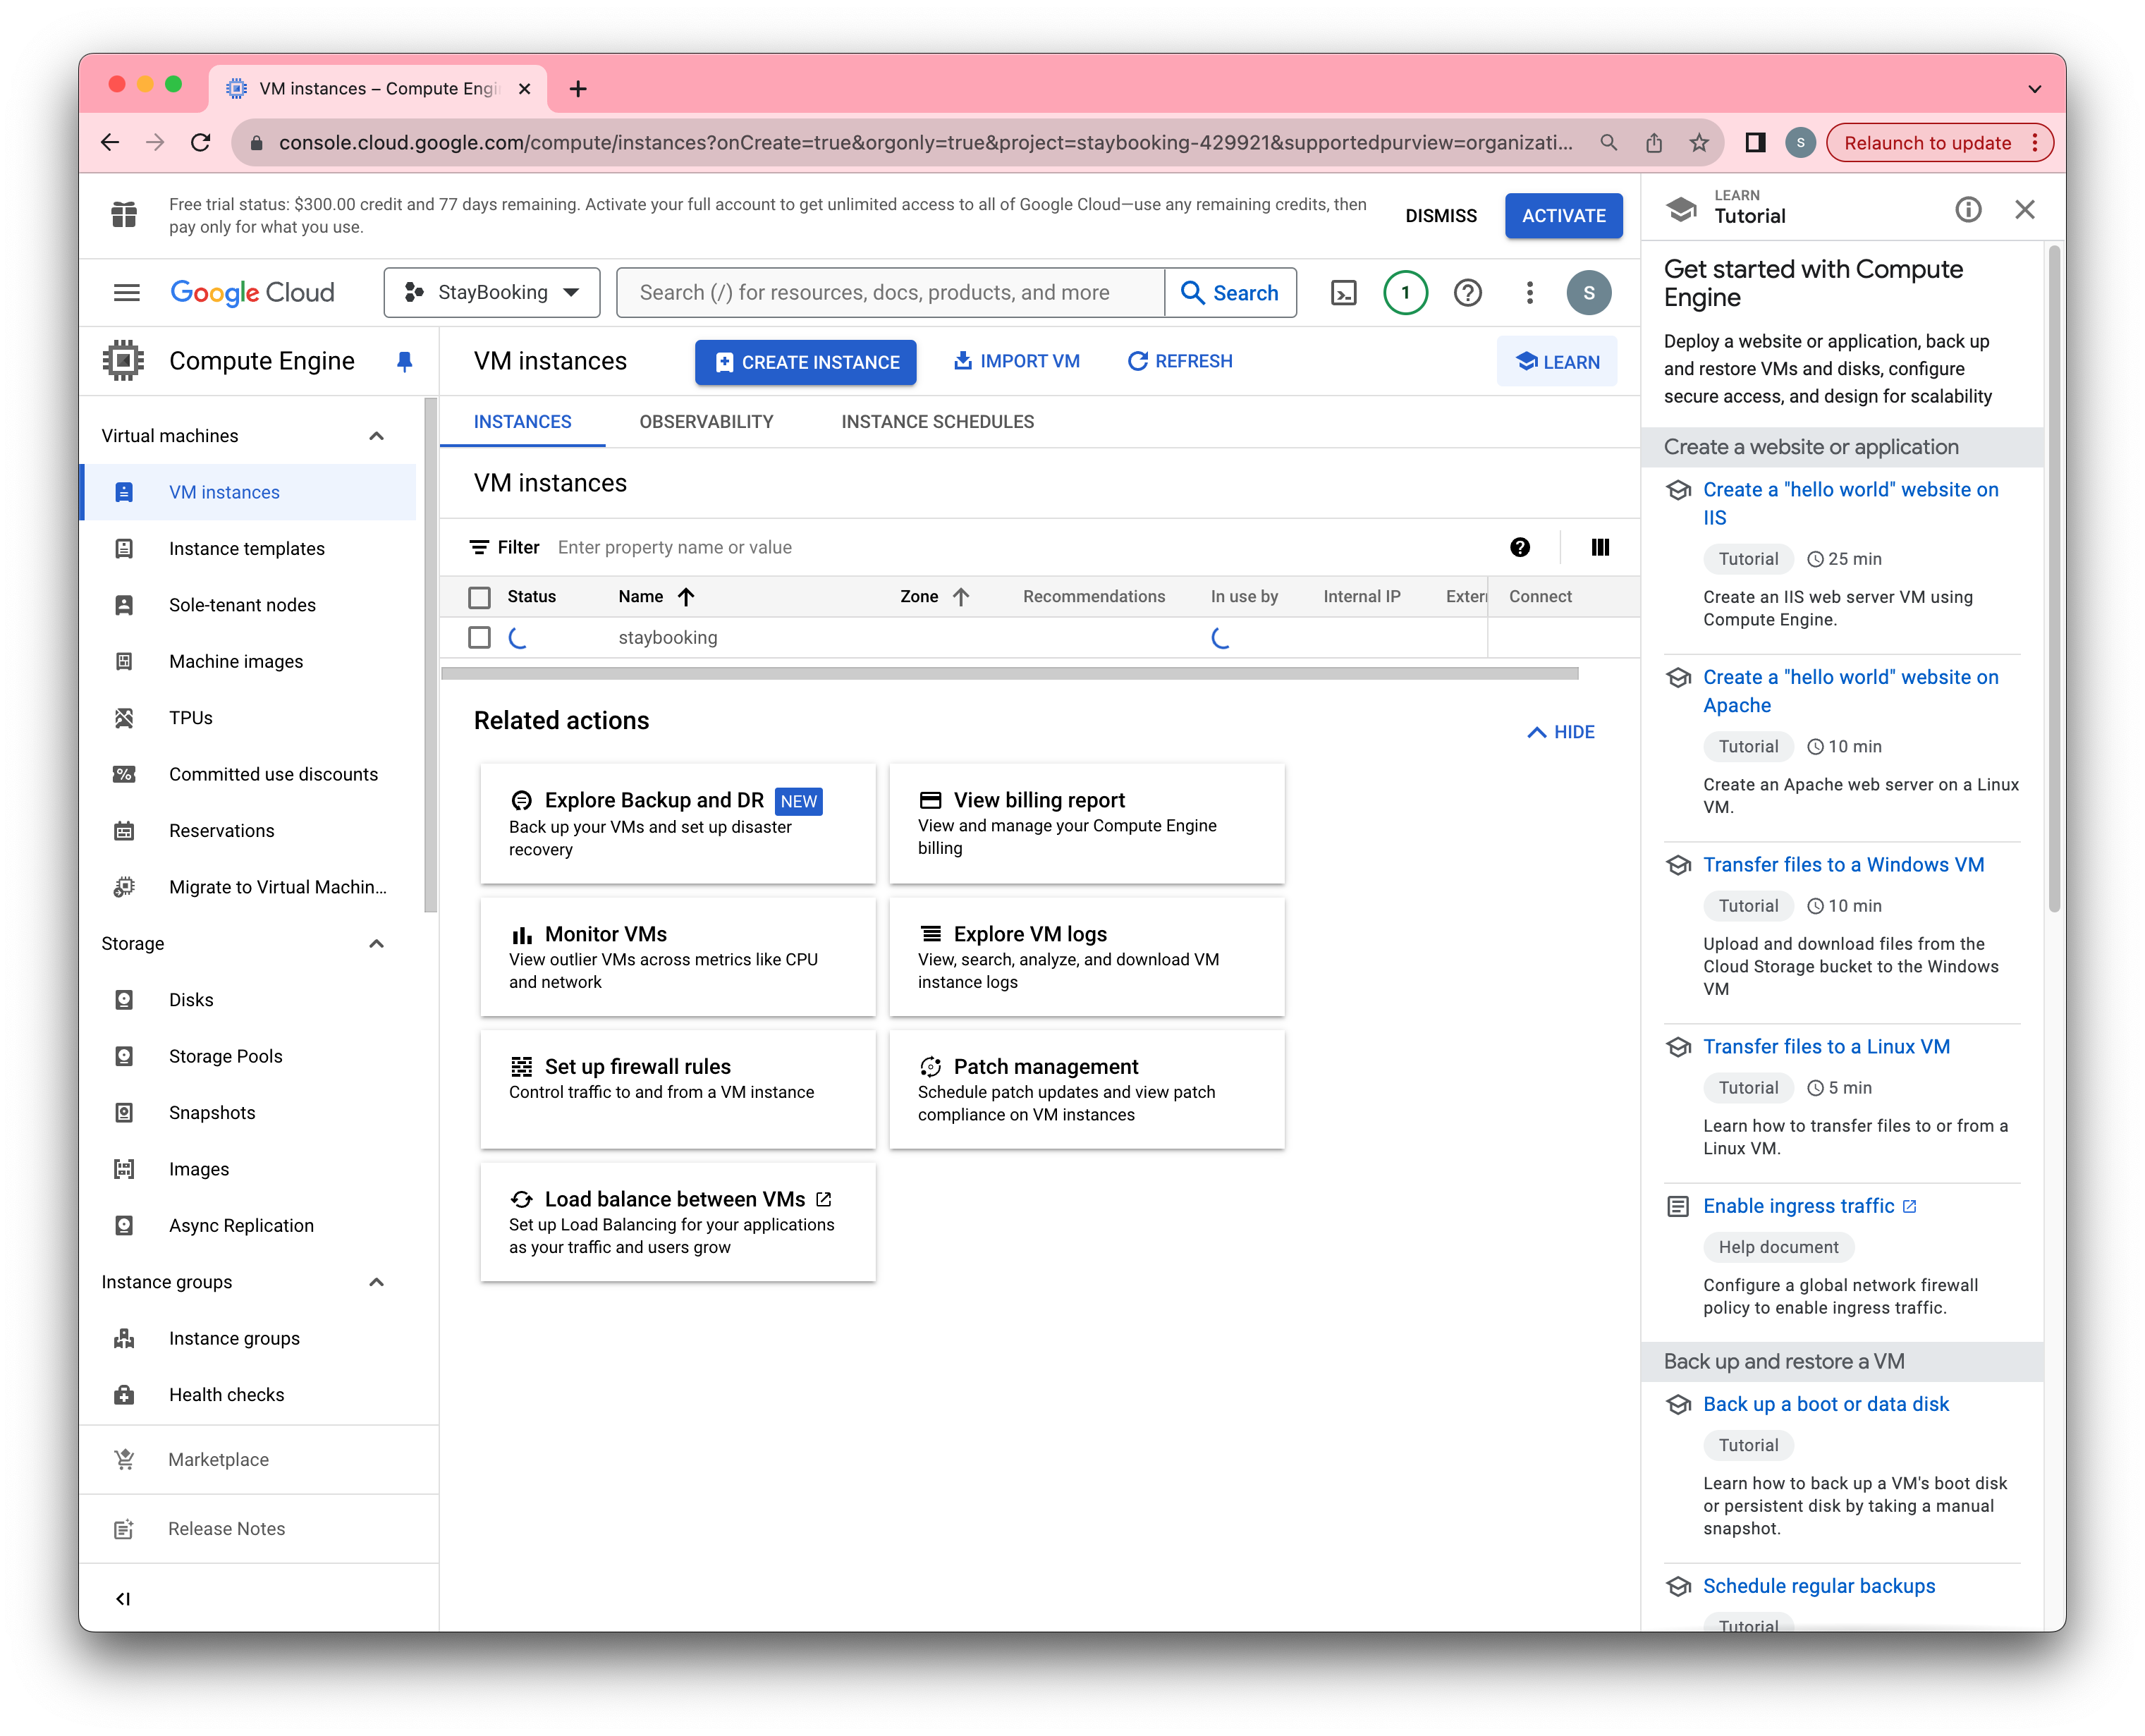
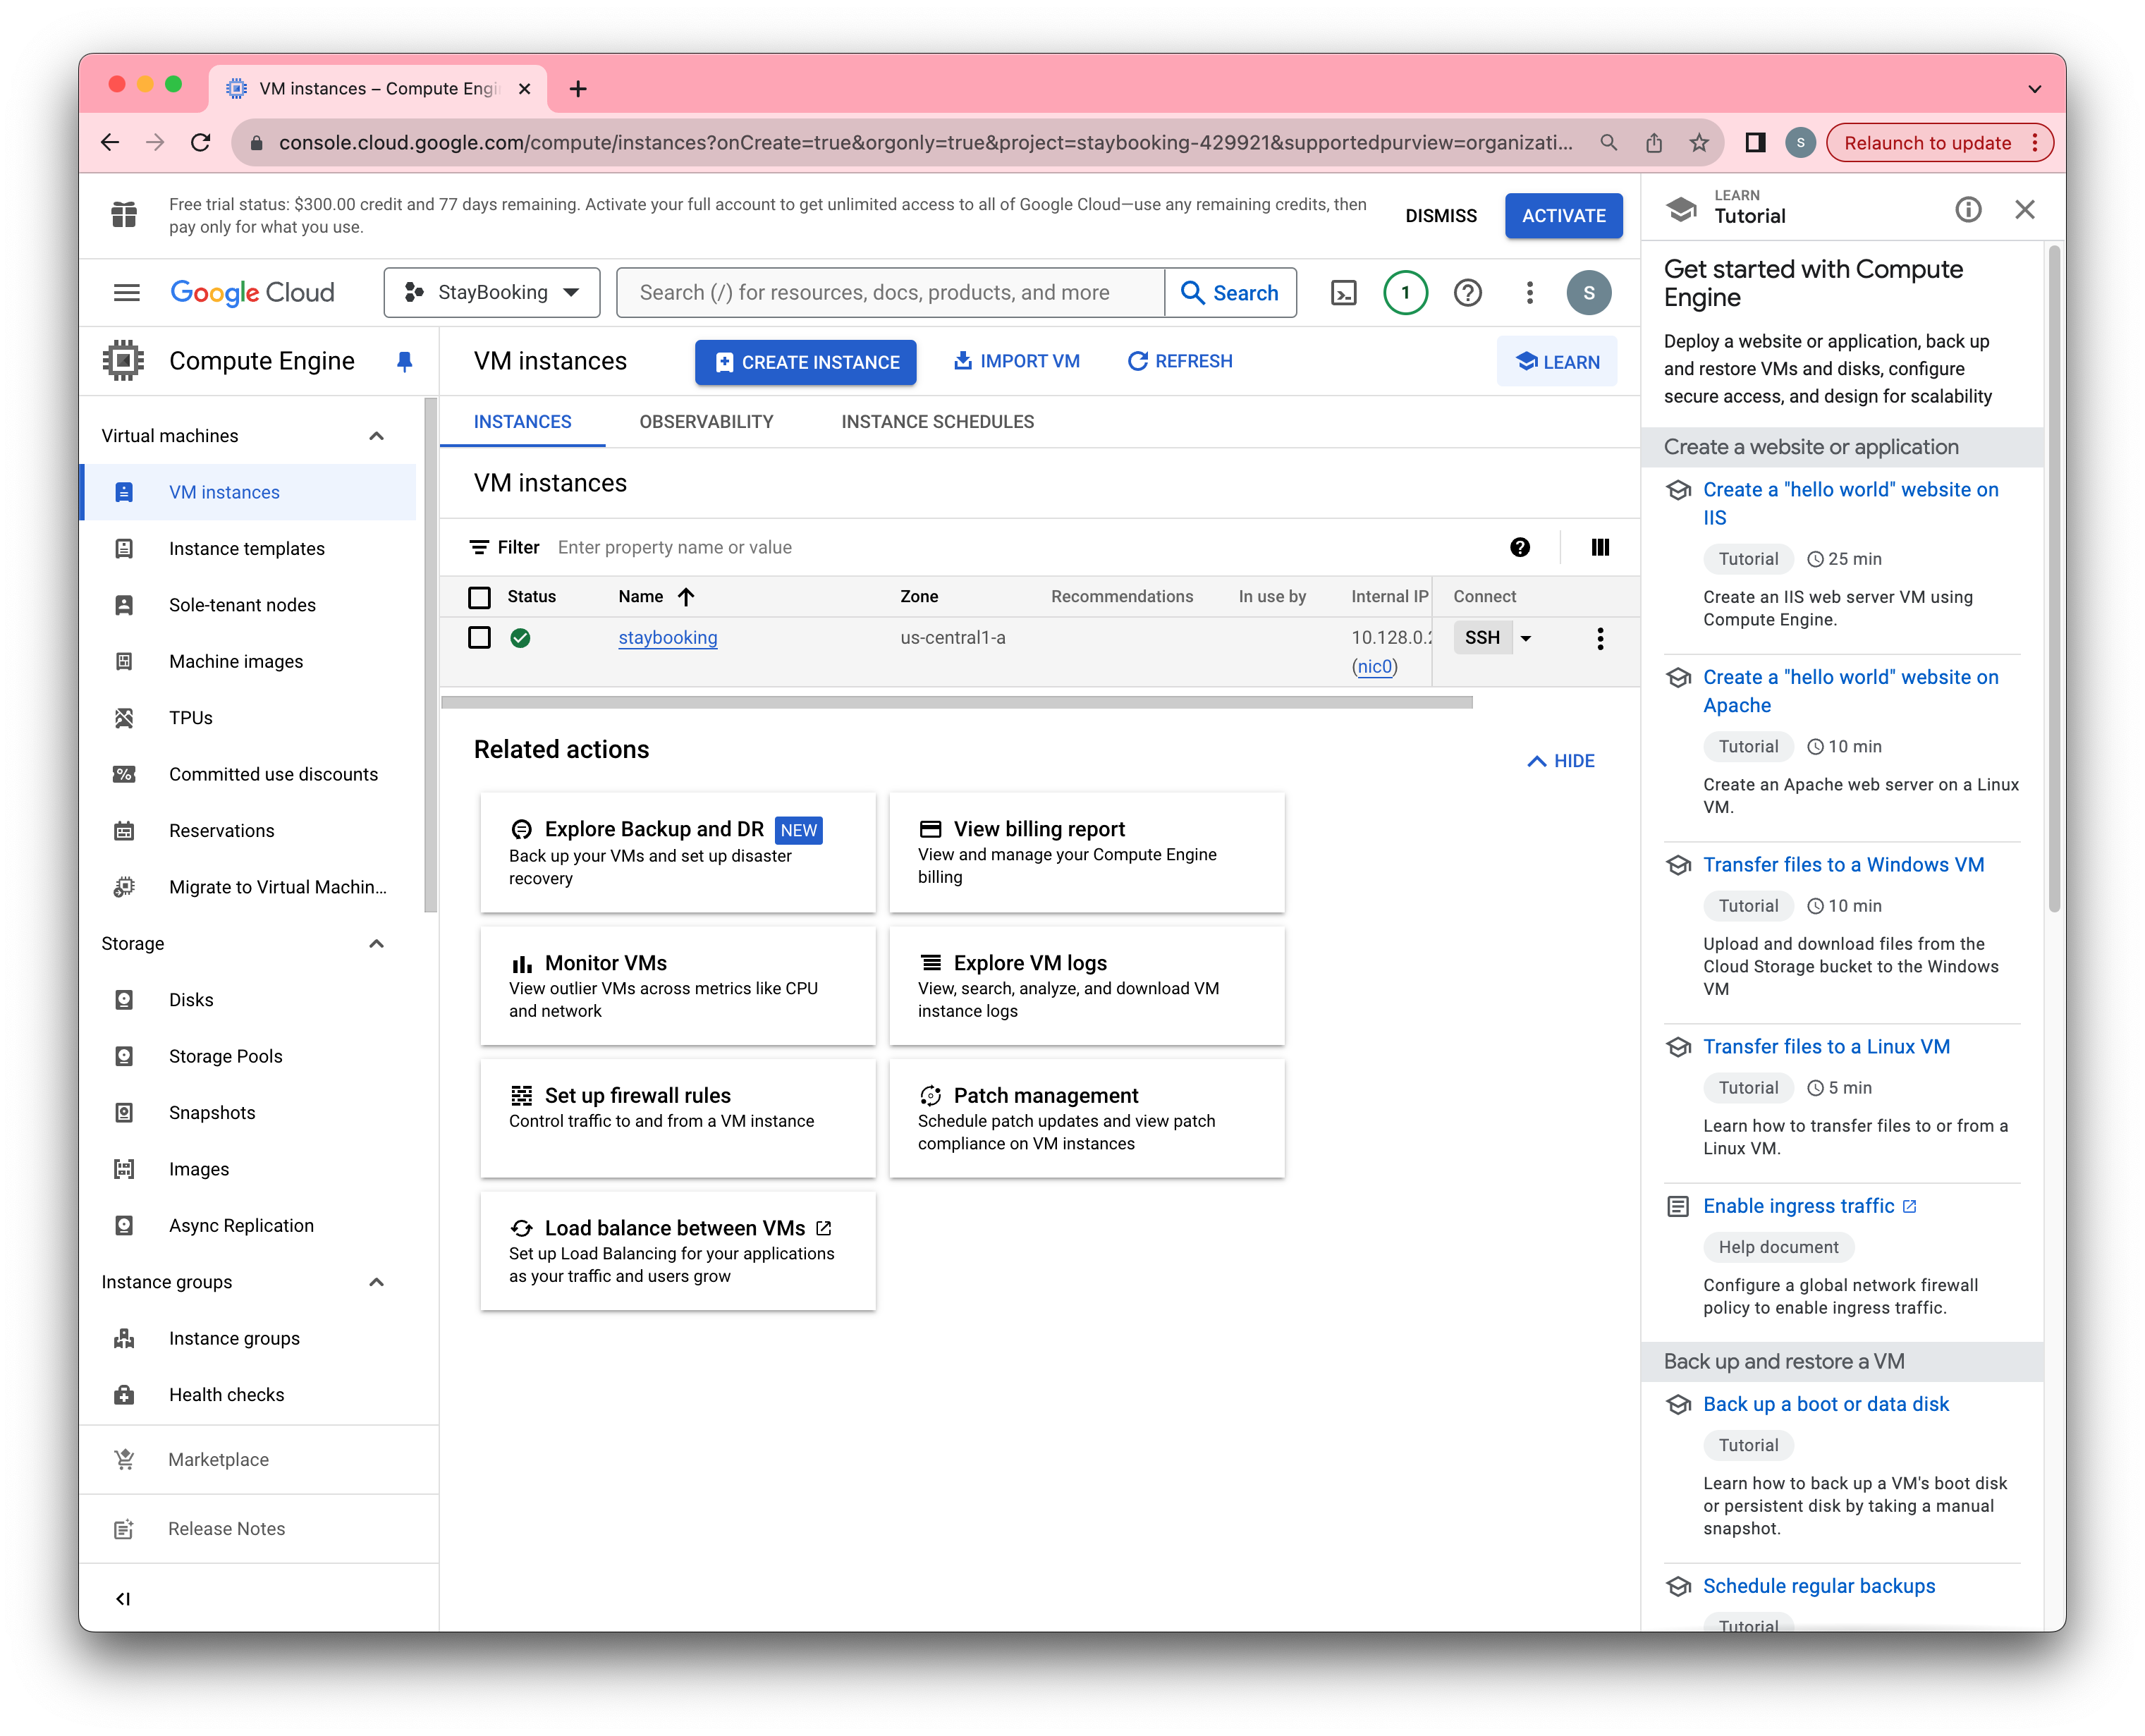
- After about a minute, you will see the instance at running state. Then you can SSH to your instance by clicking the SSH button.
Install Elasticsearch on GCE Instance
-
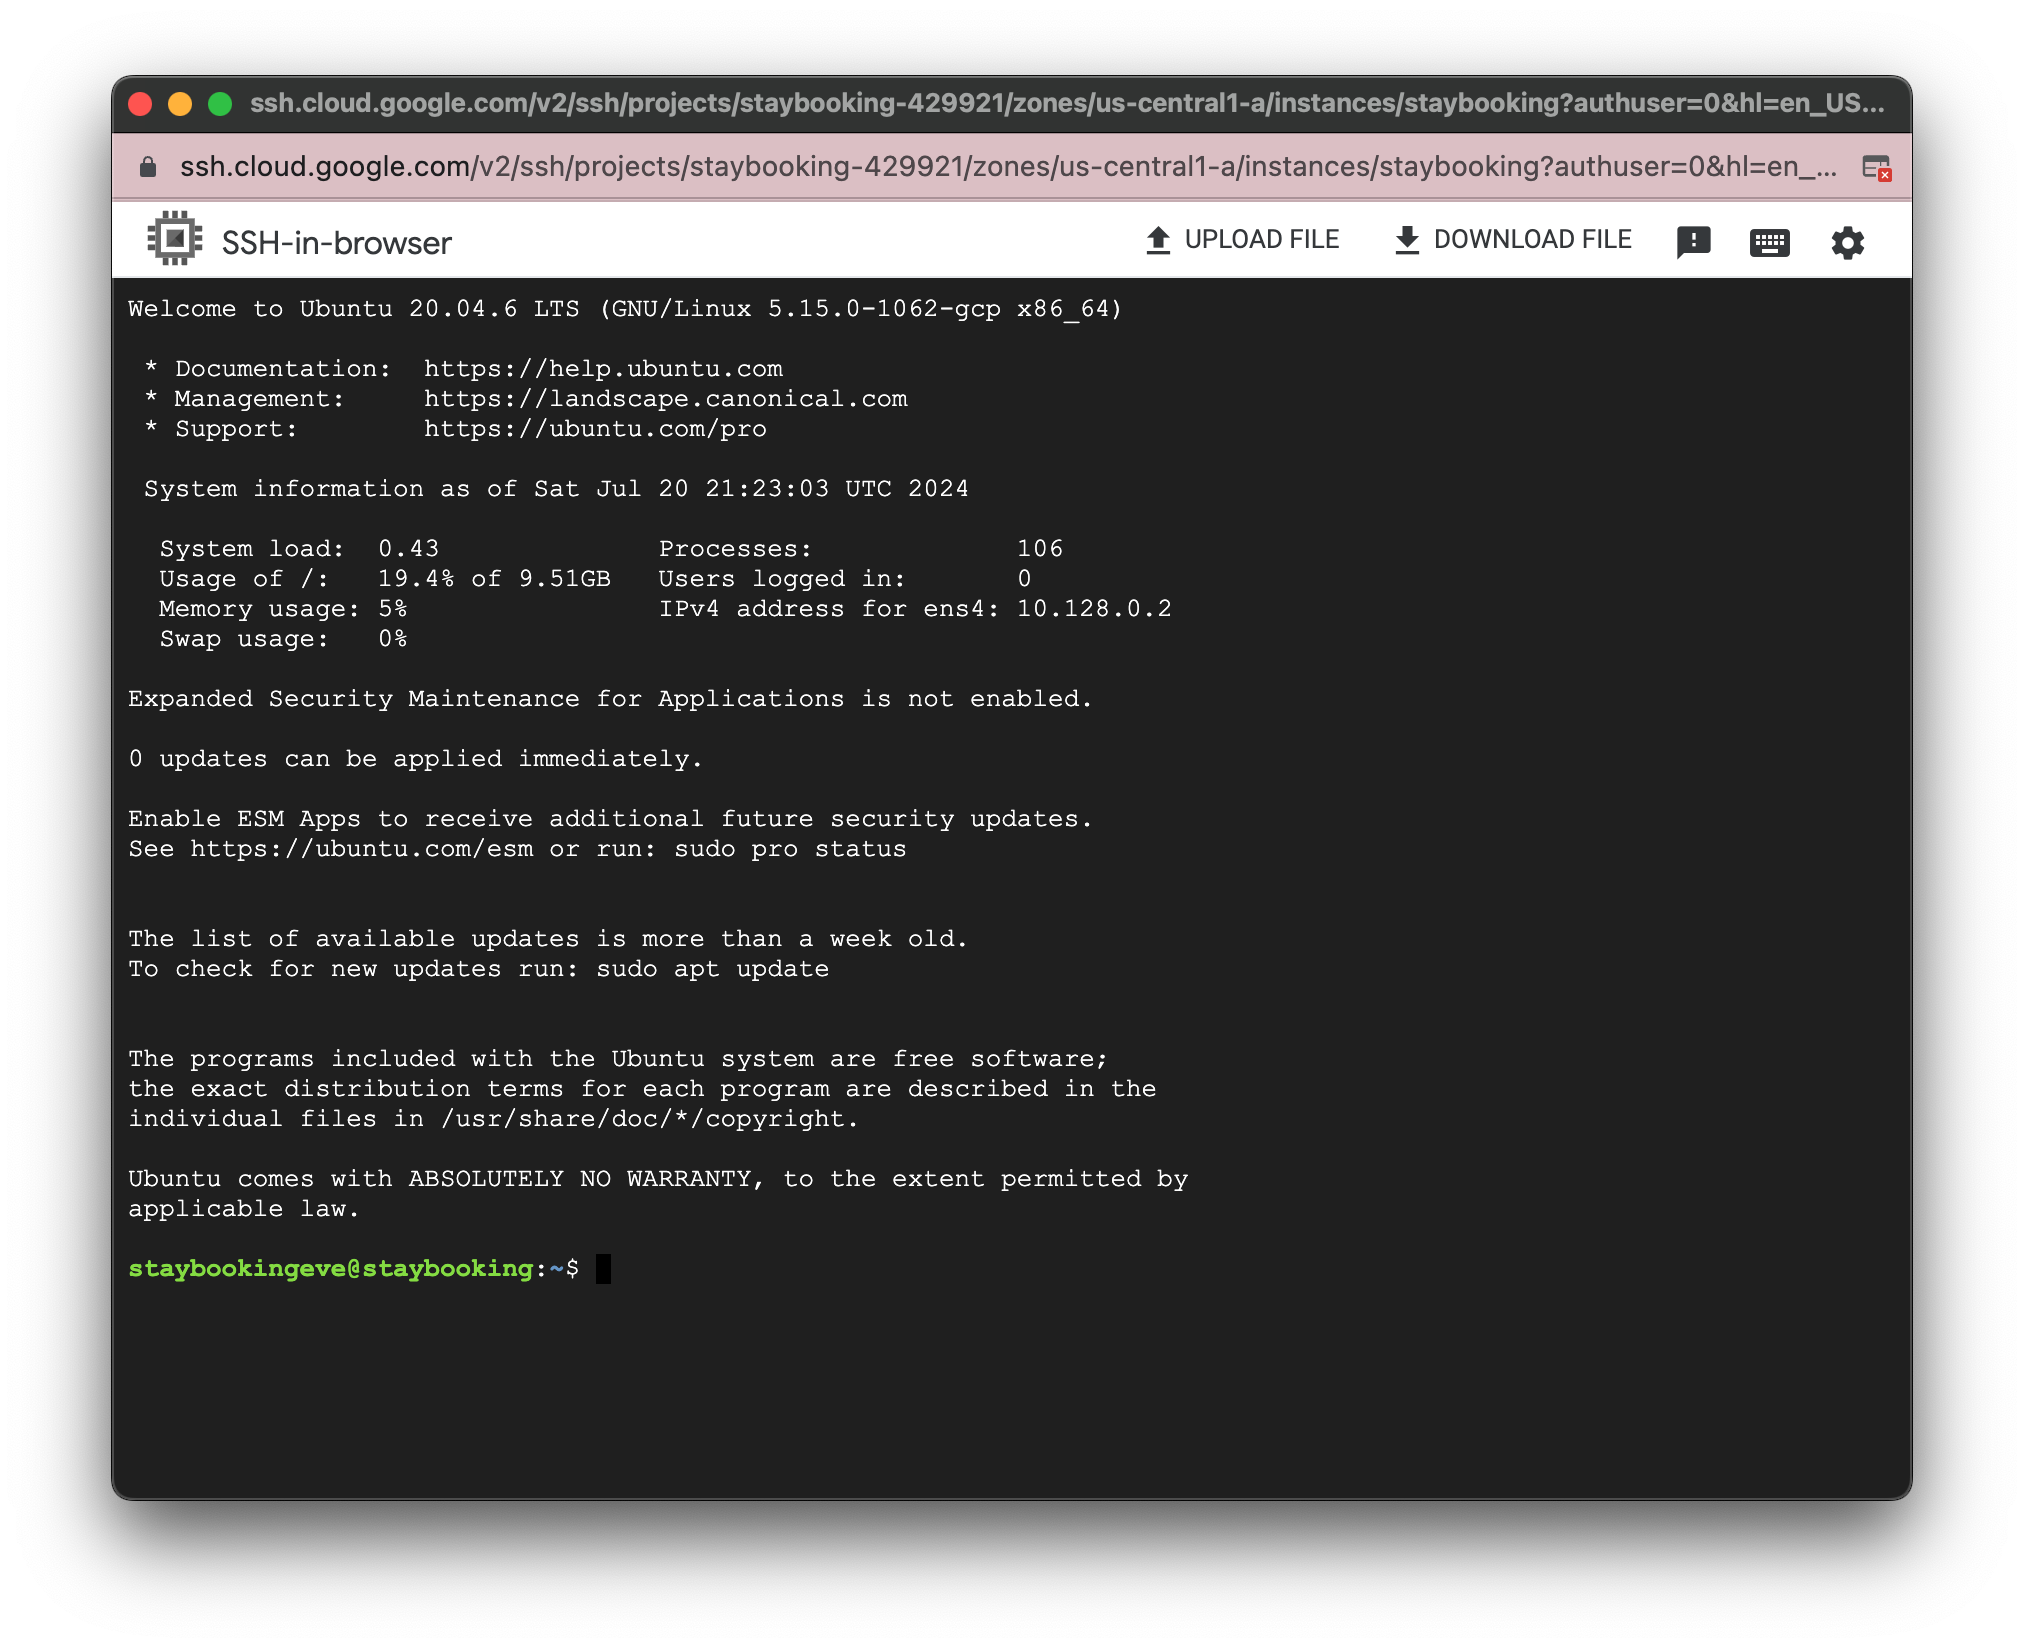
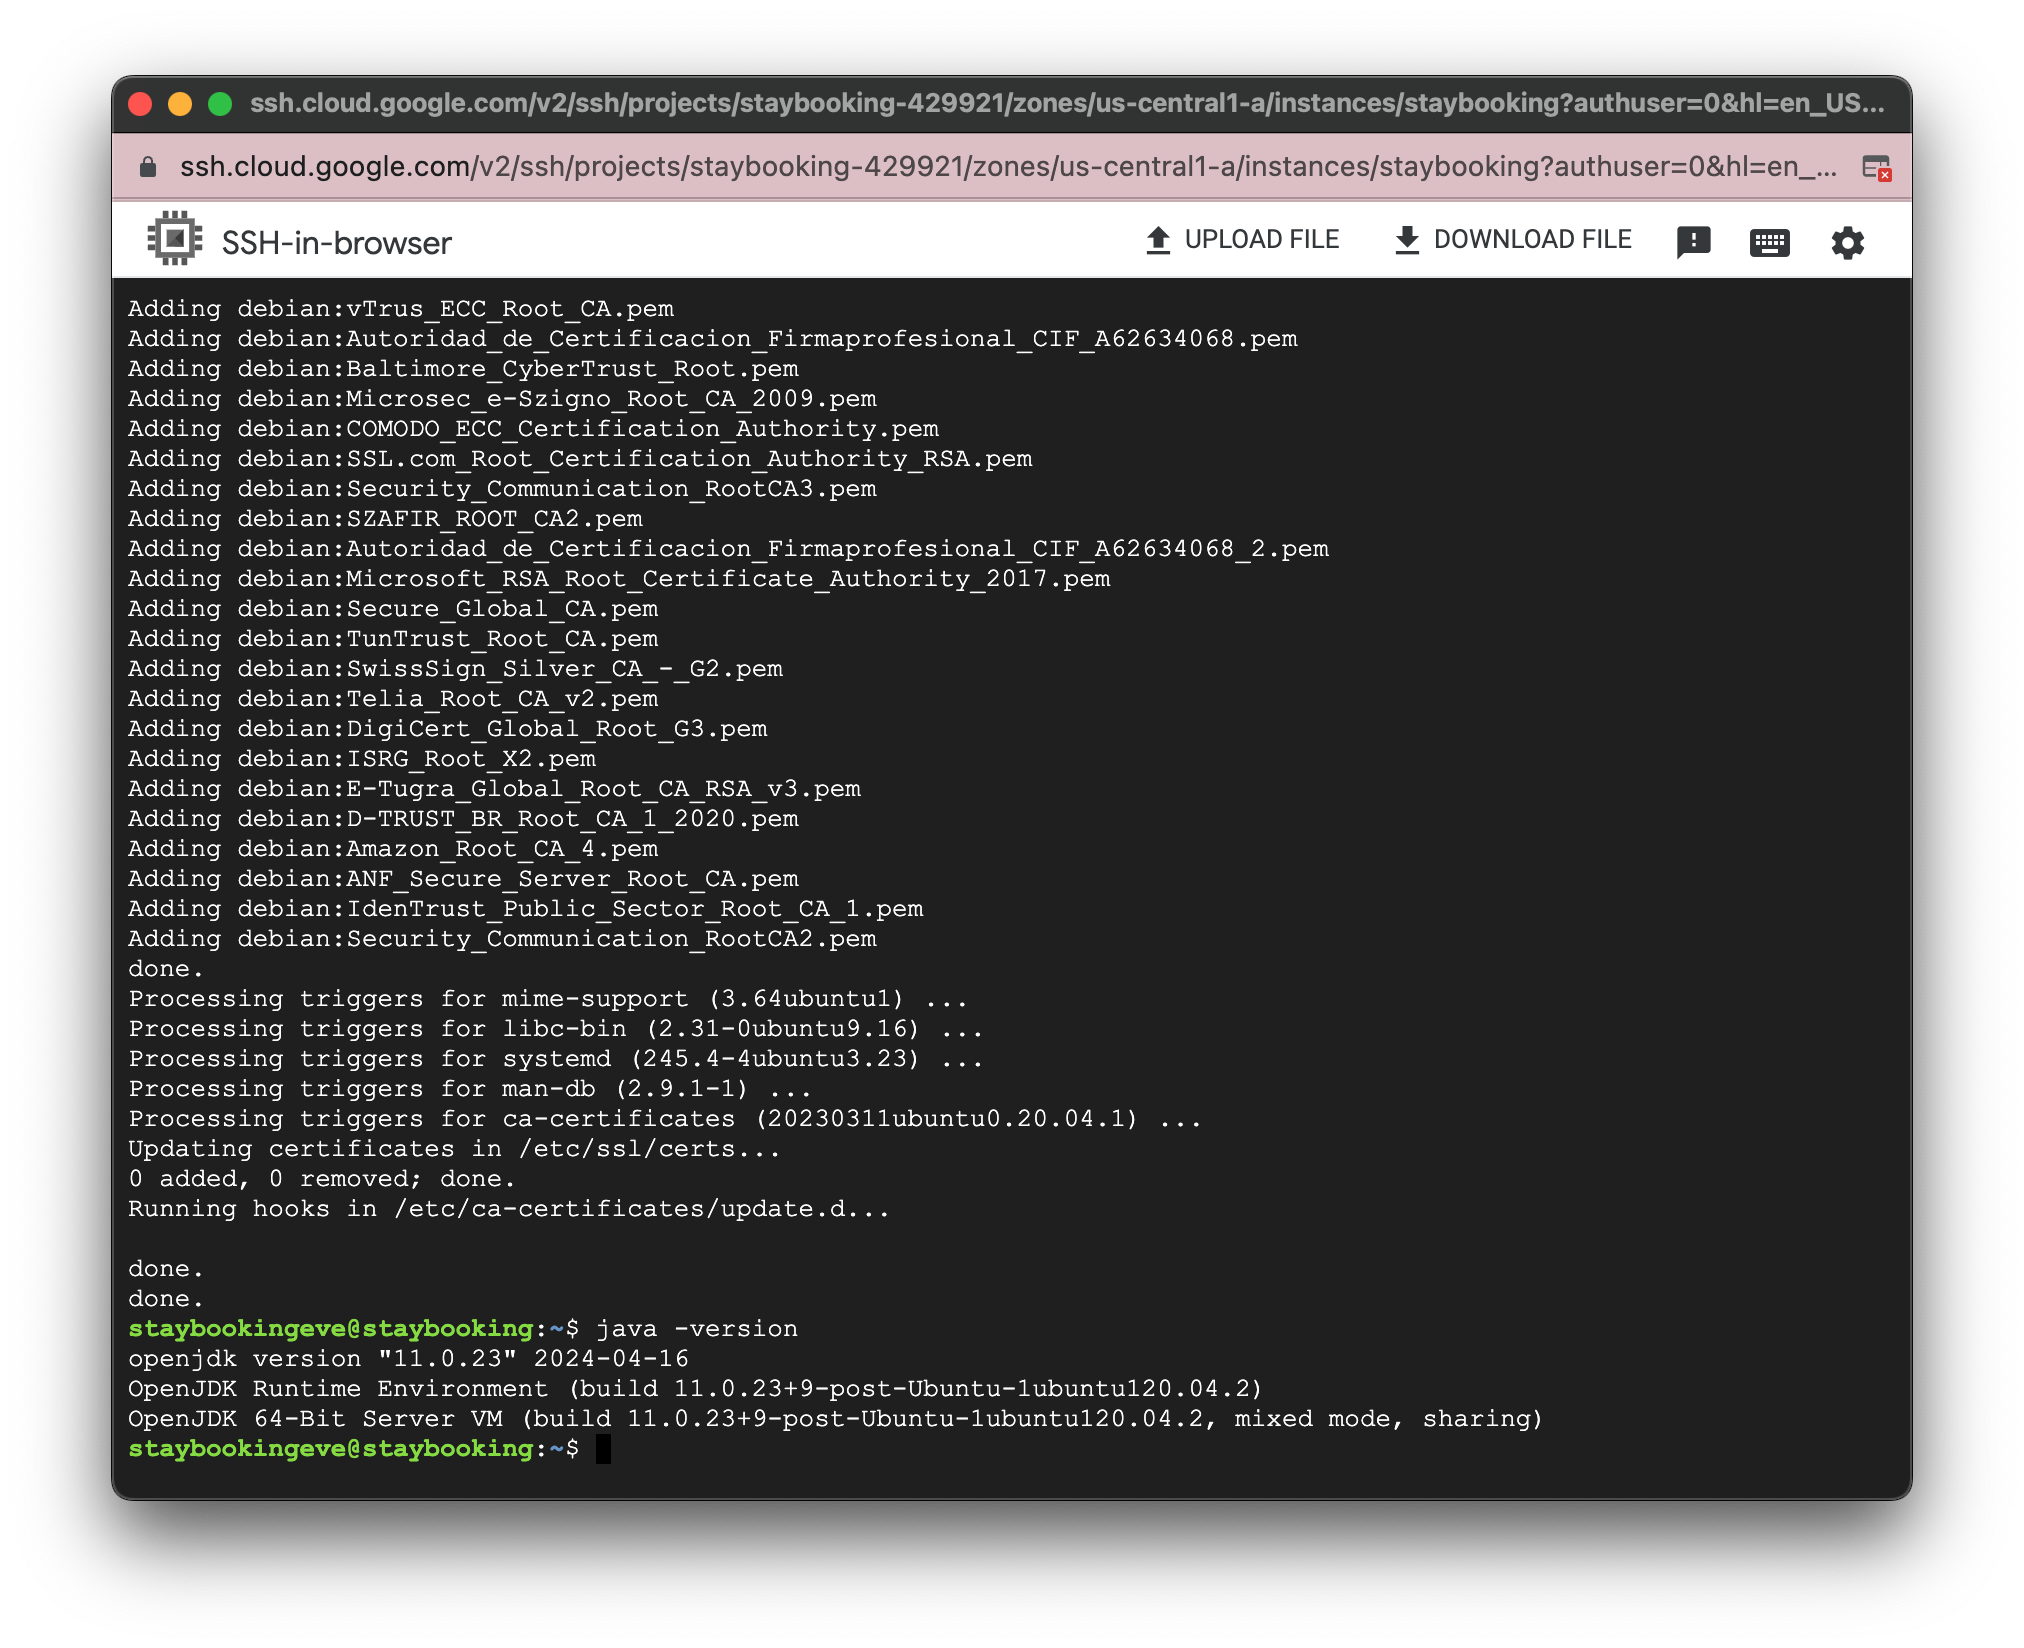
SSH to your GCE instance and enter the following commands. It will install Java 15 to your VM.
sudo apt update
sudo apt install default-jre
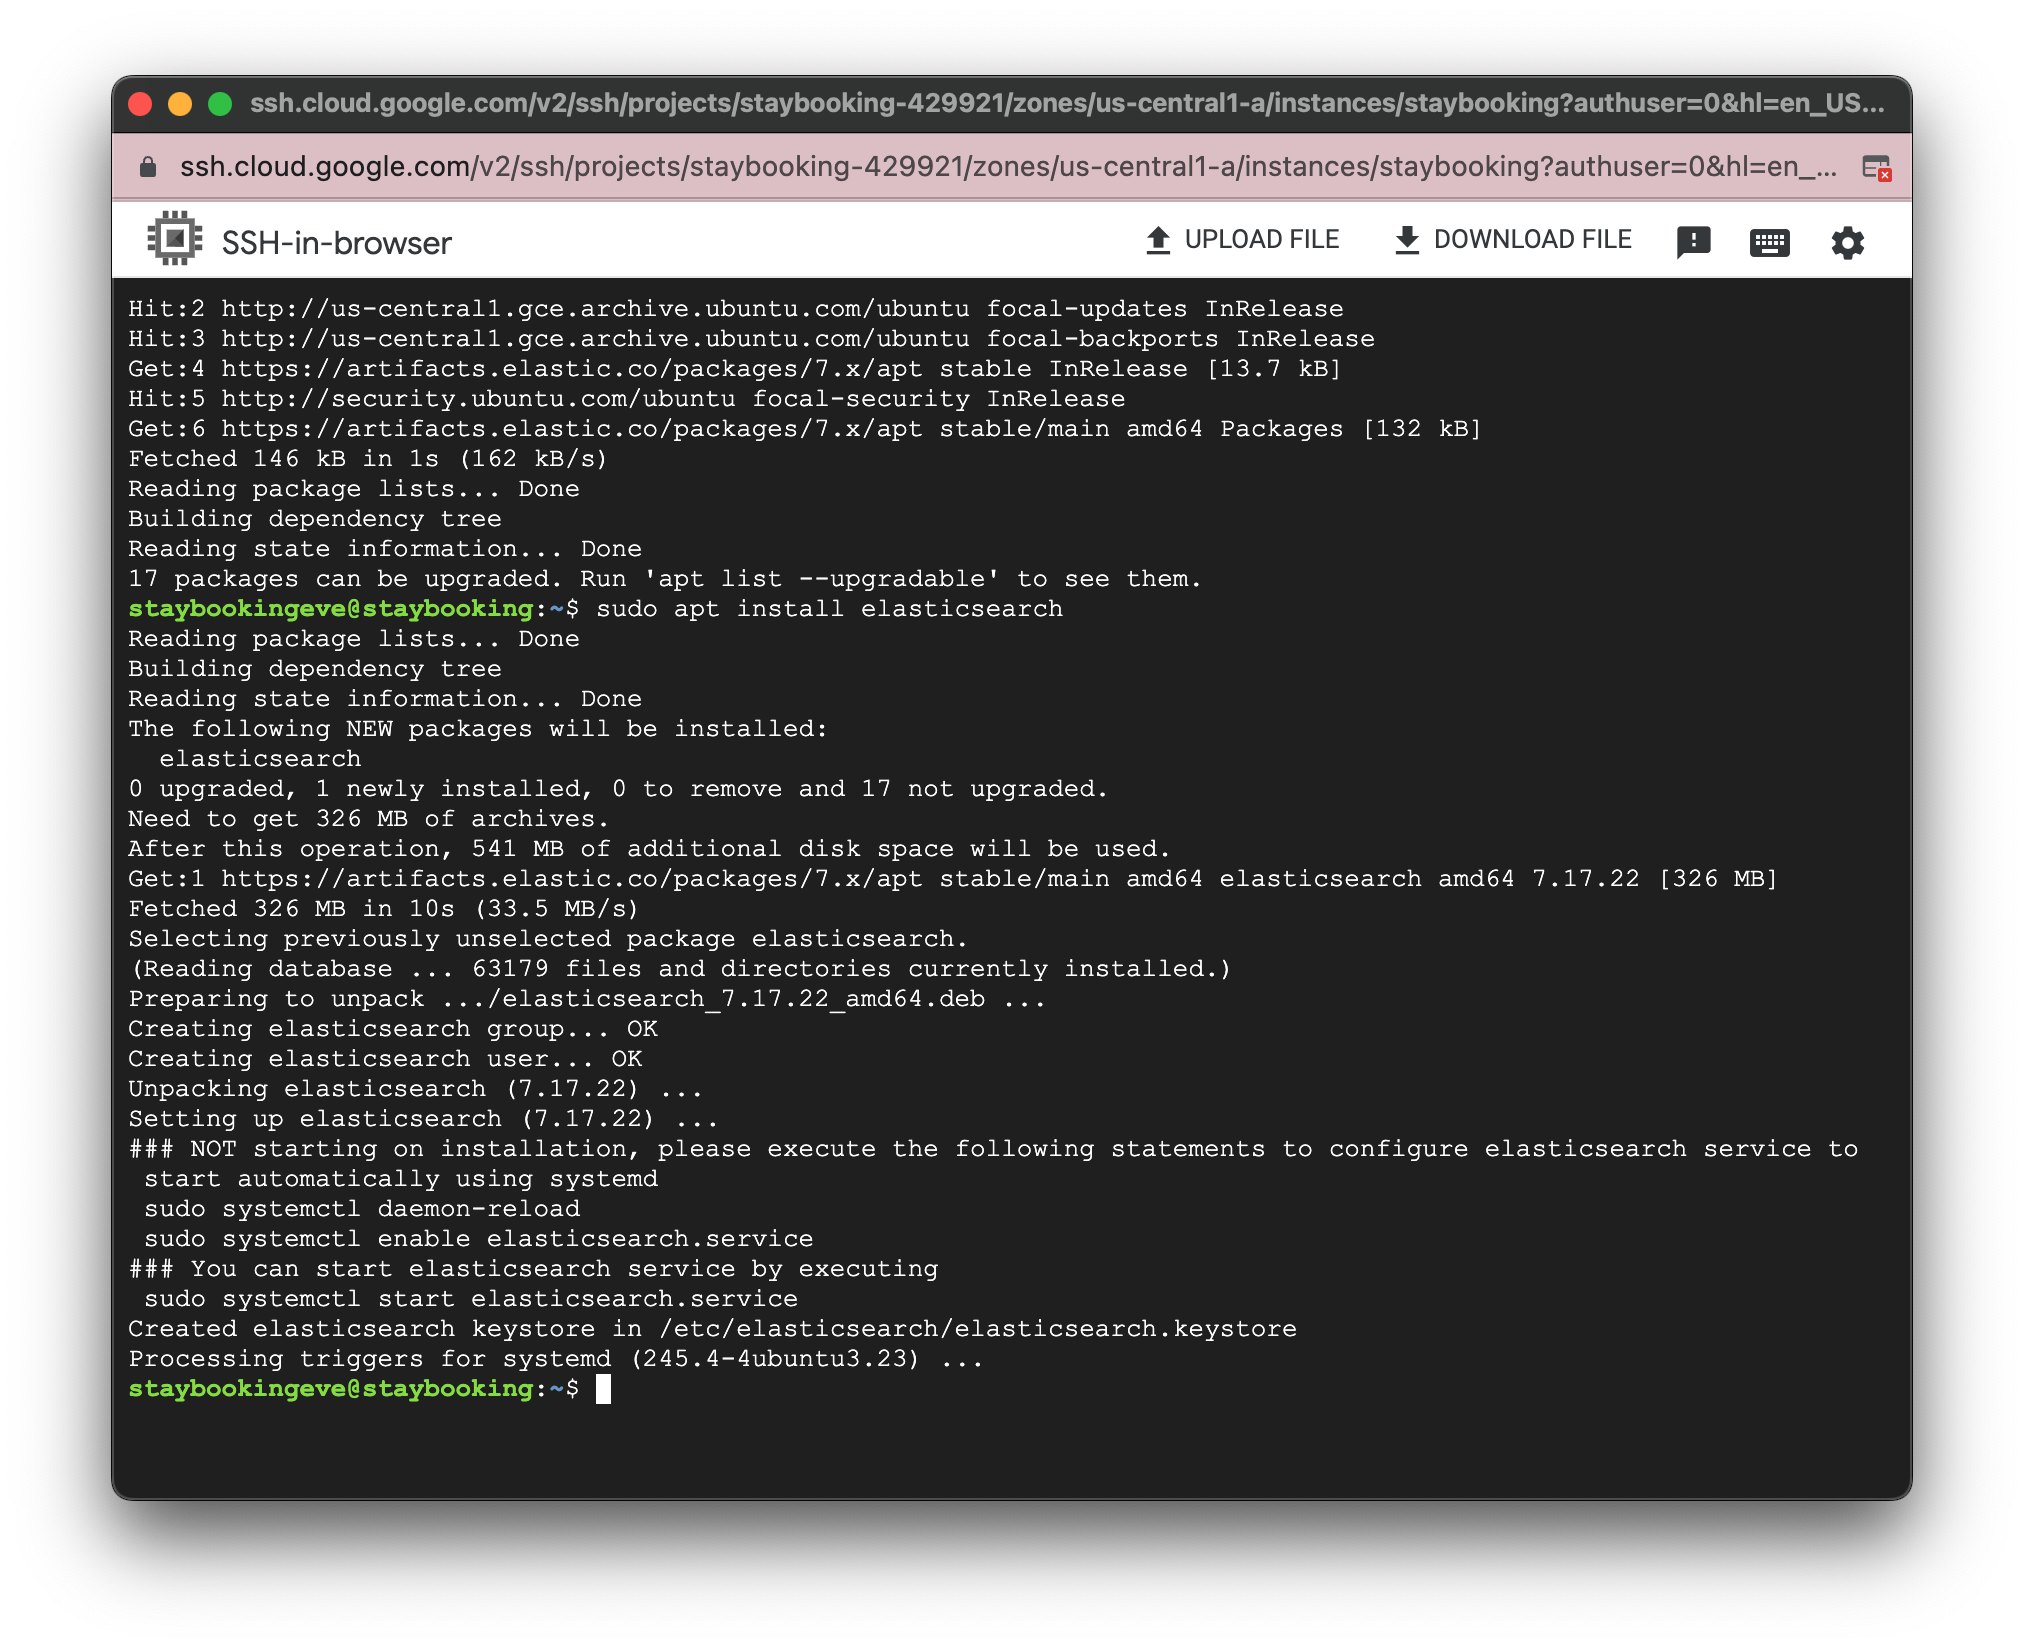
- To install Elasticsearch on your GCE instance, enter the following commands.
sudo apt install apt-transport-https
wget -qO - https://artifacts.elastic.co/GPG-KEY-elasticsearch | sudo apt-key add -
sudo sh -c 'echo "deb https://artifacts.elastic.co/packages/7.x/apt stable main" > /etc/apt/sources.list.d/elastic-7.x.list'
sudo apt update
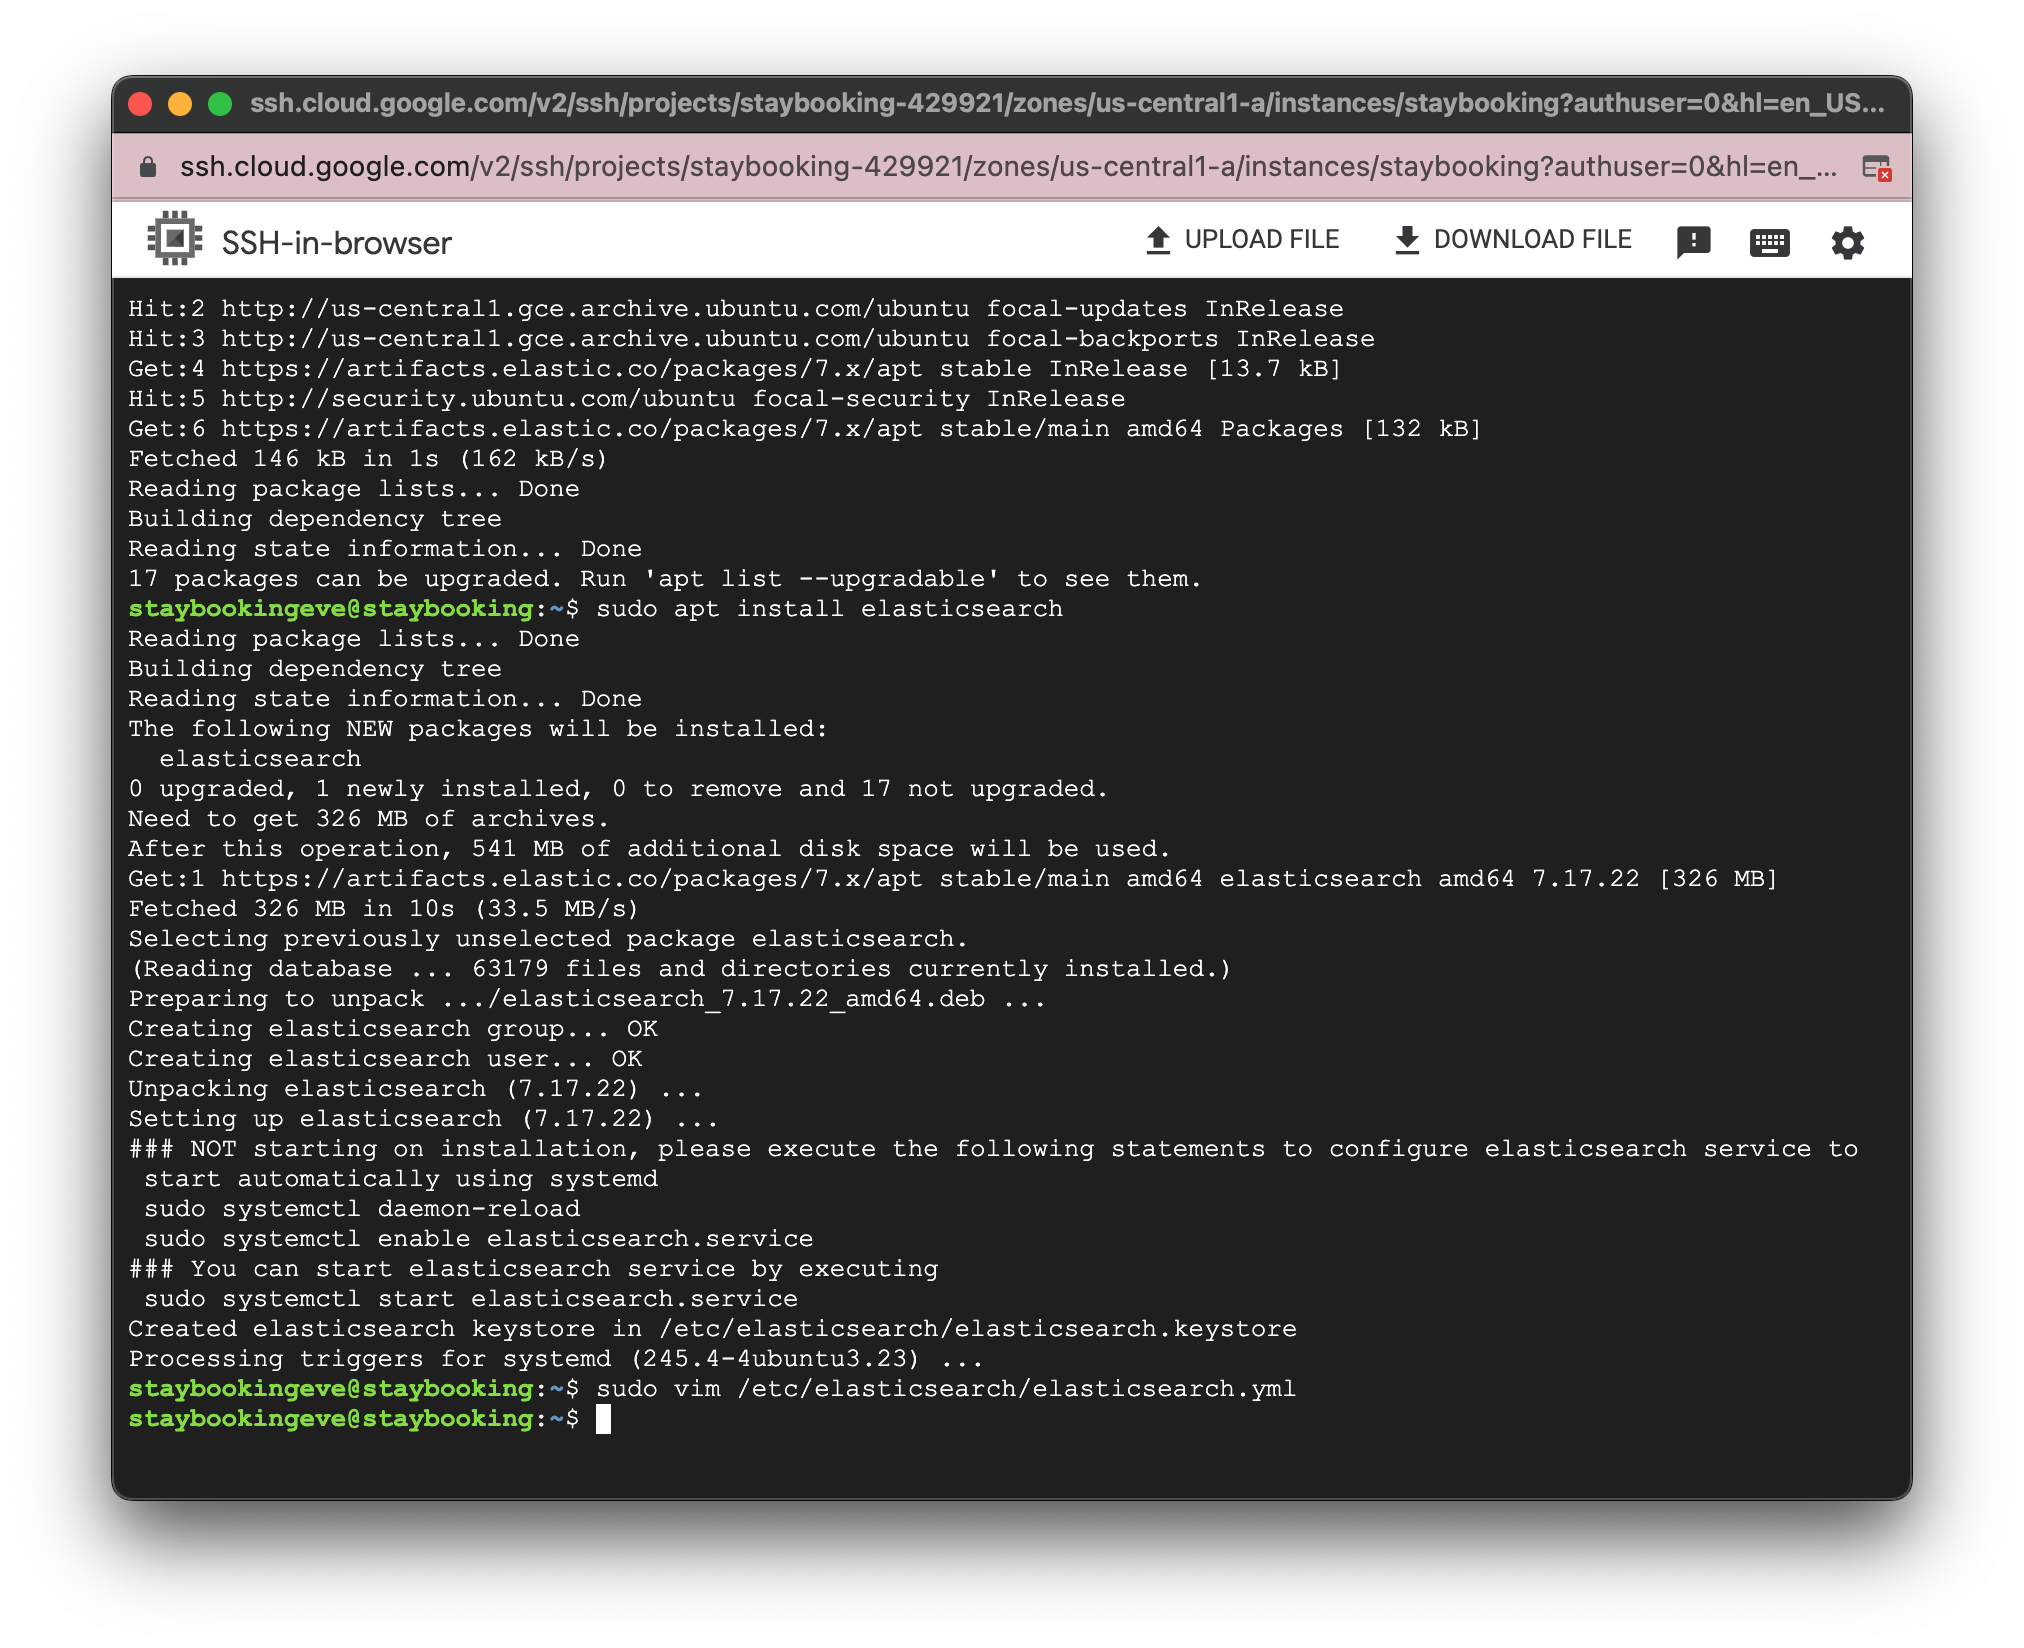
sudo apt install elasticsearch
- After installation is finished, use the following command to open the configuration file.
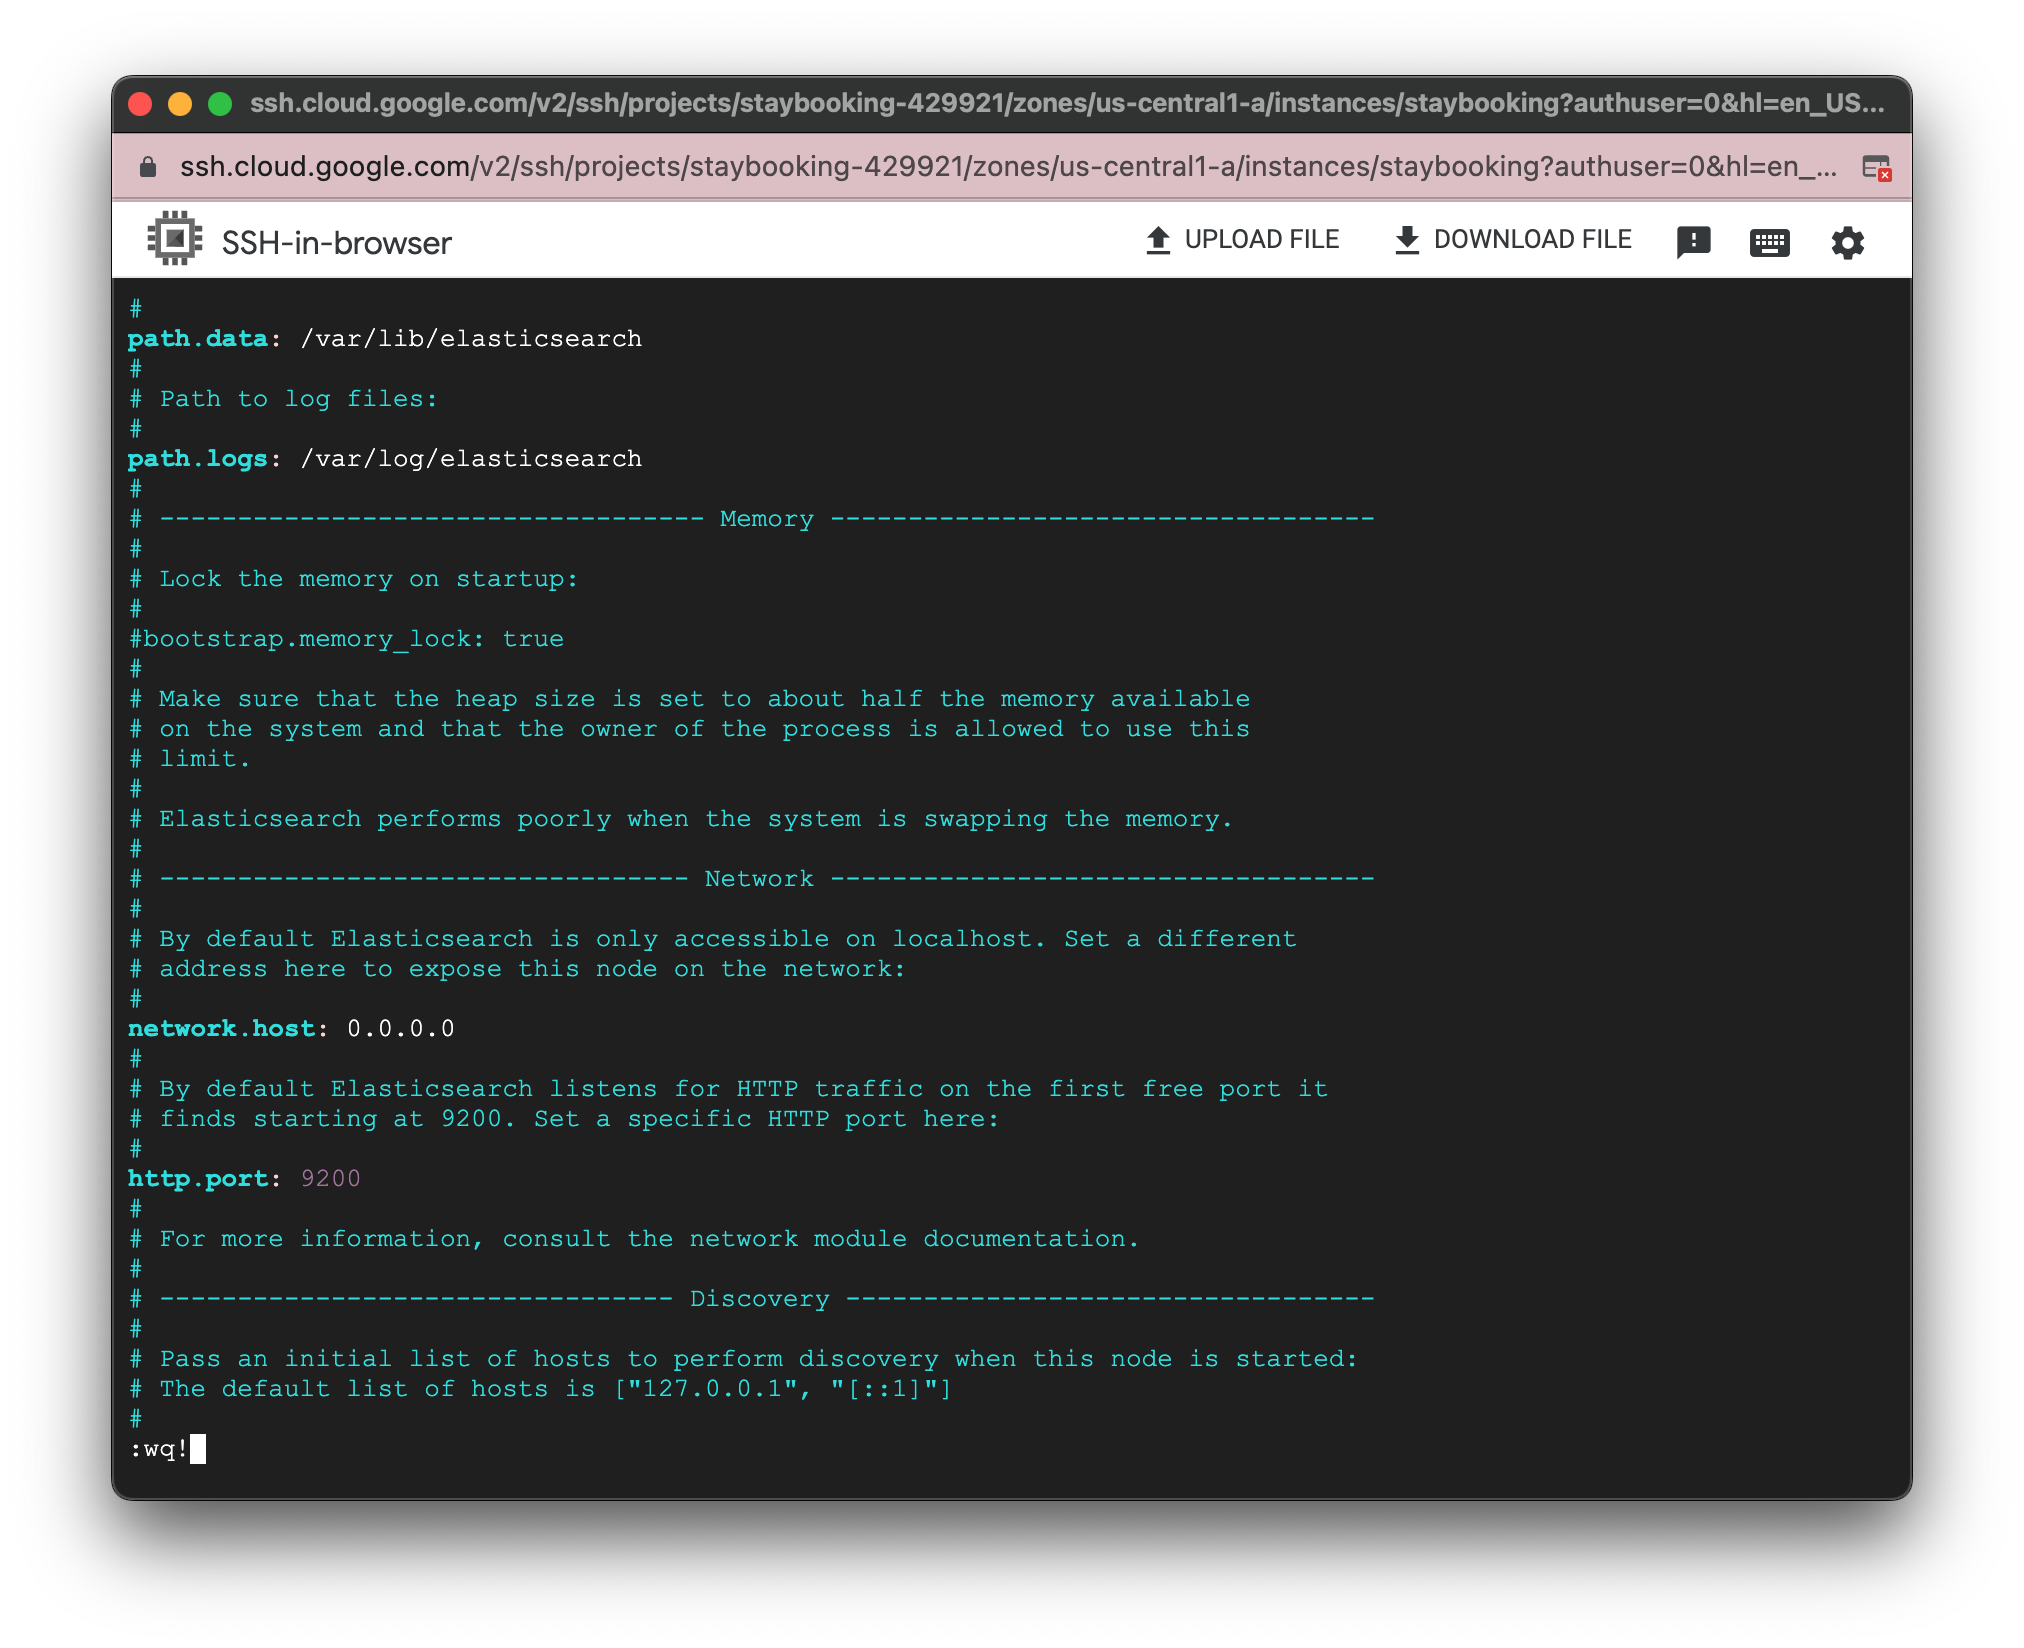
sudo vim /etc/elasticsearch/elasticsearch.yml
- Press “i” to enter INSERT mode. Uncomment network.host(line 56) and http.port(line 61) by deleting the leading “#”. Set network.host to 0.0.0.0, http.port to 9200.
- Add the following line in the discovery section(line 69) since we’re running Elasticsearch in a single node mode.
discovery.type: single-node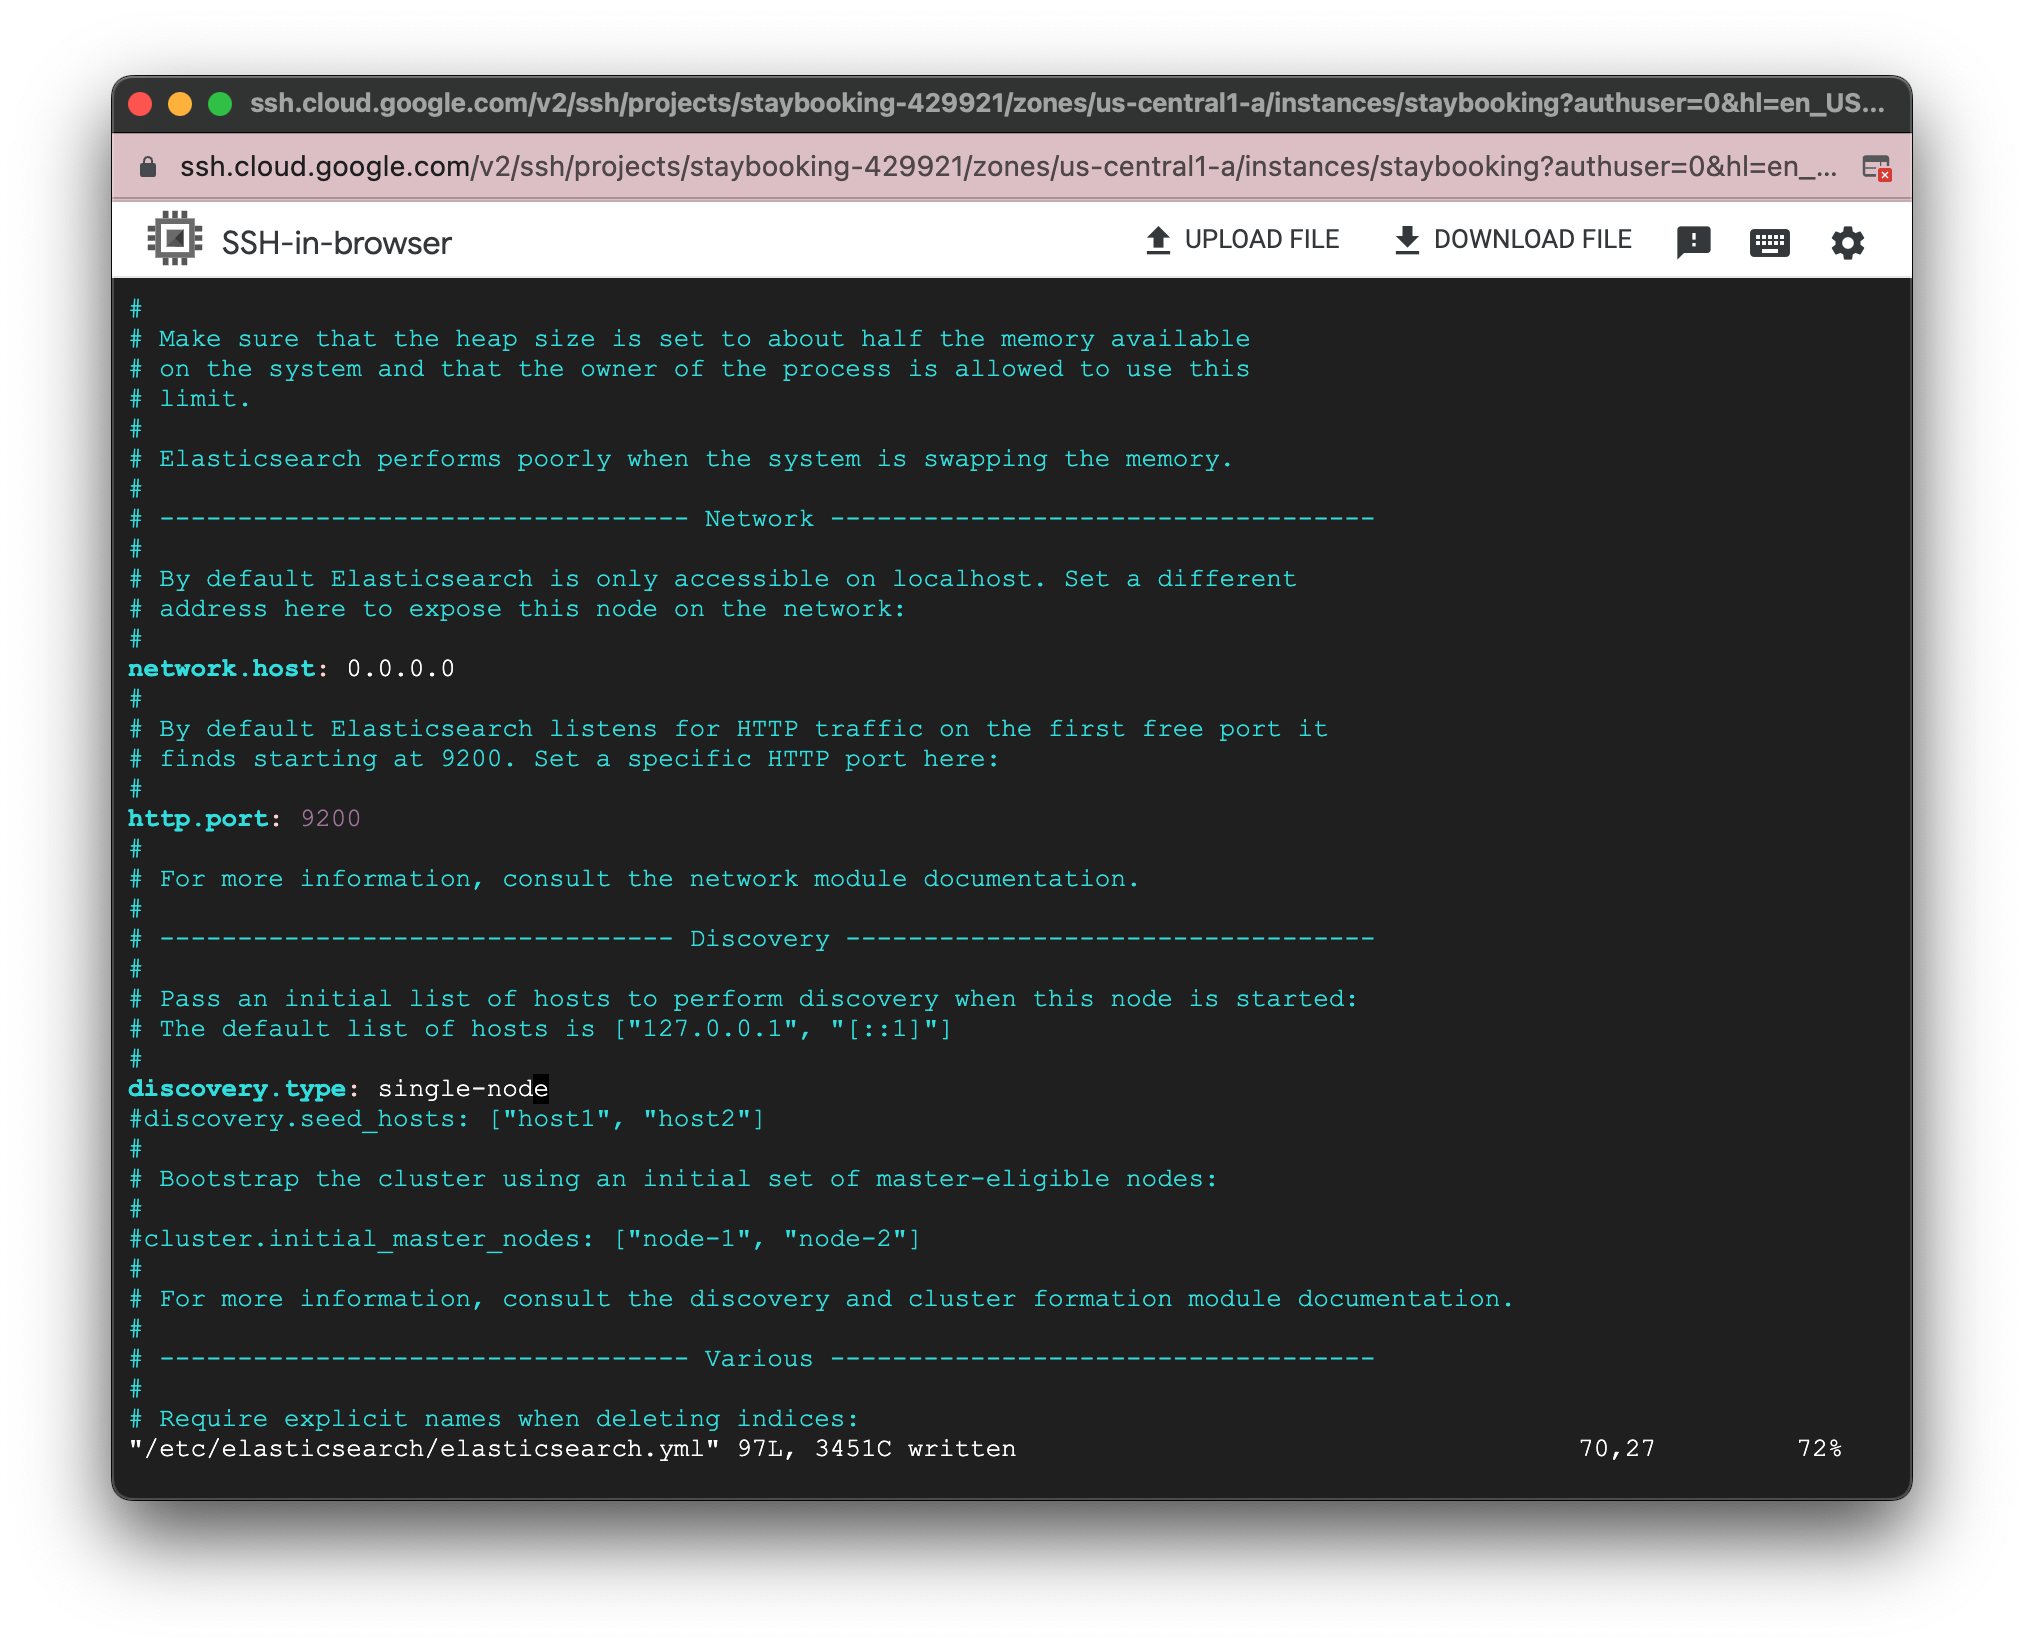
- Go to the line(83) of the file and enable the security feature of the Elasticsearch.
xpack.security.enabled: true
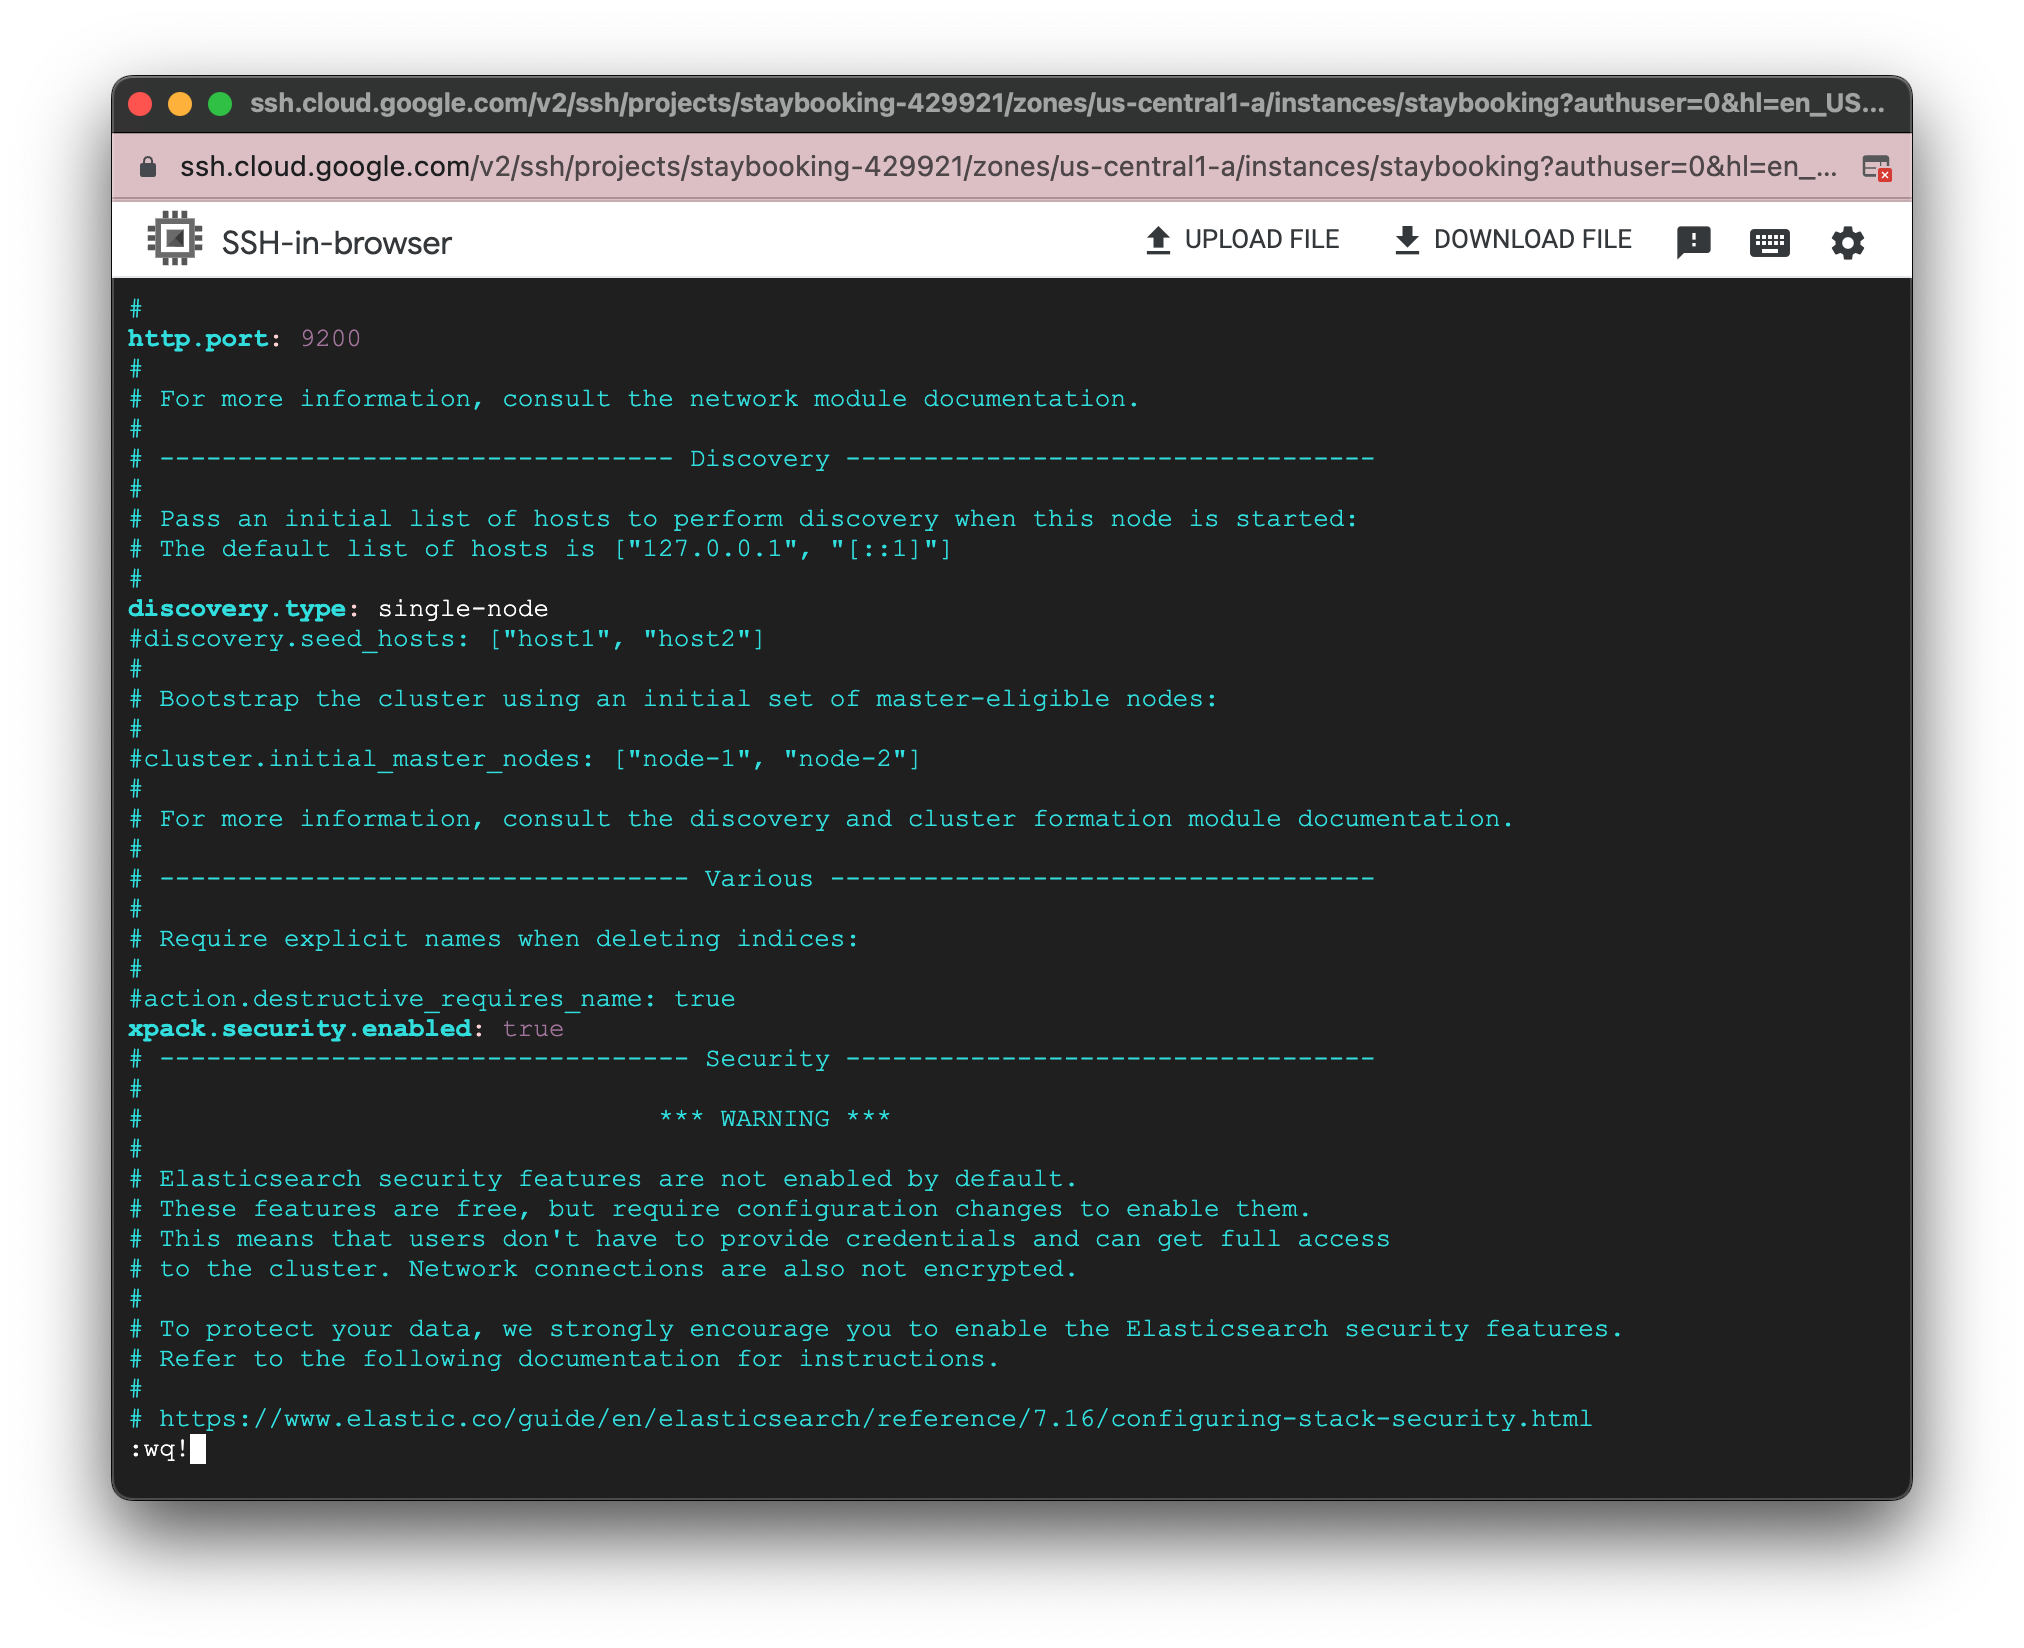
- Save your change and exit vim editor. Press ESC to exit from INSERT mode and type :wq to save and quit.
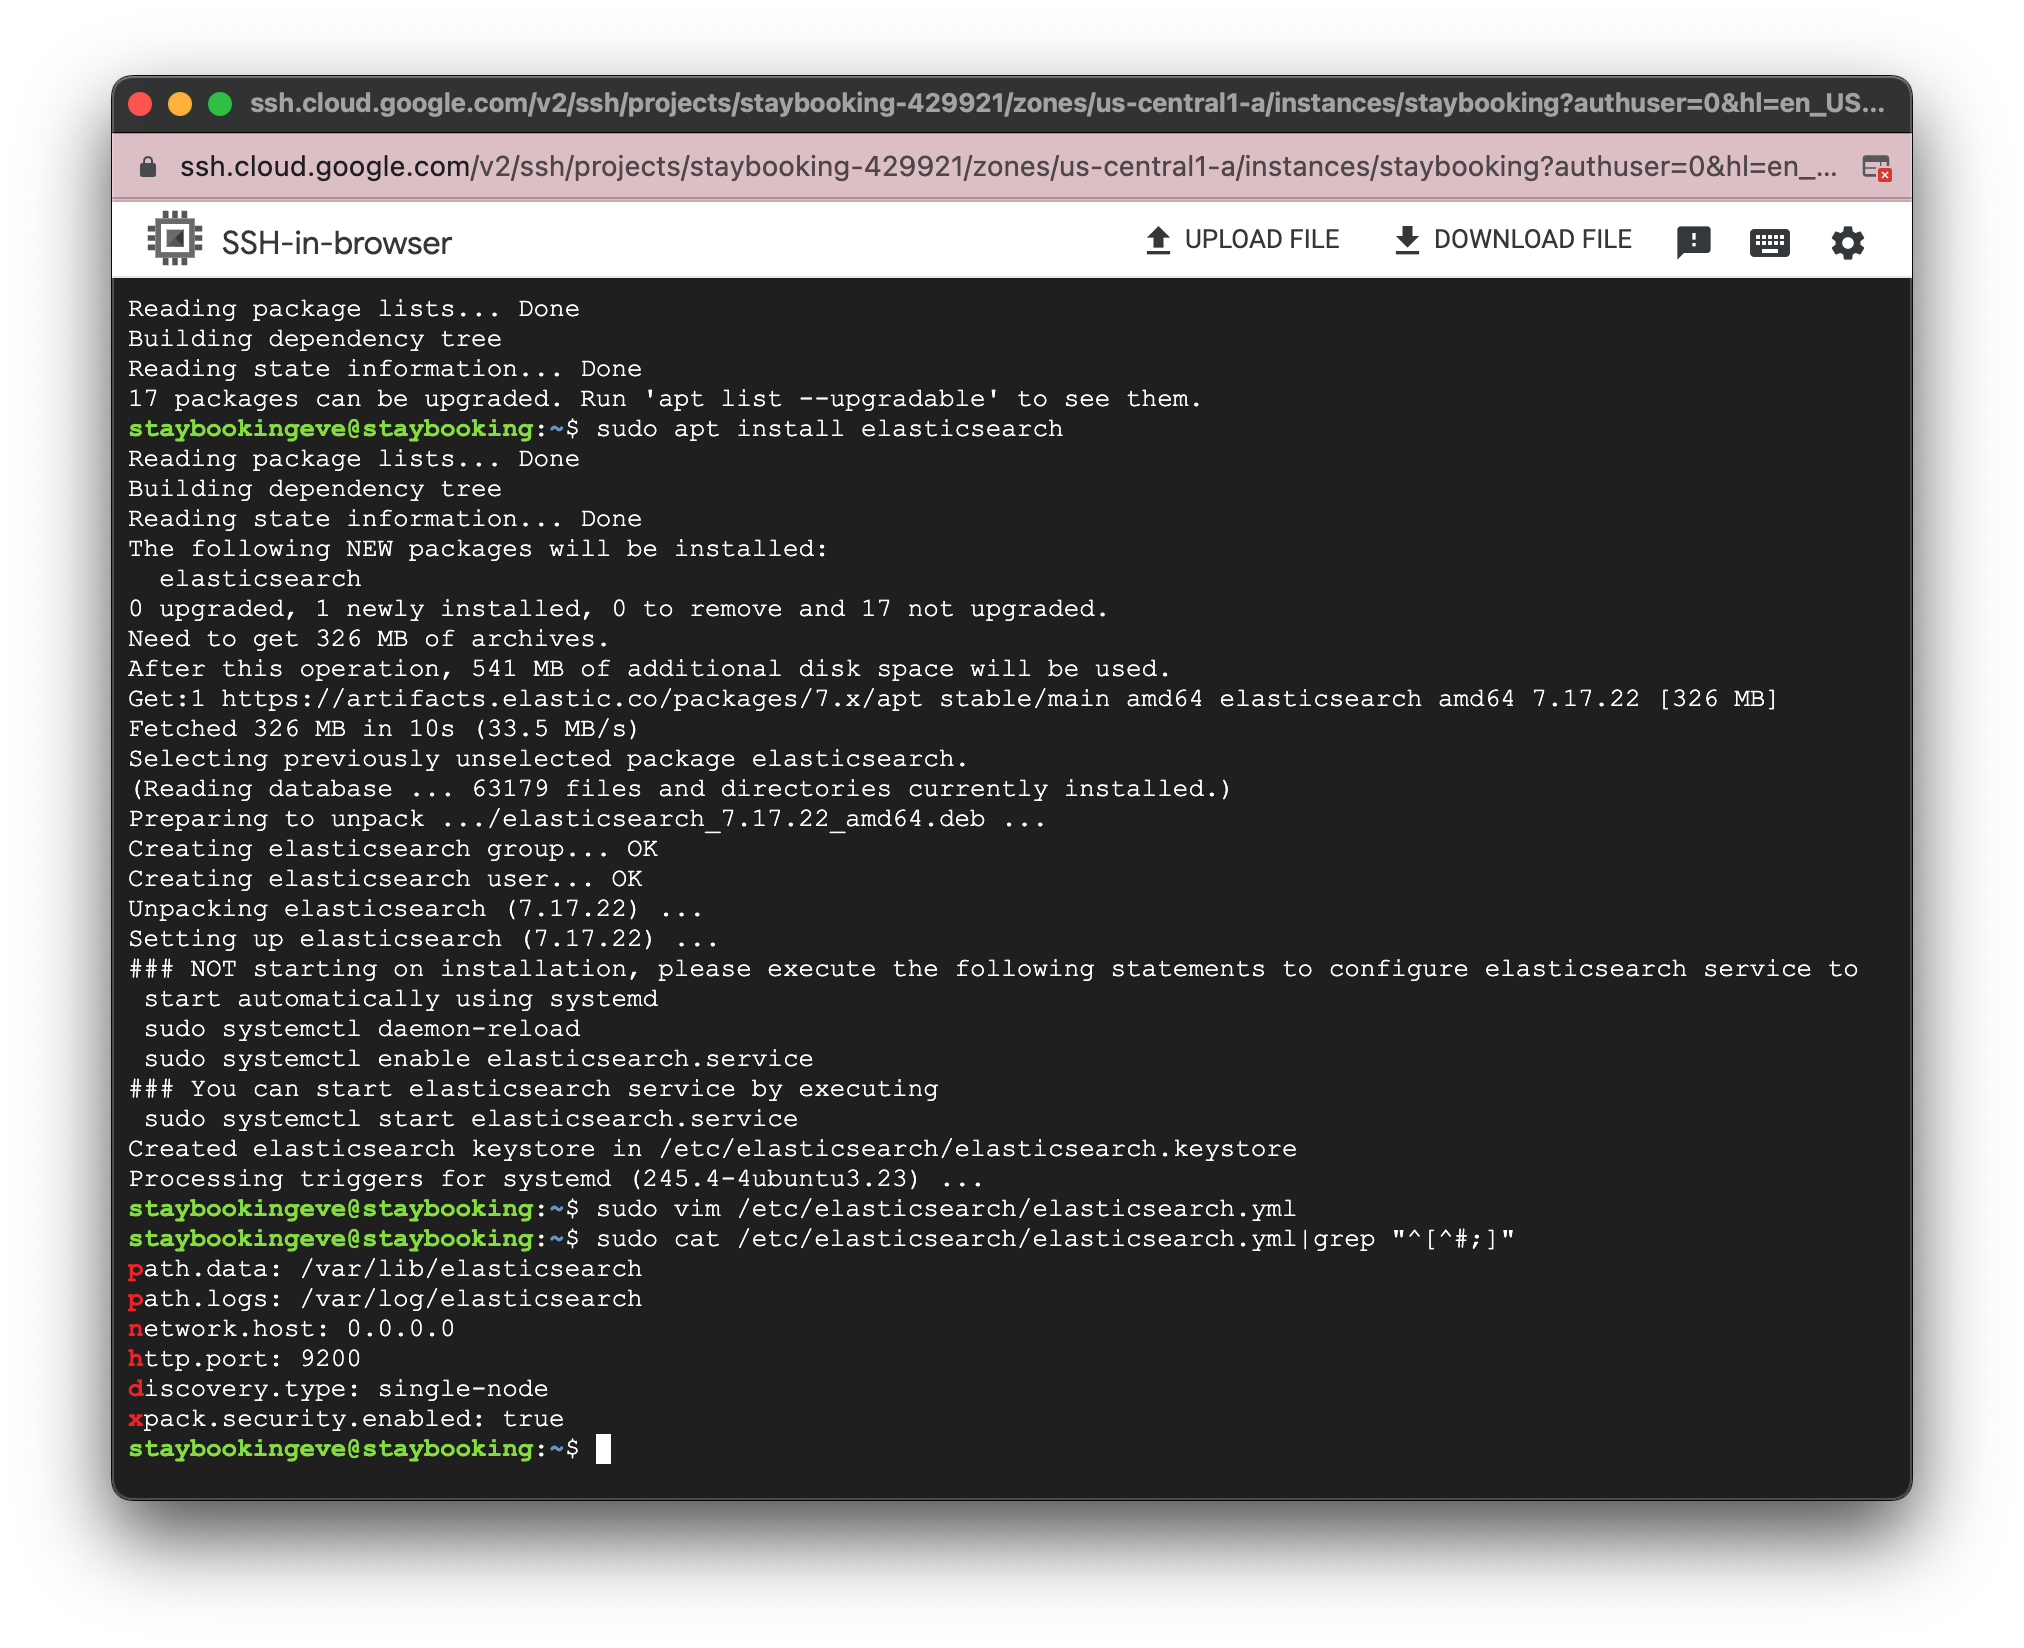
- (Optional) If you want to verify the change, use the following command to print the config to your terminal. You should see four lines.
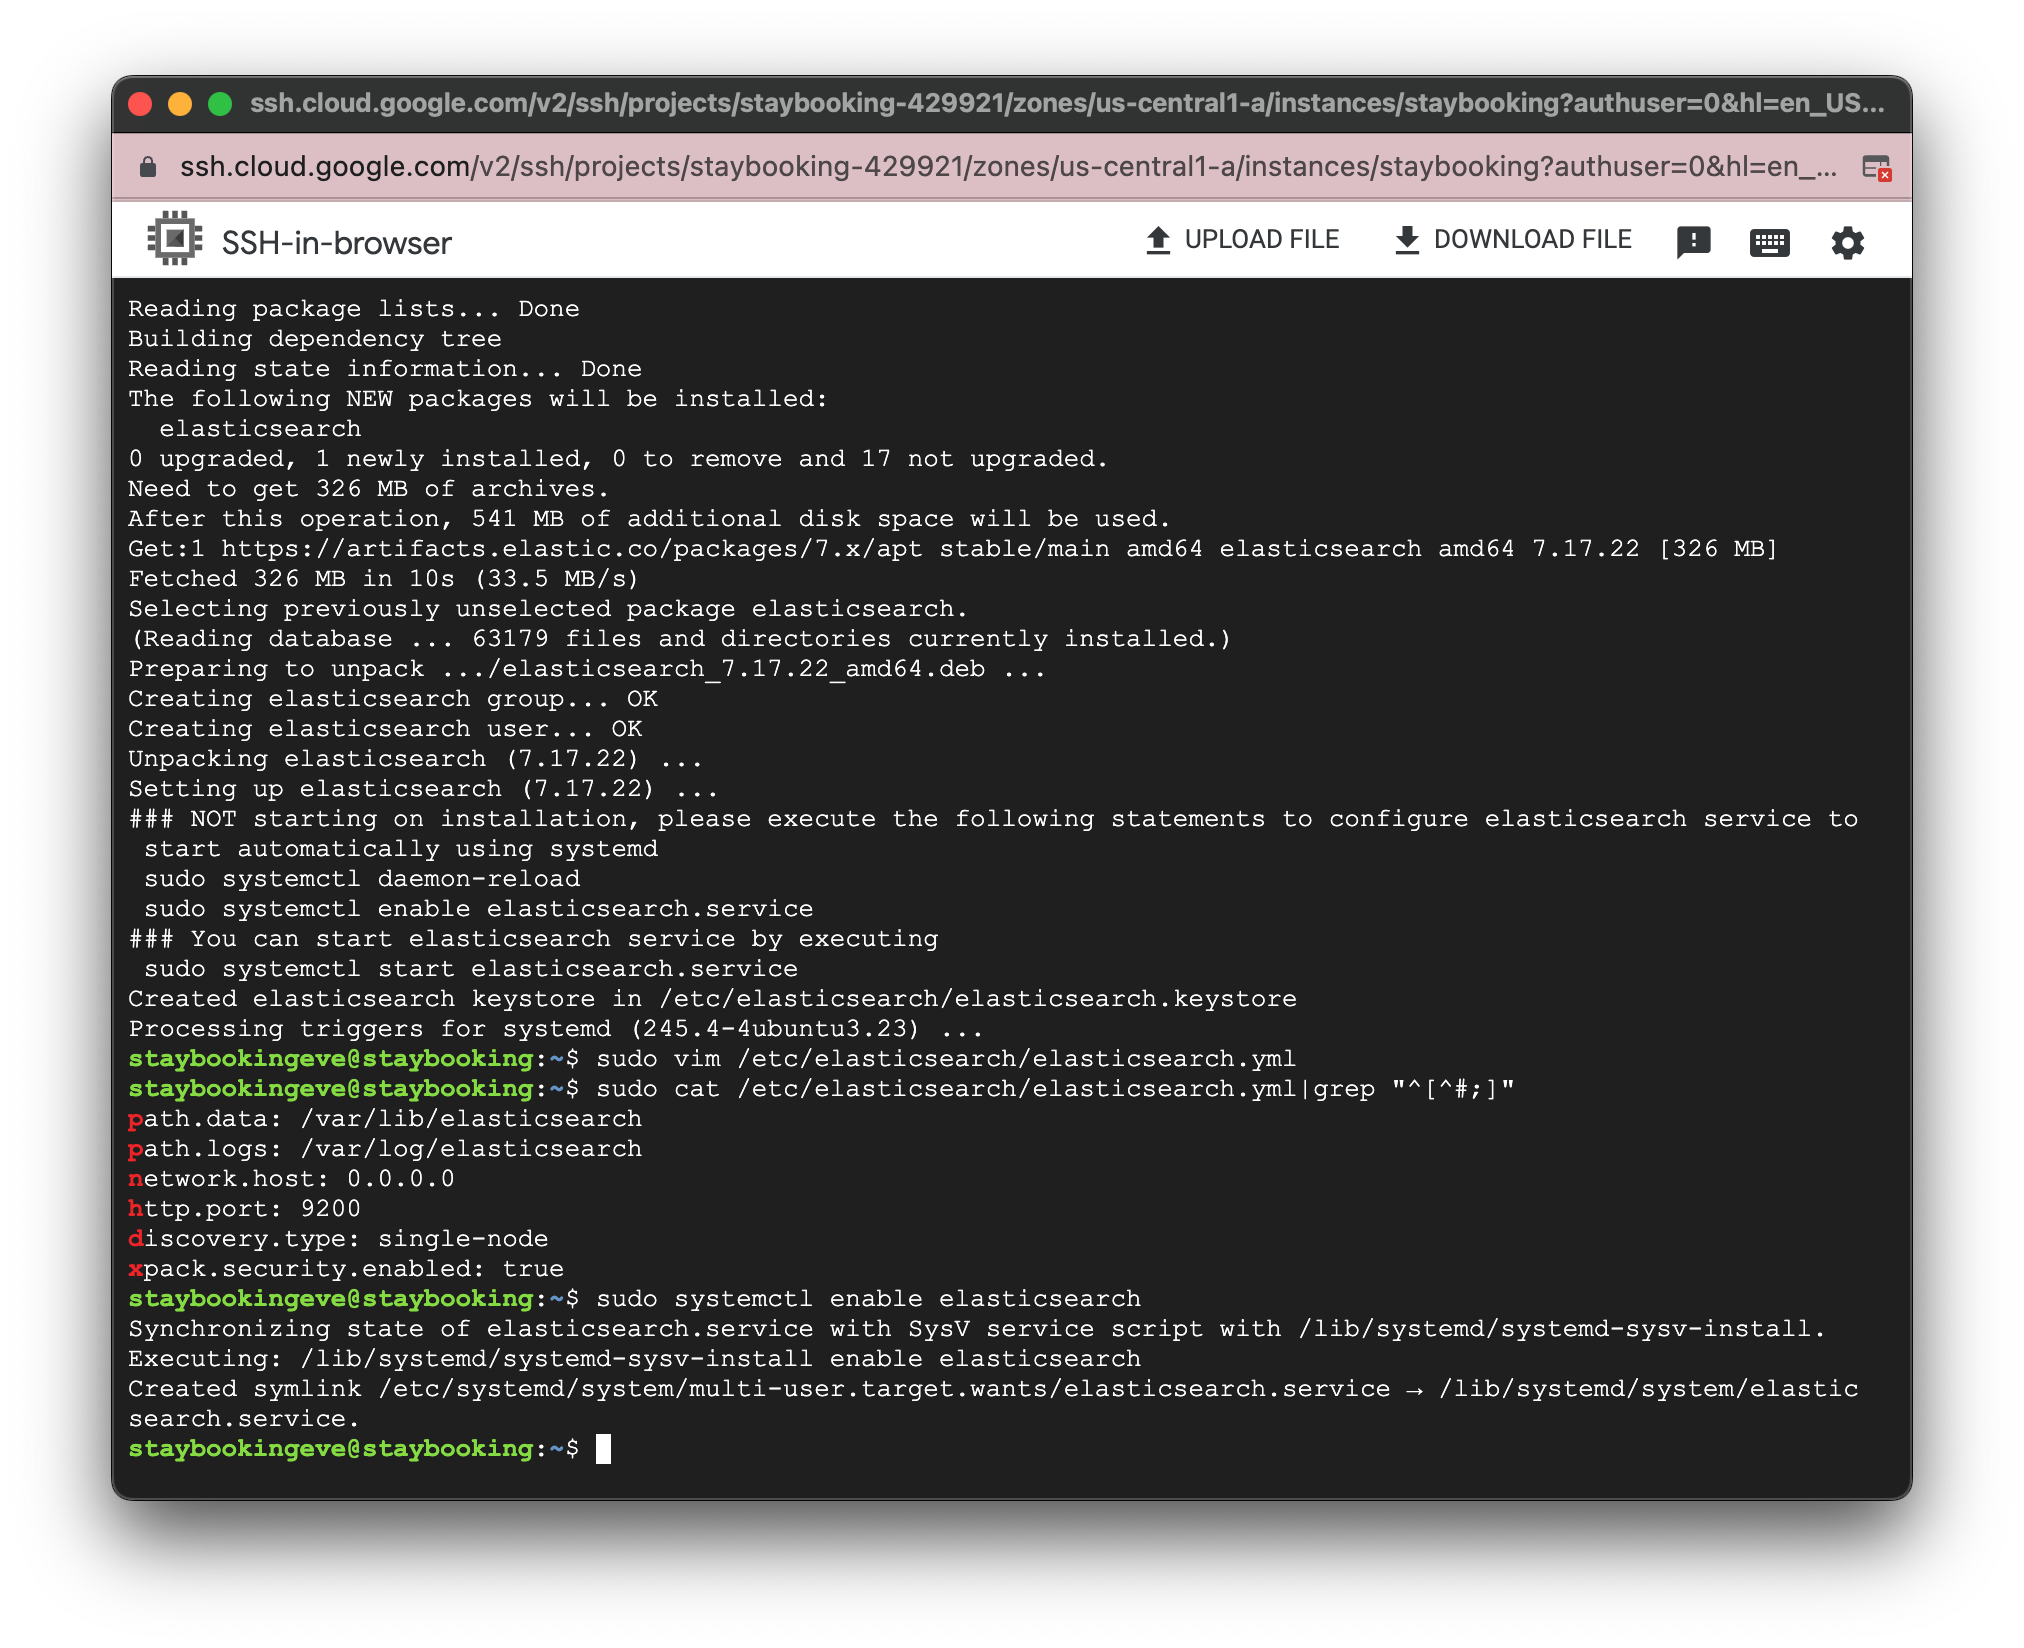
- Use the following command to make Elasticsearch auto-start every time you start your GCE instance.
sudo systemctl enable elasticsearch
-
Use the following command to start Elasticsearch.
sudo systemctl start elasticsearch -
(Optional) Use the following command to check the status of Elasticsearch. You should be able to see active (running) in the status. Type q to exit the status page.
sudo systemctl status elasticsearch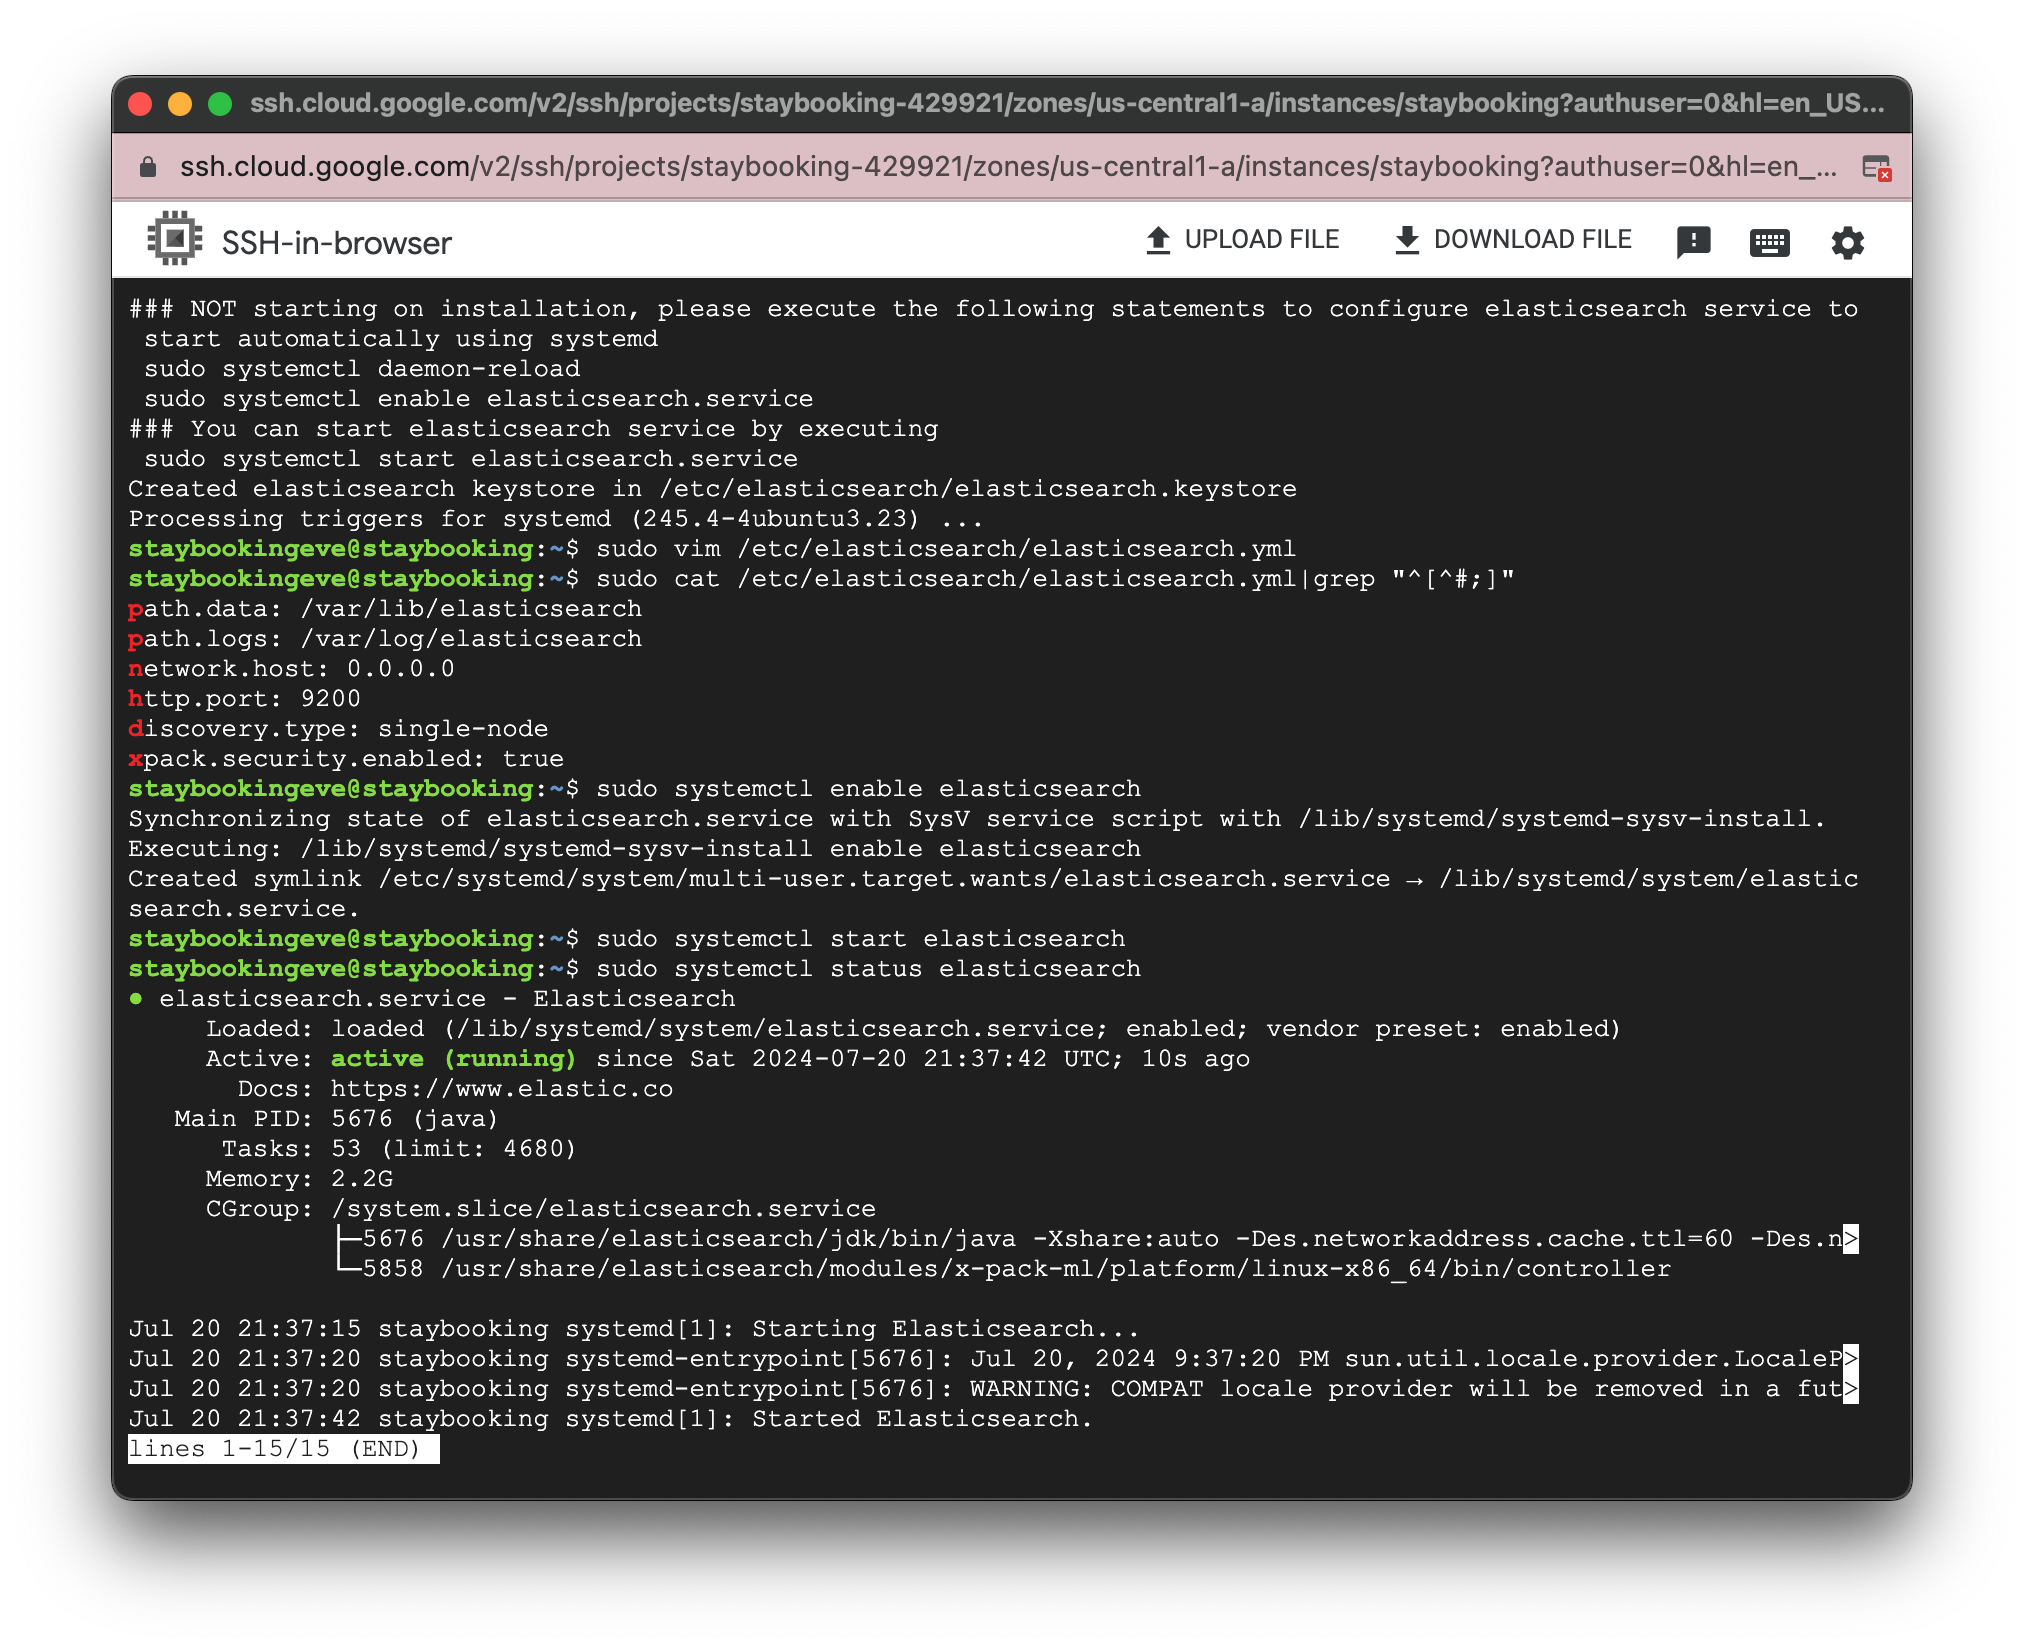
https://blog.getambassador.io/ckad-tips-how-to-create-connect-to-a-google-cloud-vm-using-ssh-on-mac-linux-22fd016887ca
Update Your Elasticsearch Password
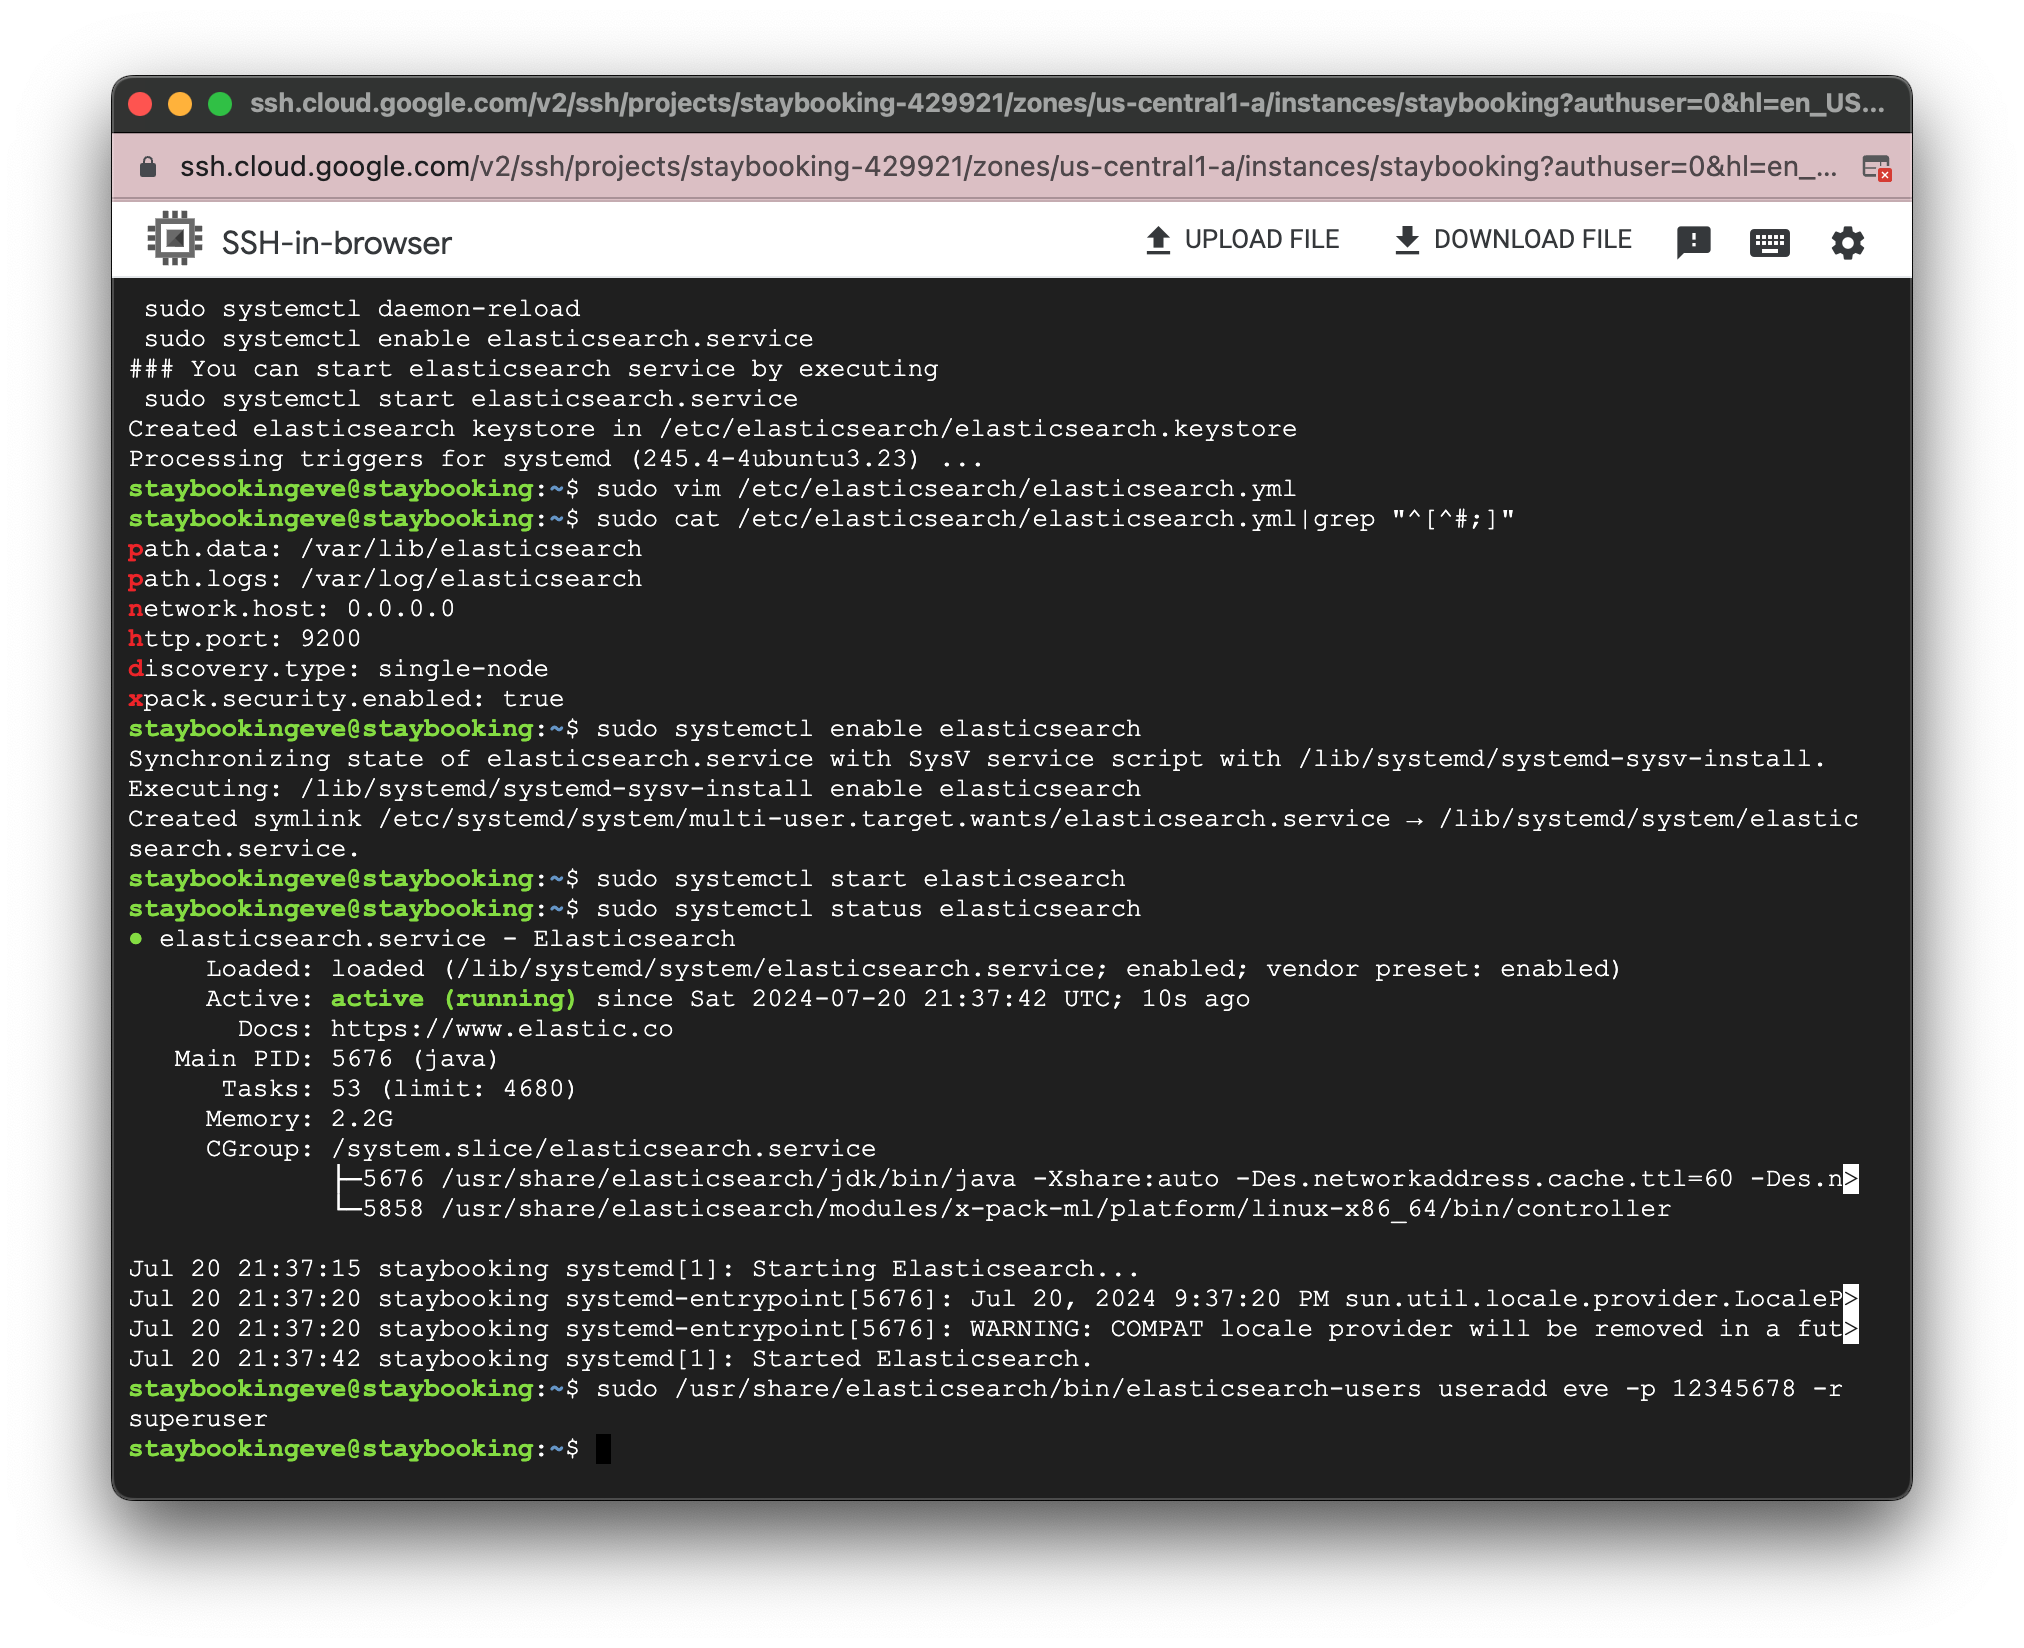
- Run the following command in the terminal to add a new user for you. Remember to replace the YOUR_NEW_USER_NAME and YOUR_NEW_USER_PASSWORD with the name and password you like.
sudo /usr/share/elasticsearch/bin/elasticsearch-users useradd YOUR_NEW_USER_NAME -p YOUR_NEW_USER_PASSWORD -r superuser
sudo /usr/share/elasticsearch/bin/elasticsearch-users useradd eve -p 12345678 -r superuser
- In the login prompt, use the username and the password you just created in the last step. Enter http://IP_ADDRESS:9200
if encounter some problem
try add Network tags:
staybooking
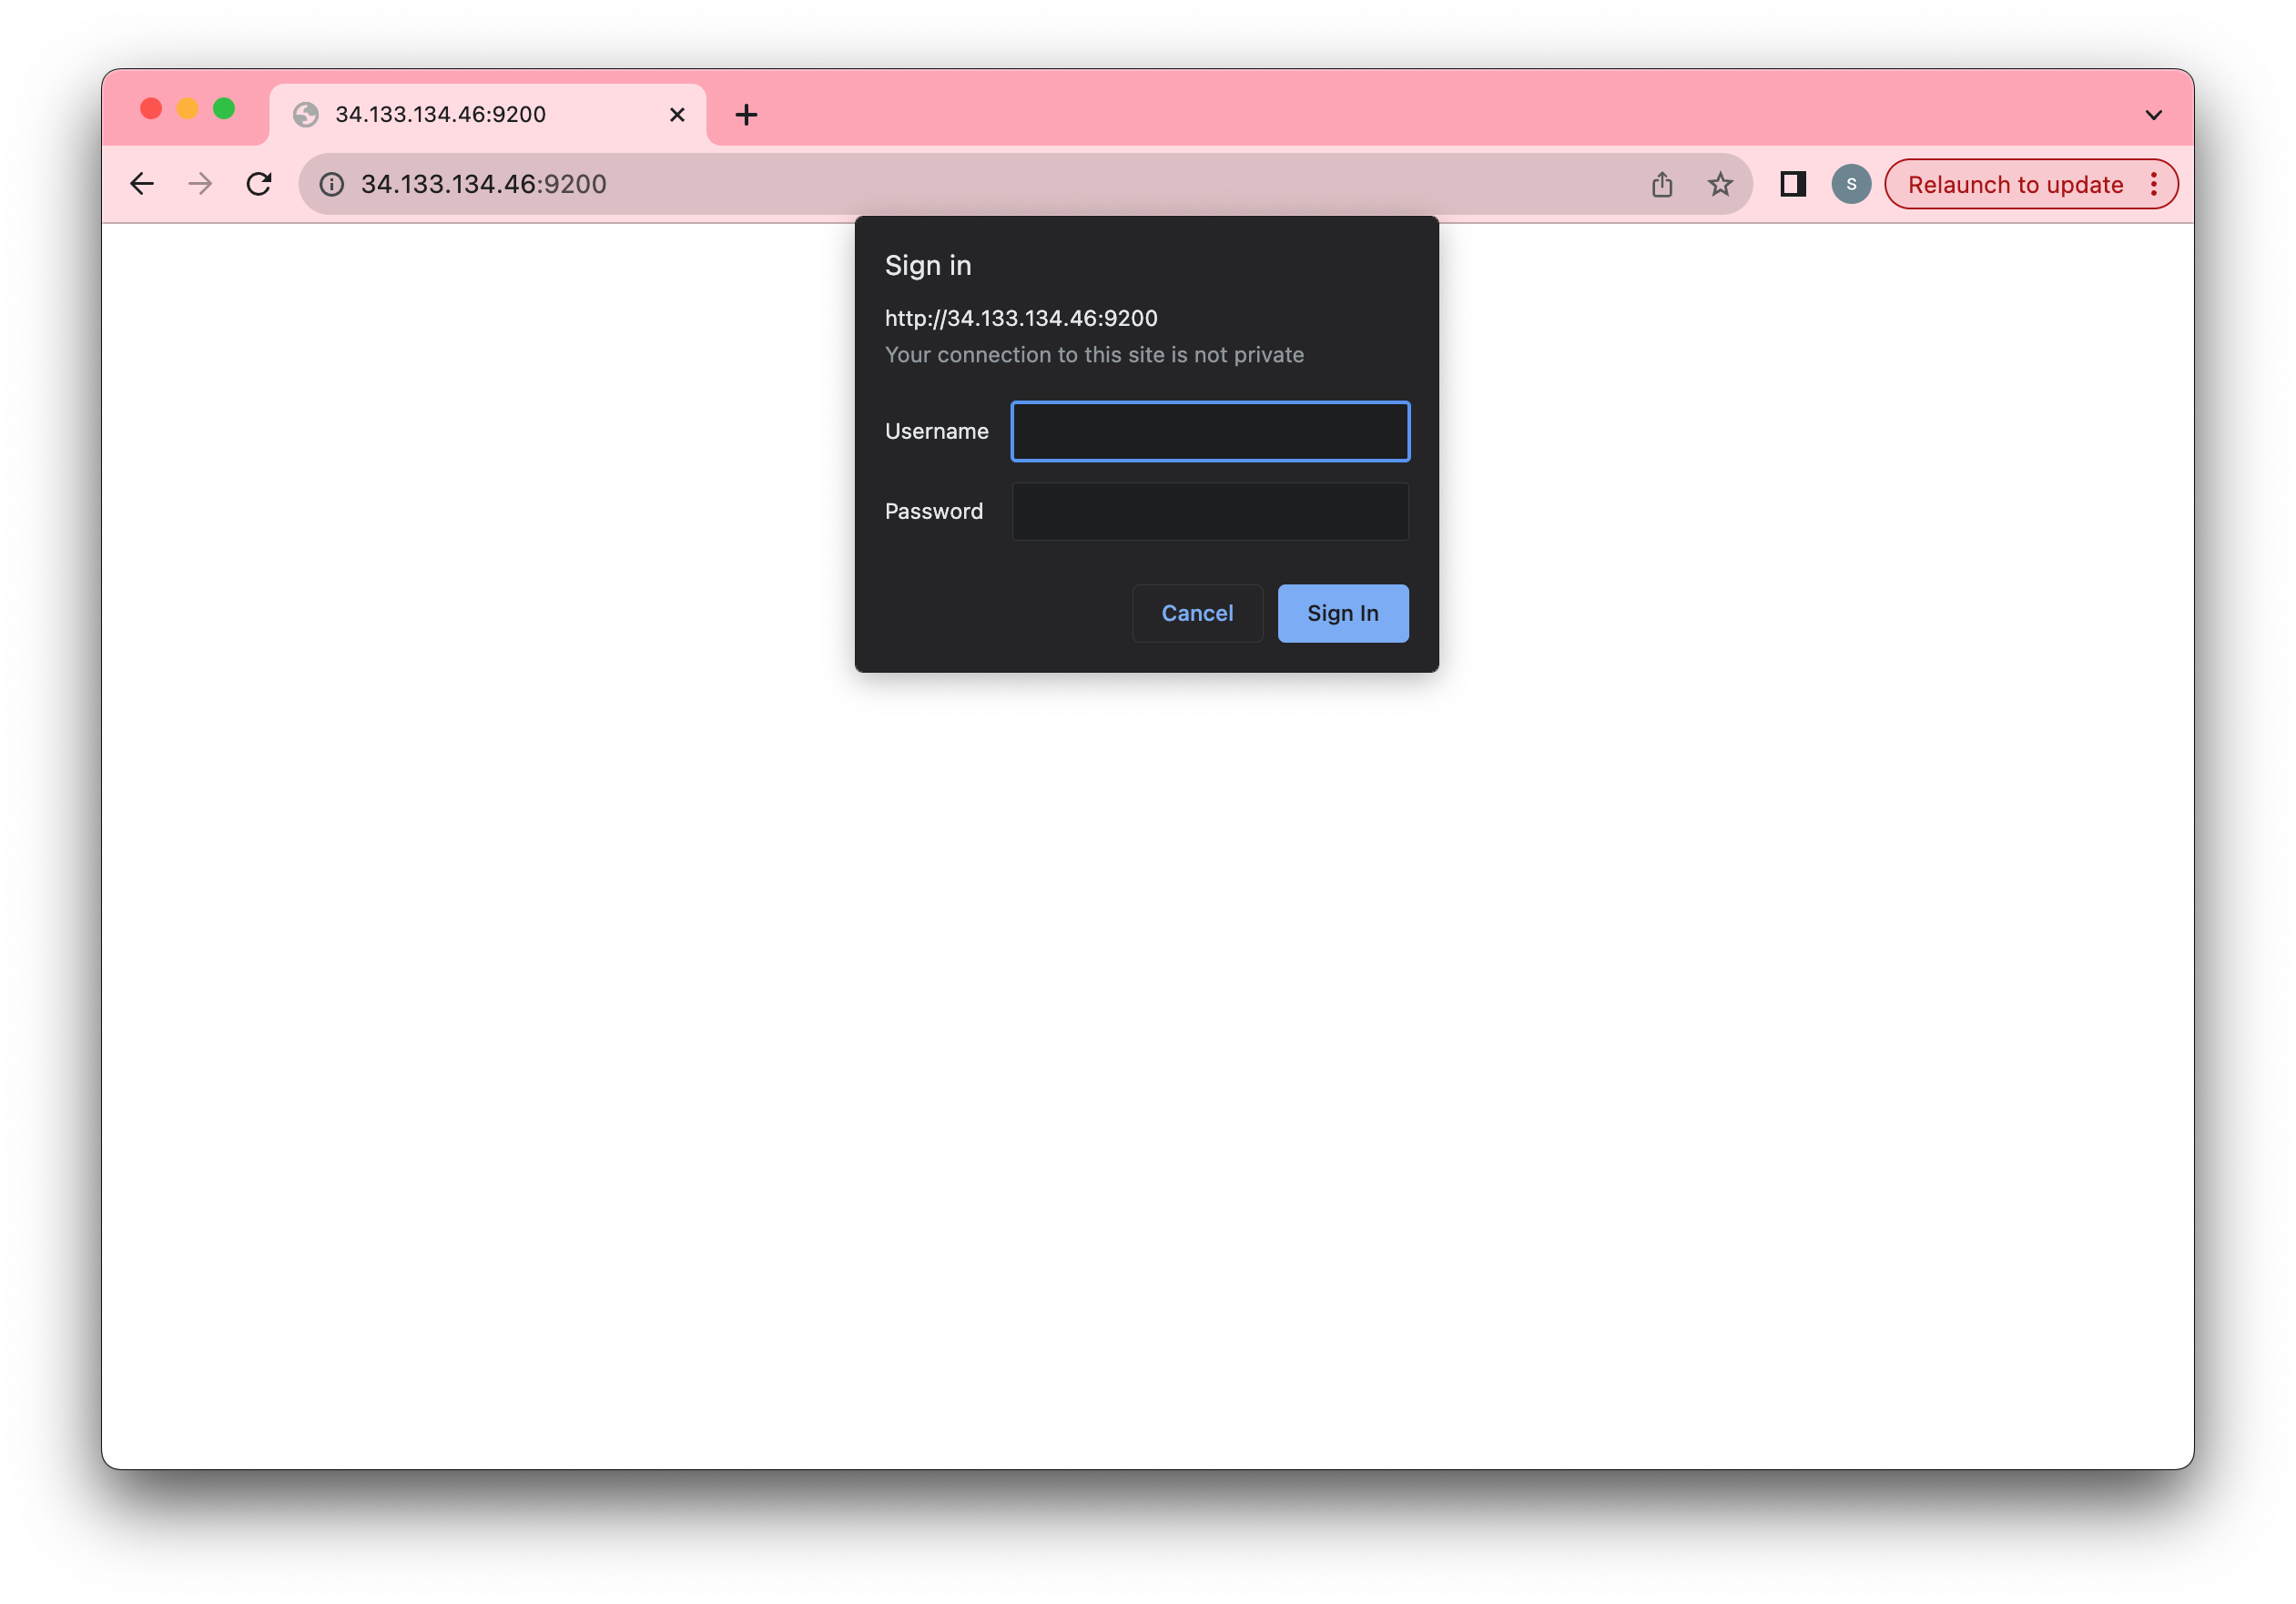
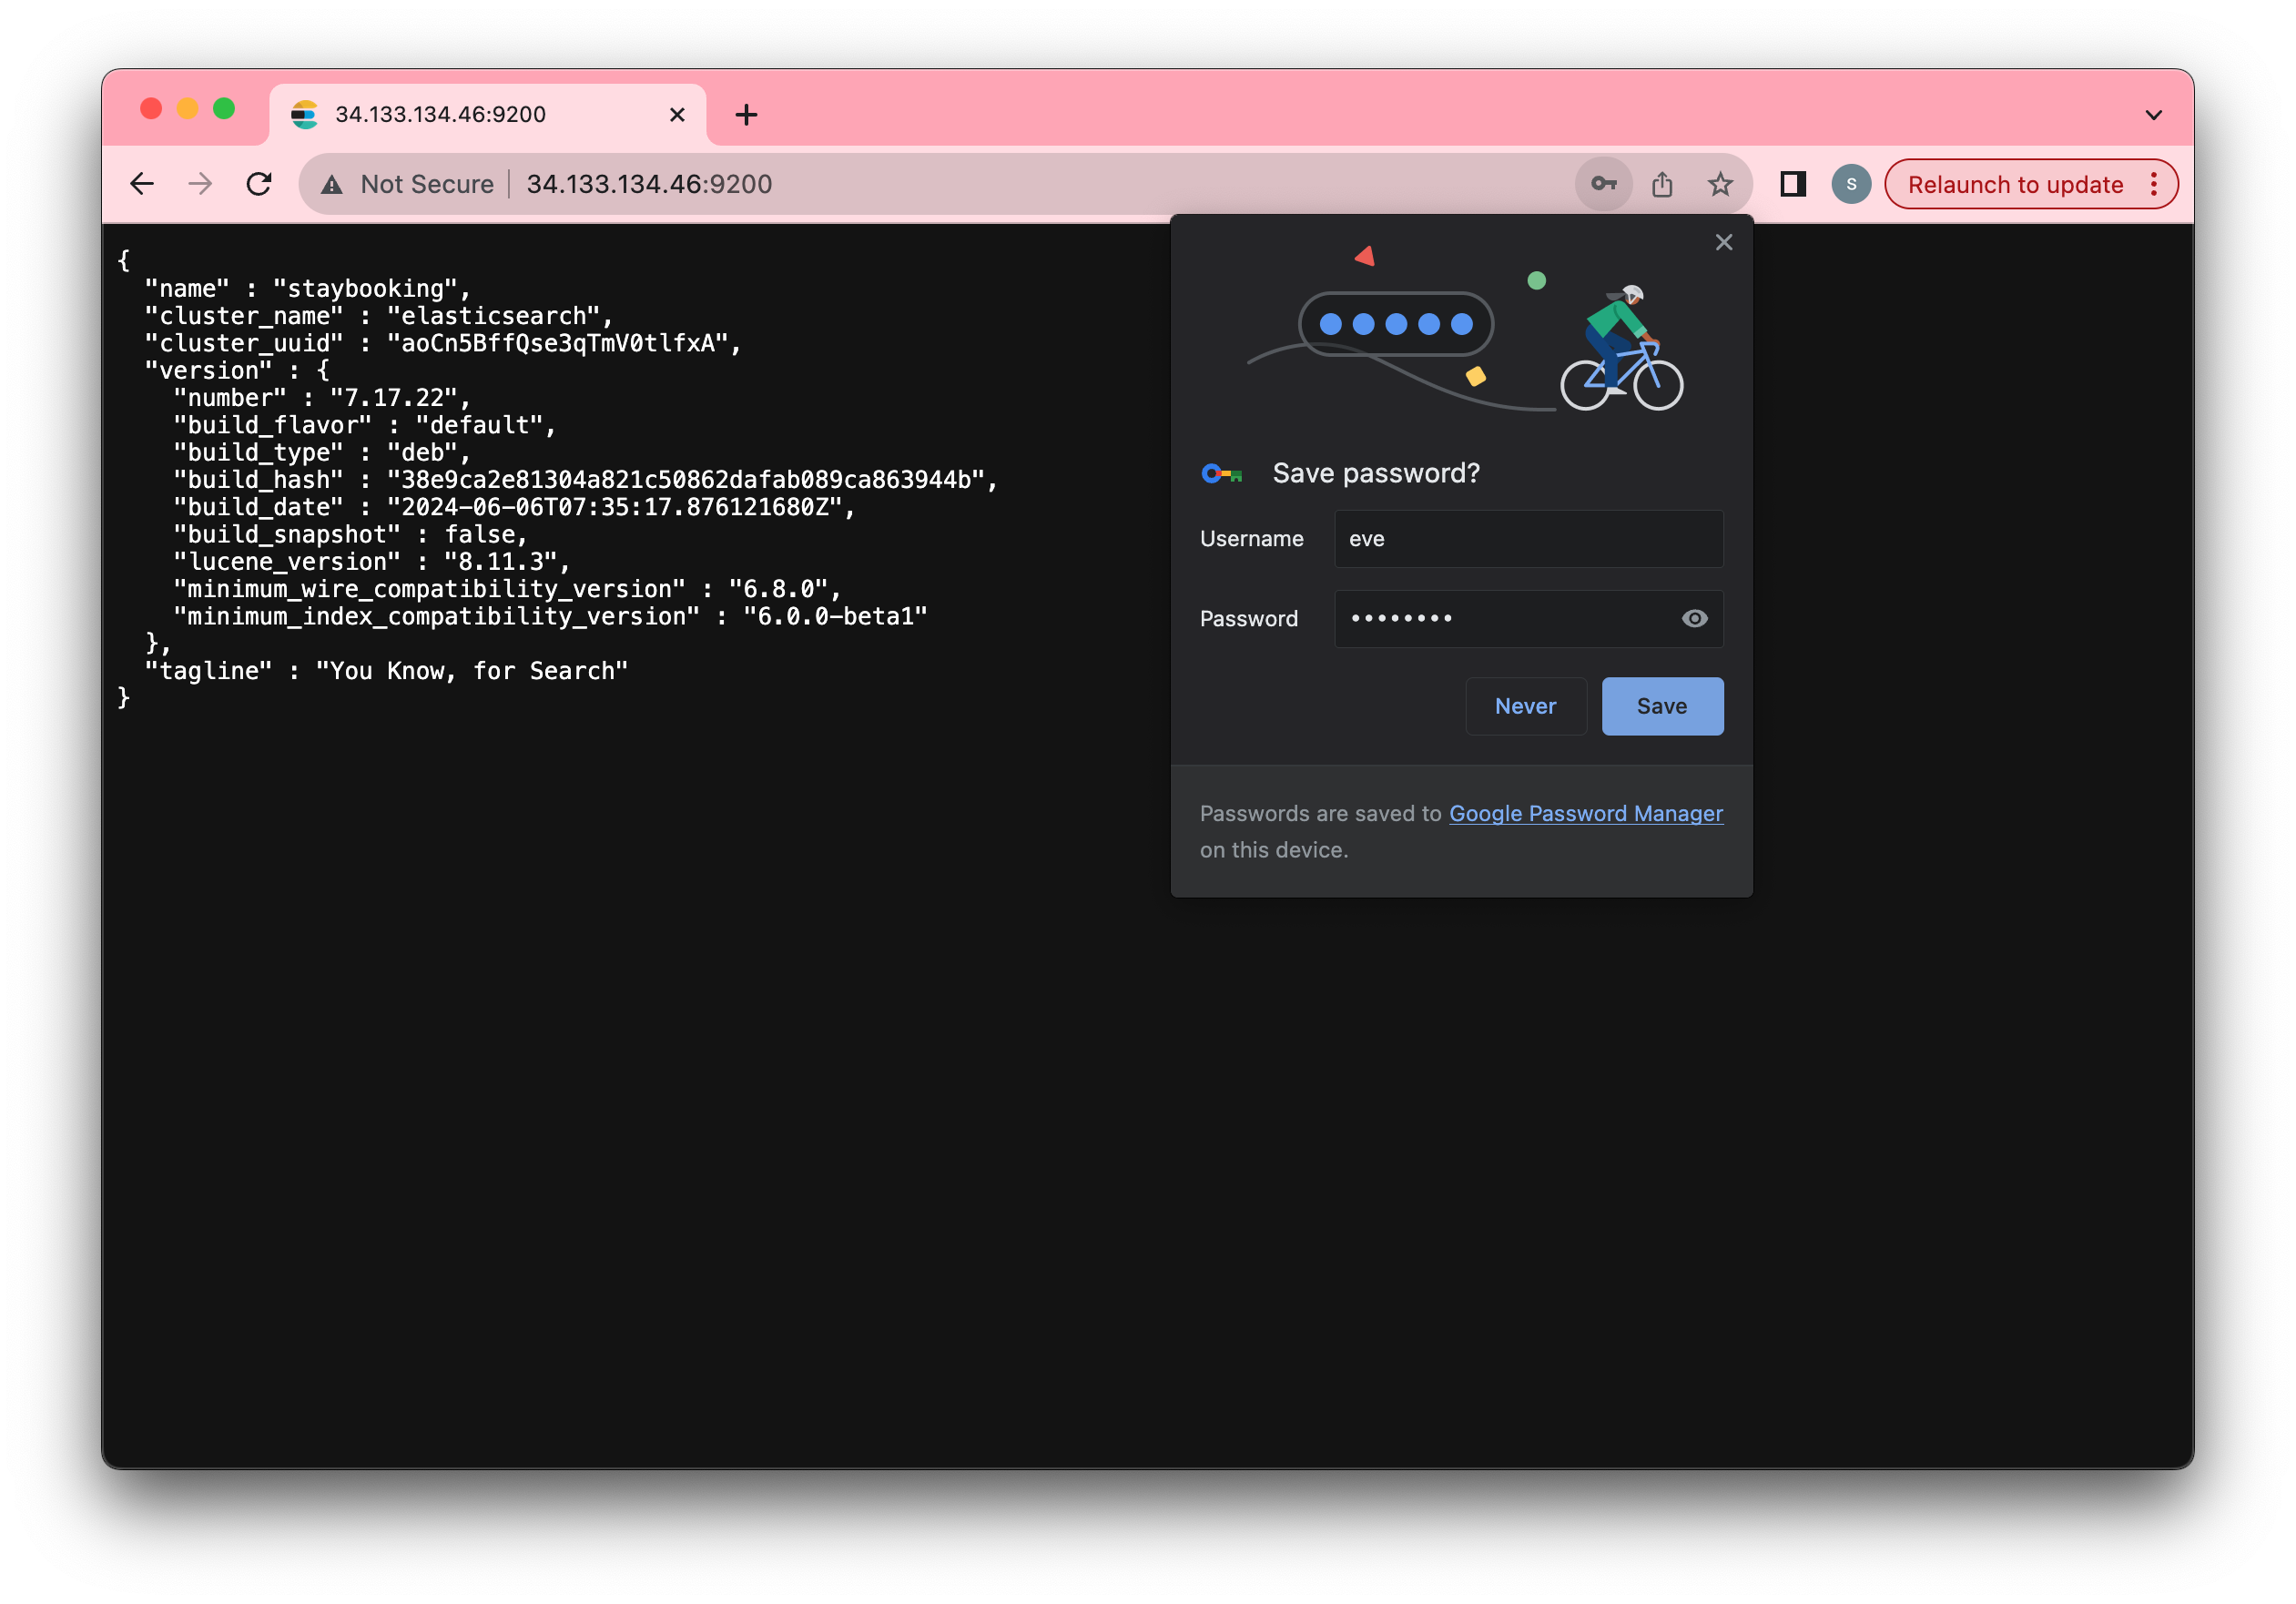
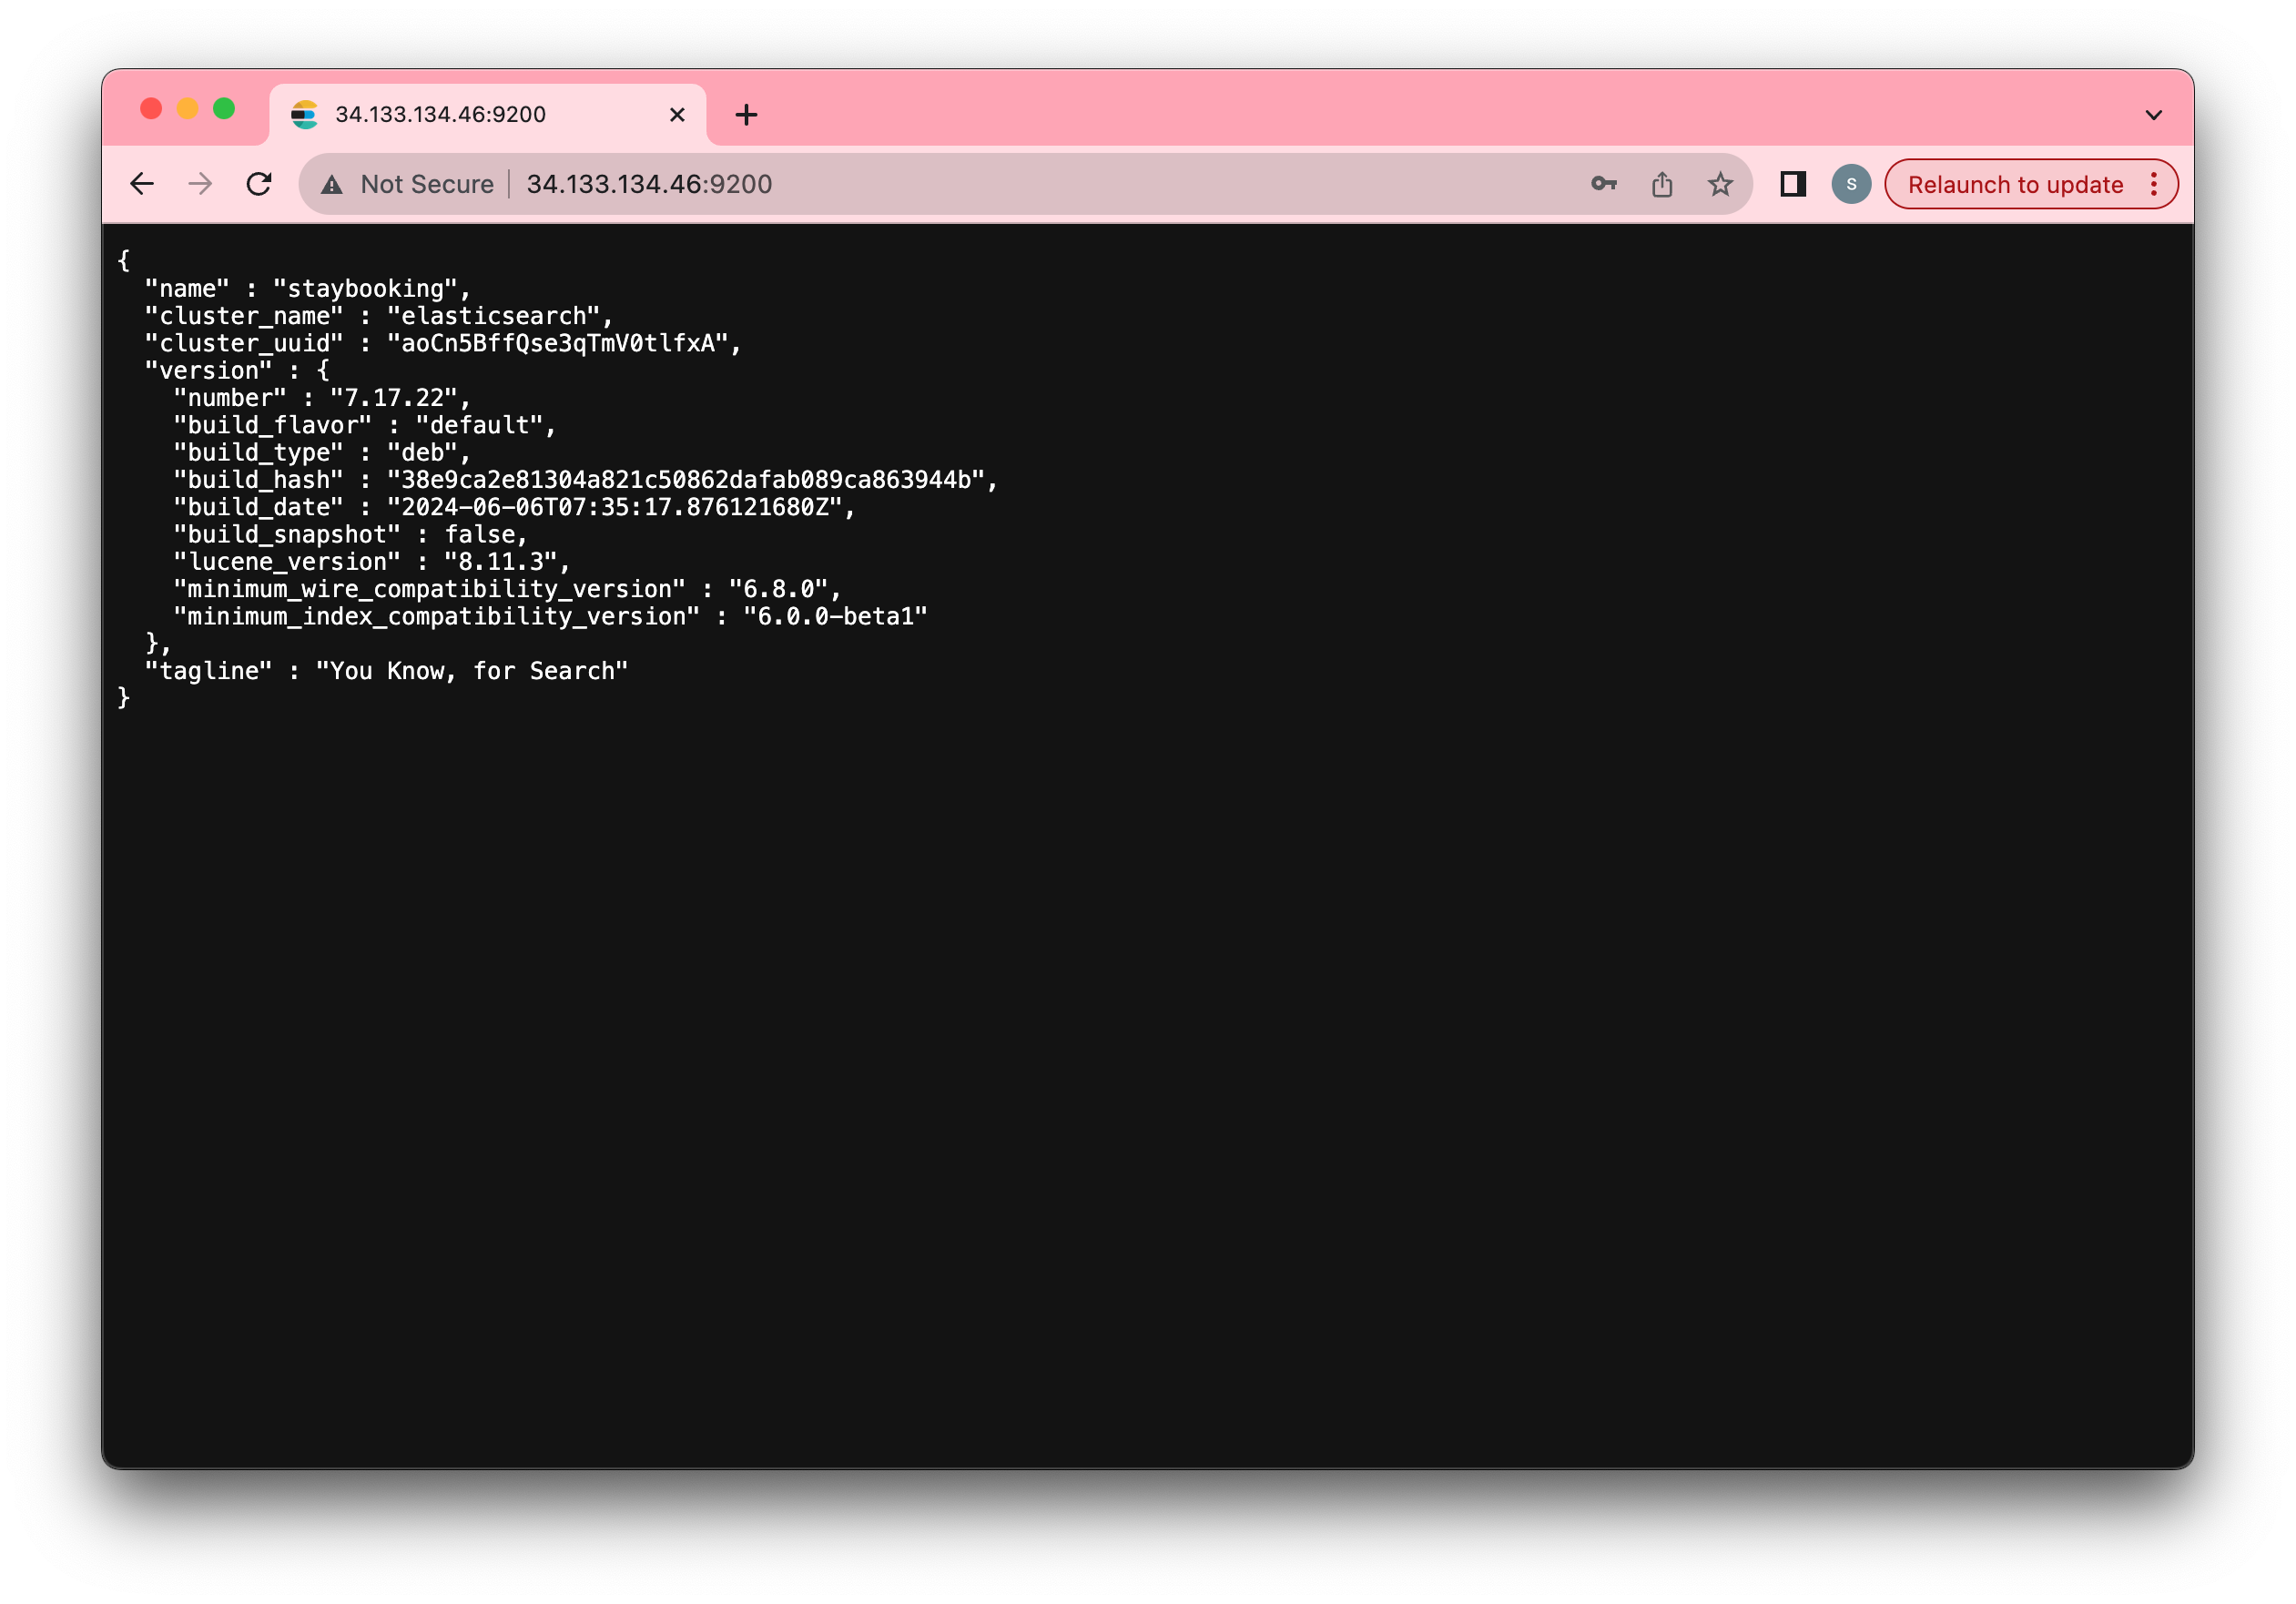
- In the end, you should see the following page.
- Open staybooking project in IntelliJ, go to the application.properties file and add the Elasticsearch address, username, and password.
spring.datasource.driver-class-name = com.mysql.cj.jdbc.Driver
spring.jpa.hibernate.ddl-auto = update
spring.jpa.show-sql = true
spring.jpa.properties.hibernate.dialect = org.hibernate.dialect.MySQLDialect
spring.datasource.url = jdbc:mysql://localhost:3306/staybooking?createDatabaseIfNotExist=true&serverTimezone=UTC
spring.datasource.username = root
spring.datasource.password = Eve123456
jwt.secret=secret
gcs.bucket=staybookingeve-bucket
spring.servlet.multipart.max-file-size=10MB
spring.servlet.multipart.max-request-size=10MB
elasticsearch.address=http://34.133.134.46:9200/
elasticsearch.username=eve
elasticsearch.password=12345678
Protect Stay Management API with Token Authentication
Spring Filter Recap
By using the Spring Security framework, we enabled the Spring Security filters for user authentication and authorization. User credentials(username and password) are provided in the login request body and sent to the Spring Security filters.
For this project, since the client uses the JWT token as the credential, we need to create a filter before the Spring Security filters so that we can decrypt the JWT token, make sure the token is valid, get the user information from the token and feed it to the Spring Security filters only for user authorization.
JwtFilter Implementation
- create a new package called com.eve.staybooking.filter and a JwtFilter class inside of it.
package com.eve.staybooking.filter;

import org.springframework.stereotype.Component;

@Component
public class JwtFilter {

}
- Add AuthorityRepository and JwtUtil as the private field, then add a constructor for initialization.
package com.eve.staybooking.filter;

import com.eve.staybooking.repository.AuthorityRepository;
import com.eve.staybooking.util.JwtUtil;
import org.springframework.beans.factory.annotation.Autowired;
import org.springframework.stereotype.Component;

@Component
public class JwtFilter {
    private final String HEADER = "Authorization";
    private final String PREFIX = "Bearer ";
    private AuthorityRepository authorityRepository;
    private JwtUtil jwtUtil;

    @Autowired
    public JwtFilter(AuthorityRepository authorityRepository, JwtUtil jwtUtil) {
        this.authorityRepository = authorityRepository;
        this.jwtUtil = jwtUtil;
    }

}
- Make JwtFilter extends the OncePerRequestFilter interface and implement doFilterInternal() method.
package com.eve.staybooking.filter;

import com.eve.staybooking.model.Authority;
import com.eve.staybooking.repository.AuthorityRepository;
import com.eve.staybooking.util.JwtUtil;
import jakarta.servlet.FilterChain;
import jakarta.servlet.ServletException;
import jakarta.servlet.http.HttpServletRequest;
import jakarta.servlet.http.HttpServletResponse;
import org.springframework.beans.factory.annotation.Autowired;
import org.springframework.security.authentication.UsernamePasswordAuthenticationToken;
import org.springframework.security.core.GrantedAuthority;
import org.springframework.security.core.authority.SimpleGrantedAuthority;
import org.springframework.security.core.context.SecurityContextHolder;
import org.springframework.security.web.authentication.WebAuthenticationDetailsSource;
import org.springframework.stereotype.Component;
import org.springframework.web.filter.OncePerRequestFilter;

import java.io.IOException;
import java.util.Arrays;
import java.util.List;

@Component
public class JwtFilter extends OncePerRequestFilter {
    private final String HEADER = "Authorization";
    private final String PREFIX = "Bearer ";
    private AuthorityRepository authorityRepository;
    private JwtUtil jwtUtil;

    @Autowired
    public JwtFilter(AuthorityRepository authorityRepository, JwtUtil jwtUtil) {
        this.authorityRepository = authorityRepository;
        this.jwtUtil = jwtUtil;
    }

    @Override
    protected void doFilterInternal(HttpServletRequest httpServletRequest, HttpServletResponse httpServletResponse, FilterChain filterChain) throws ServletException, IOException {
        final String authorizationHeader = httpServletRequest.getHeader(HEADER);

        String jwt = null;
        if (authorizationHeader != null && authorizationHeader.startsWith(PREFIX)) {
            jwt = authorizationHeader.substring(PREFIX.length());
        }

        if (jwt != null && jwtUtil.validateToken(jwt) && SecurityContextHolder.getContext().getAuthentication() == null) {
            String username = jwtUtil.extractUsername(jwt);
            Authority authority = authorityRepository.findById(username).orElse(null);
            if (authority != null) {
                List<GrantedAuthority> grantedAuthorities = Arrays.asList(new GrantedAuthority[]{new SimpleGrantedAuthority(authority.getAuthority())});
                UsernamePasswordAuthenticationToken usernamePasswordAuthenticationToken = new UsernamePasswordAuthenticationToken(
                        username, null, grantedAuthorities);
                usernamePasswordAuthenticationToken.setDetails(new WebAuthenticationDetailsSource().buildDetails(httpServletRequest));
                SecurityContextHolder.getContext().setAuthentication(usernamePasswordAuthenticationToken);
            }
        }
        filterChain.doFilter(httpServletRequest, httpServletResponse);
    }


}
JwtUtil.java:
package com.eve.staybooking.util;

import io.jsonwebtoken.Claims;
import io.jsonwebtoken.Jwts;
import io.jsonwebtoken.SignatureAlgorithm;
import org.springframework.beans.factory.annotation.Value;
import org.springframework.stereotype.Component;

import java.util.Date;
import java.util.HashMap;

@Component
public class JwtUtil {
    @Value("${jwt.secret}")
    private String secret;

    public String generateToken(String subject) {
        return Jwts.builder()
                .setClaims(new HashMap<>())
                .setSubject(subject)
                .setIssuedAt(new Date(System.currentTimeMillis()))
                .setExpiration(new Date(System.currentTimeMillis() + 1000 * 60 * 60 * 24))
                .signWith(SignatureAlgorithm.HS256, secret)
                .compact();
    }

    private Claims extractAllClaims(String token) {
        return Jwts.parser().setSigningKey(secret).parseClaimsJws(token).getBody();
    }

    public String extractUsername(String token) {
        return extractAllClaims(token).getSubject();
    }

    public Date extractExpiration(String token) {
        return extractAllClaims(token).getExpiration();
    }

    public boolean isTokenExpired(String token) {
        return extractExpiration(token).before(new Date());
    }

    public boolean validateToken(String jwt) {
        return !isTokenExpired(jwt);
    }
}
- Go to the SecurityConfig class, enable the JwtFilter and make stay management APIs require authentication.
package com.eve.staybooking.config;

import com.eve.staybooking.filter.JwtFilter;
import org.springframework.beans.factory.annotation.Autowired;
import org.springframework.context.annotation.Bean;
import org.springframework.context.annotation.Configuration;
import org.springframework.http.HttpMethod;
import org.springframework.security.authentication.AuthenticationManager;
import org.springframework.security.config.annotation.authentication.builders.AuthenticationManagerBuilder;
import org.springframework.security.config.annotation.web.builders.HttpSecurity;
import org.springframework.security.config.annotation.web.configuration.EnableWebSecurity;
import org.springframework.security.config.http.SessionCreationPolicy;
import org.springframework.security.crypto.bcrypt.BCryptPasswordEncoder;
import org.springframework.security.crypto.password.PasswordEncoder;
import org.springframework.security.web.SecurityFilterChain;
import org.springframework.security.web.authentication.UsernamePasswordAuthenticationFilter;

import javax.sql.DataSource;

@EnableWebSecurity
@Configuration
public class SecurityConfig {
    @Autowired
    private DataSource dataSource;

    @Autowired
    private JwtFilter jwtFilter;

    @Bean
    public PasswordEncoder passwordEncoder(){
        return new BCryptPasswordEncoder();
    }

    @Bean
    public SecurityFilterChain securityFilterChain(HttpSecurity http) throws Exception {
        http
                .authorizeHttpRequests((authz) -> authz
                        .requestMatchers(HttpMethod.POST, "/register/*").permitAll()
                        .requestMatchers(HttpMethod.POST, "/authenticate/*").permitAll()
                        .requestMatchers("/stays").hasAuthority("ROLE_HOST")
                        .requestMatchers("/stays/*").hasAuthority("ROLE_HOST")
                        .anyRequest().authenticated()
                )
                .csrf(csrf -> csrf.disable())
                .sessionManagement(session -> session
                        .sessionCreationPolicy(SessionCreationPolicy.STATELESS)
                )
                .addFilterBefore(jwtFilter, UsernamePasswordAuthenticationFilter.class);
        return http.build();
    }


    @Bean
    public AuthenticationManager authenticationManager(HttpSecurity http) throws Exception {
        AuthenticationManagerBuilder authenticationManagerBuilder =
                http.getSharedObject(AuthenticationManagerBuilder.class);
        authenticationManagerBuilder
                .jdbcAuthentication()
                .dataSource(dataSource)
                .passwordEncoder(passwordEncoder())
                .usersByUsernameQuery("SELECT username, password, enabled FROM user WHERE username = ?")
                .authoritiesByUsernameQuery("SELECT username, authority FROM authority WHERE username = ?");

        return authenticationManagerBuilder.build();
    }


}
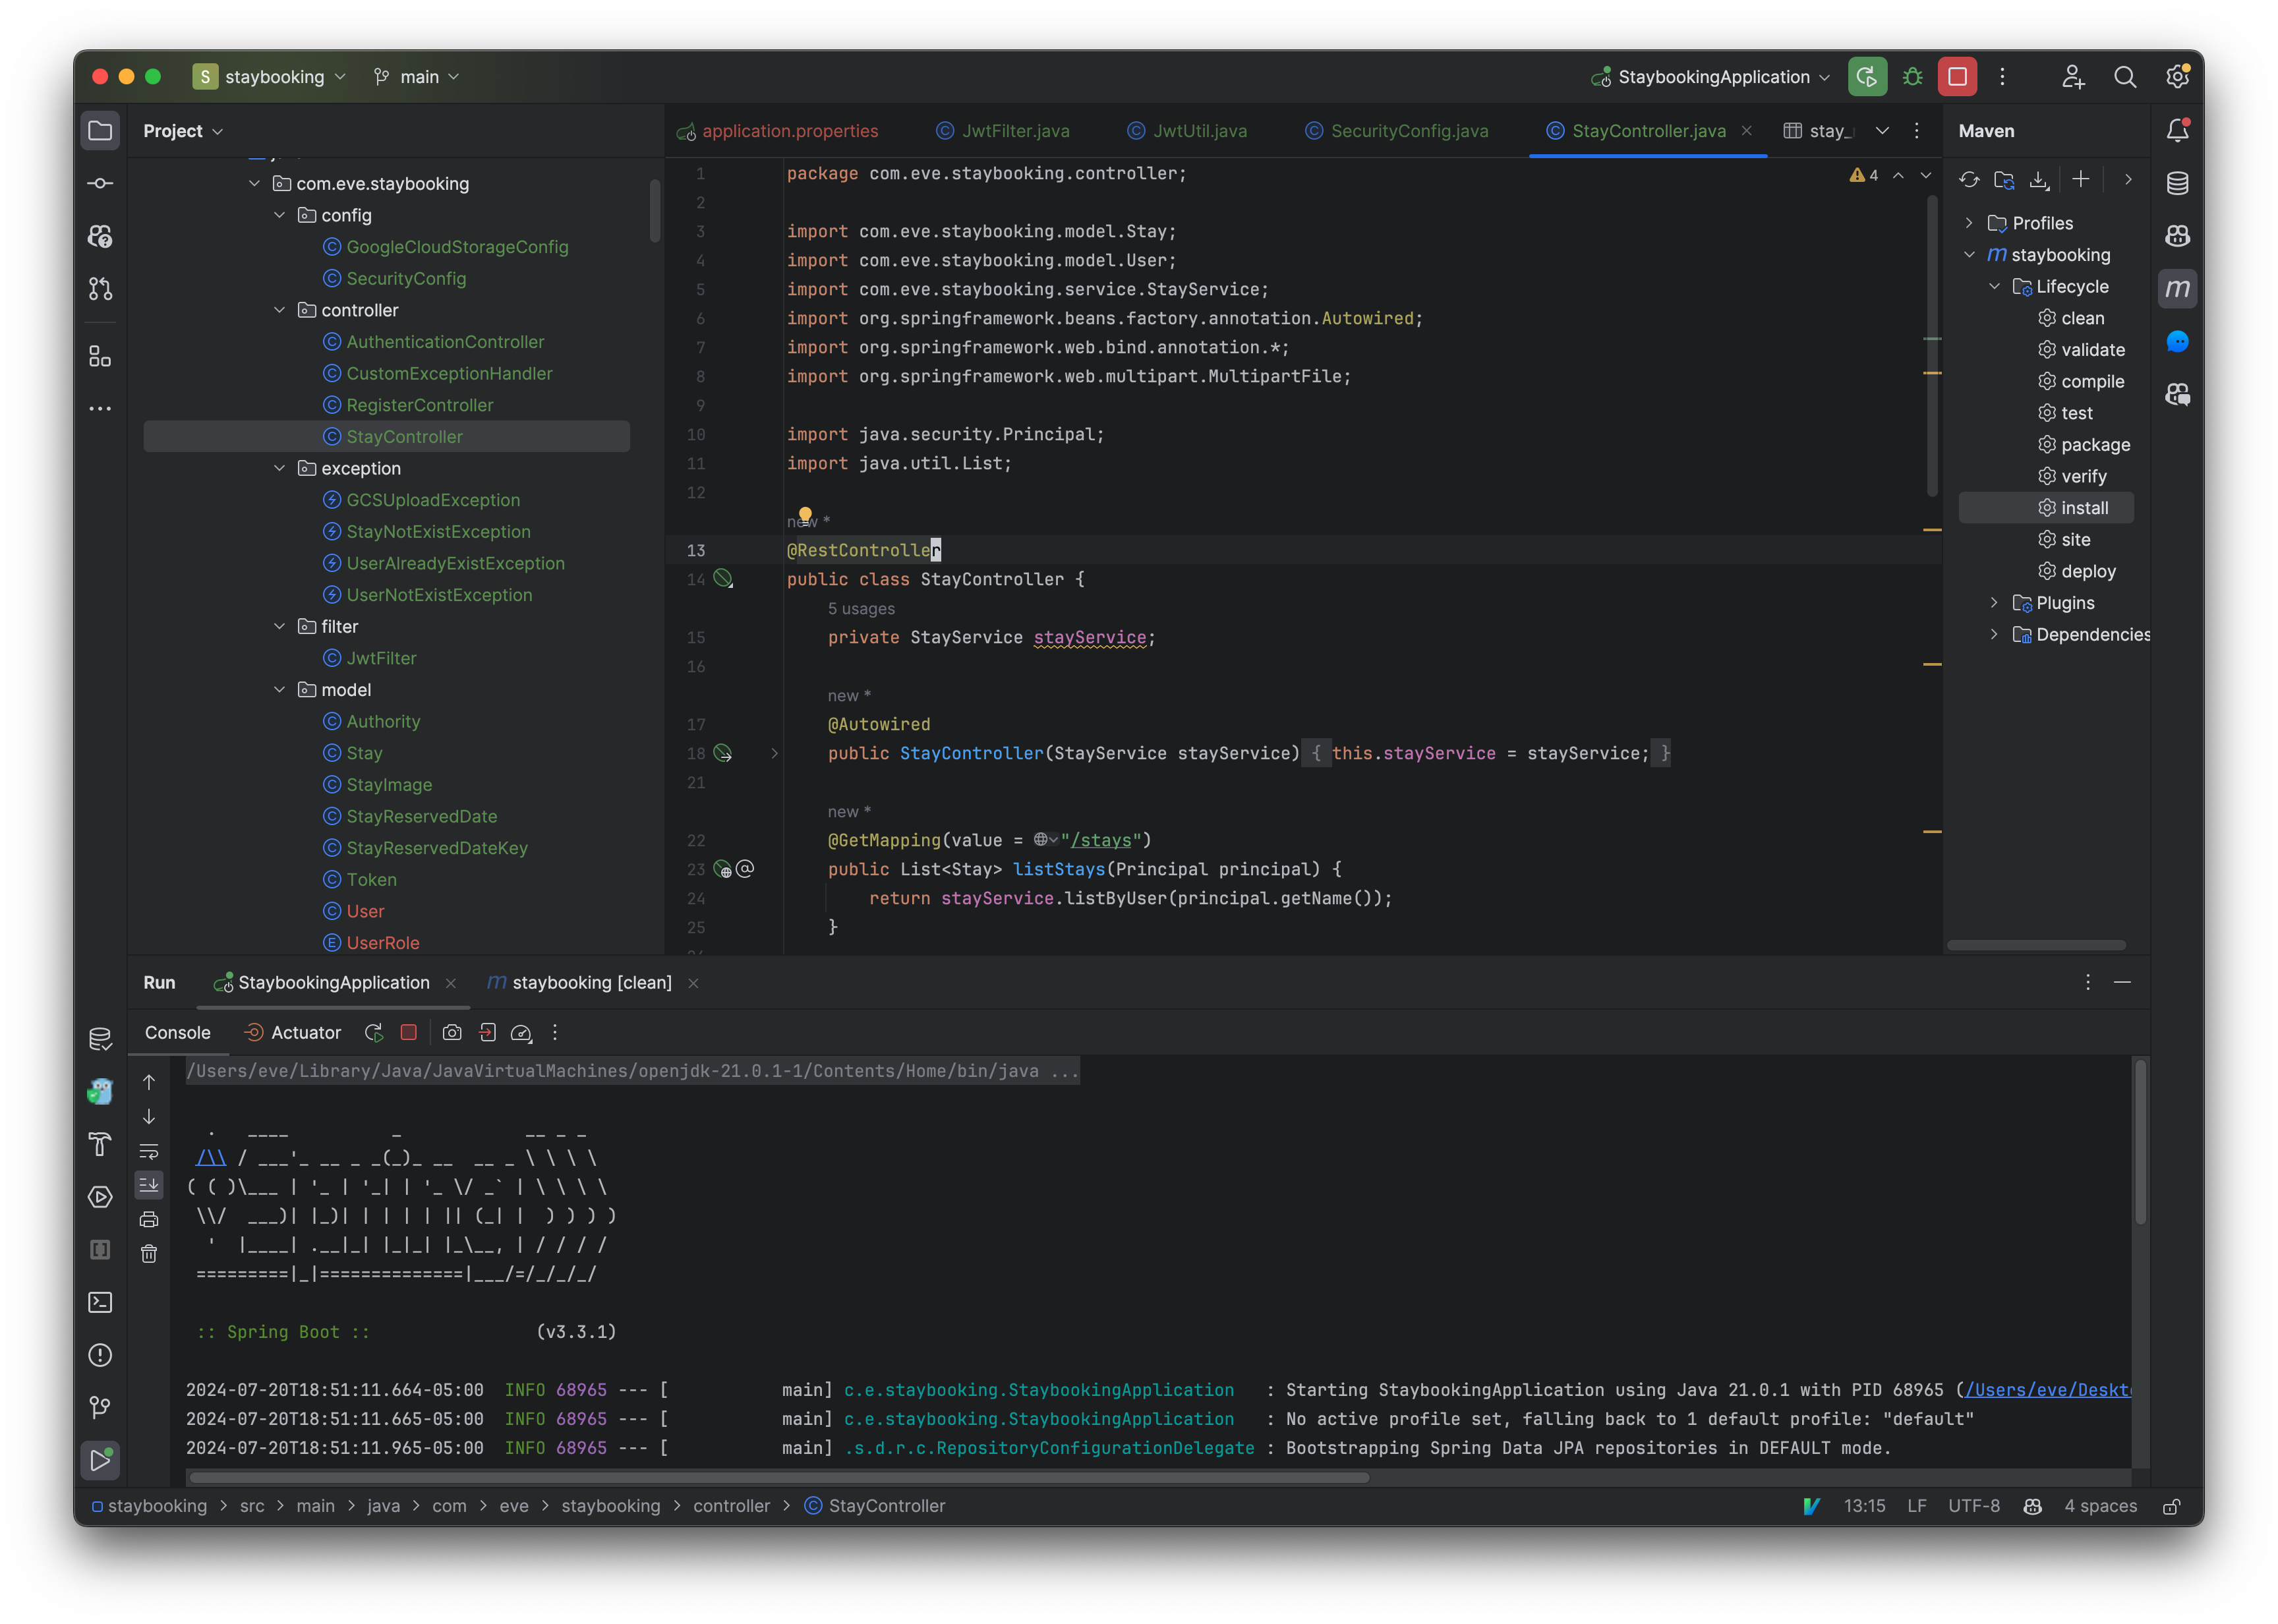
- Go to the StayController class, update the API parameter to read user data from the token.
package com.eve.staybooking.controller;

import com.eve.staybooking.model.Stay;
import com.eve.staybooking.model.User;
import com.eve.staybooking.service.StayService;
import org.springframework.beans.factory.annotation.Autowired;
import org.springframework.web.bind.annotation.*;
import org.springframework.web.multipart.MultipartFile;

import java.security.Principal;
import java.util.List;

@RestController
public class StayController {
    private StayService stayService;

    @Autowired
    public StayController(StayService stayService) {
        this.stayService = stayService;
    }

    @GetMapping(value = "/stays")
    public List<Stay> listStays(Principal principal) {
        return stayService.listByUser(principal.getName());
    }

    @GetMapping(value = "/stays/{stayId}")
    public Stay getStay(@PathVariable Long stayId, Principal principal) {
        return stayService.findByIdAndHost(stayId, principal.getName());
    }

    @PostMapping("/stays")
    public void addStay(
            @RequestParam("name") String name,
            @RequestParam("address") String address,
            @RequestParam("description") String description,
            @RequestParam("guest_number") int guestNumber,
            @RequestParam("images") MultipartFile[] images, Principal principal) {

        Stay stay = new Stay.Builder()
                .setName(name)
                .setAddress(address)
                .setDescription(description)
                .setGuestNumber(guestNumber)
                .setHost(new User.Builder().setUsername(principal.getName()).build())
                .build();
        stayService.add(stay, images);
    }

    @DeleteMapping("/stays/{stayId}")
    public void deleteStay(
            @PathVariable Long stayId, Principal principal) {
        stayService.delete(stayId, principal.getName());
    }

}
Test Your Result
- Save all your changes and start your project. Make sure there’s no error in the log
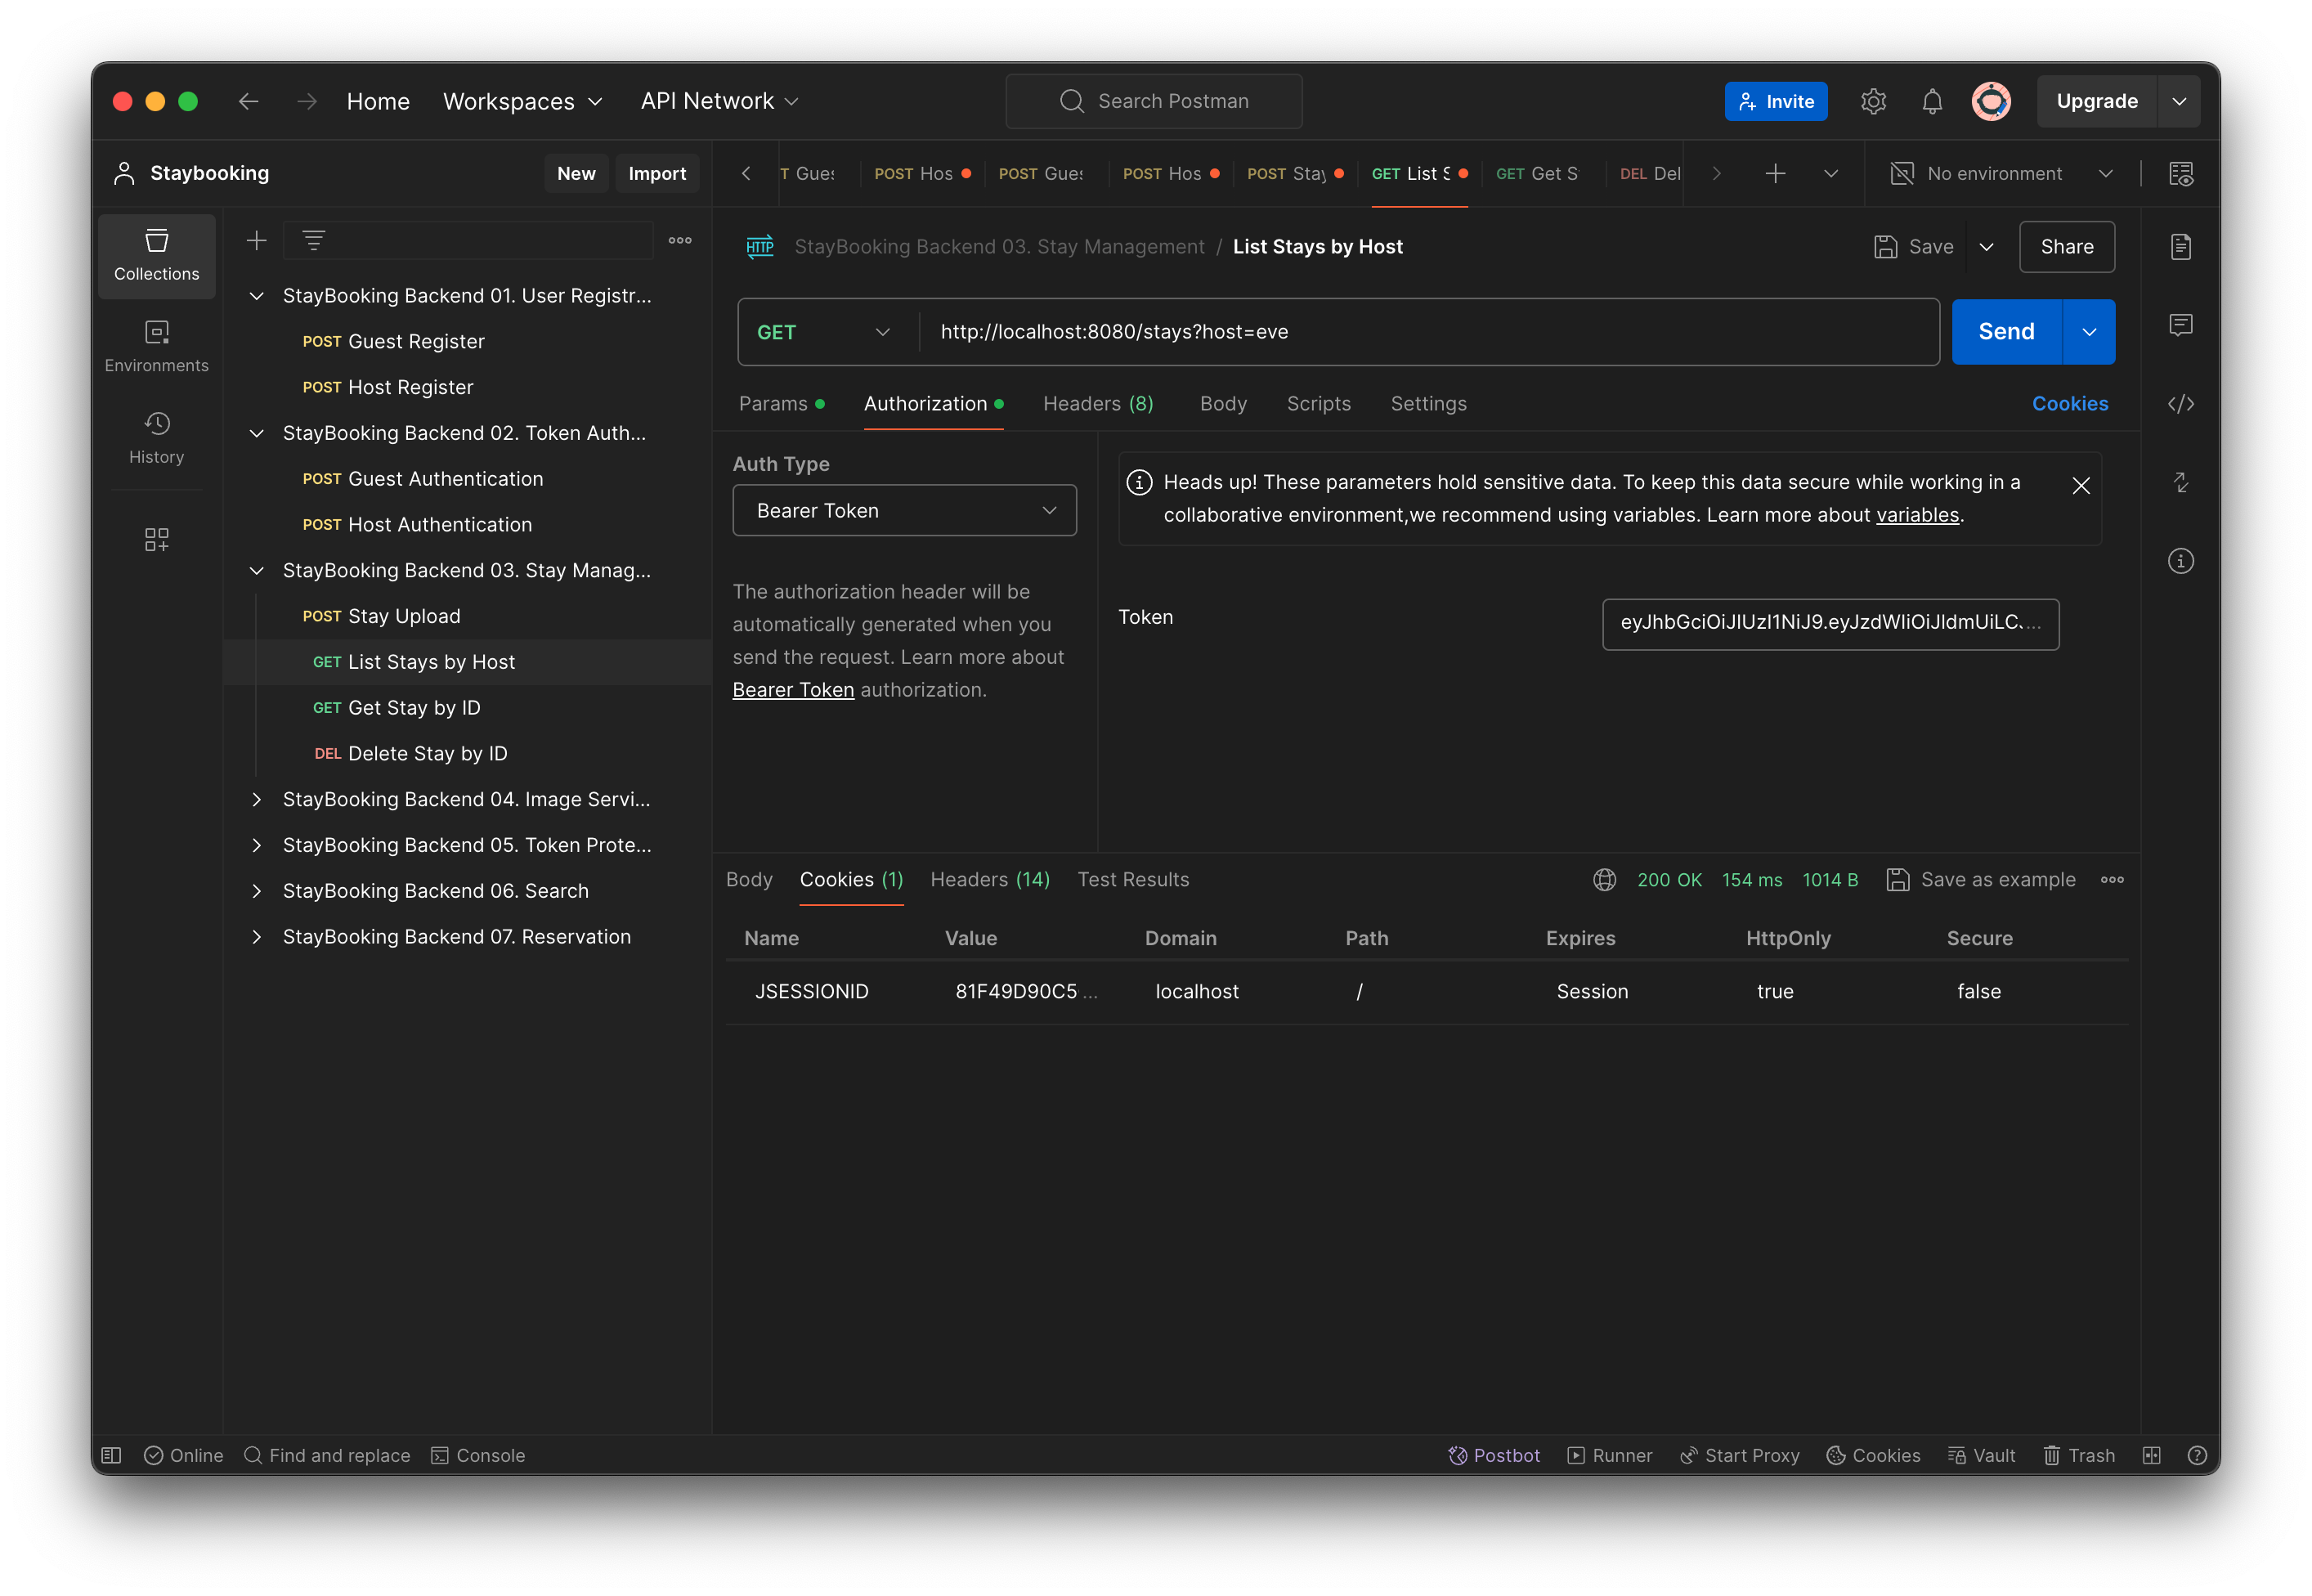
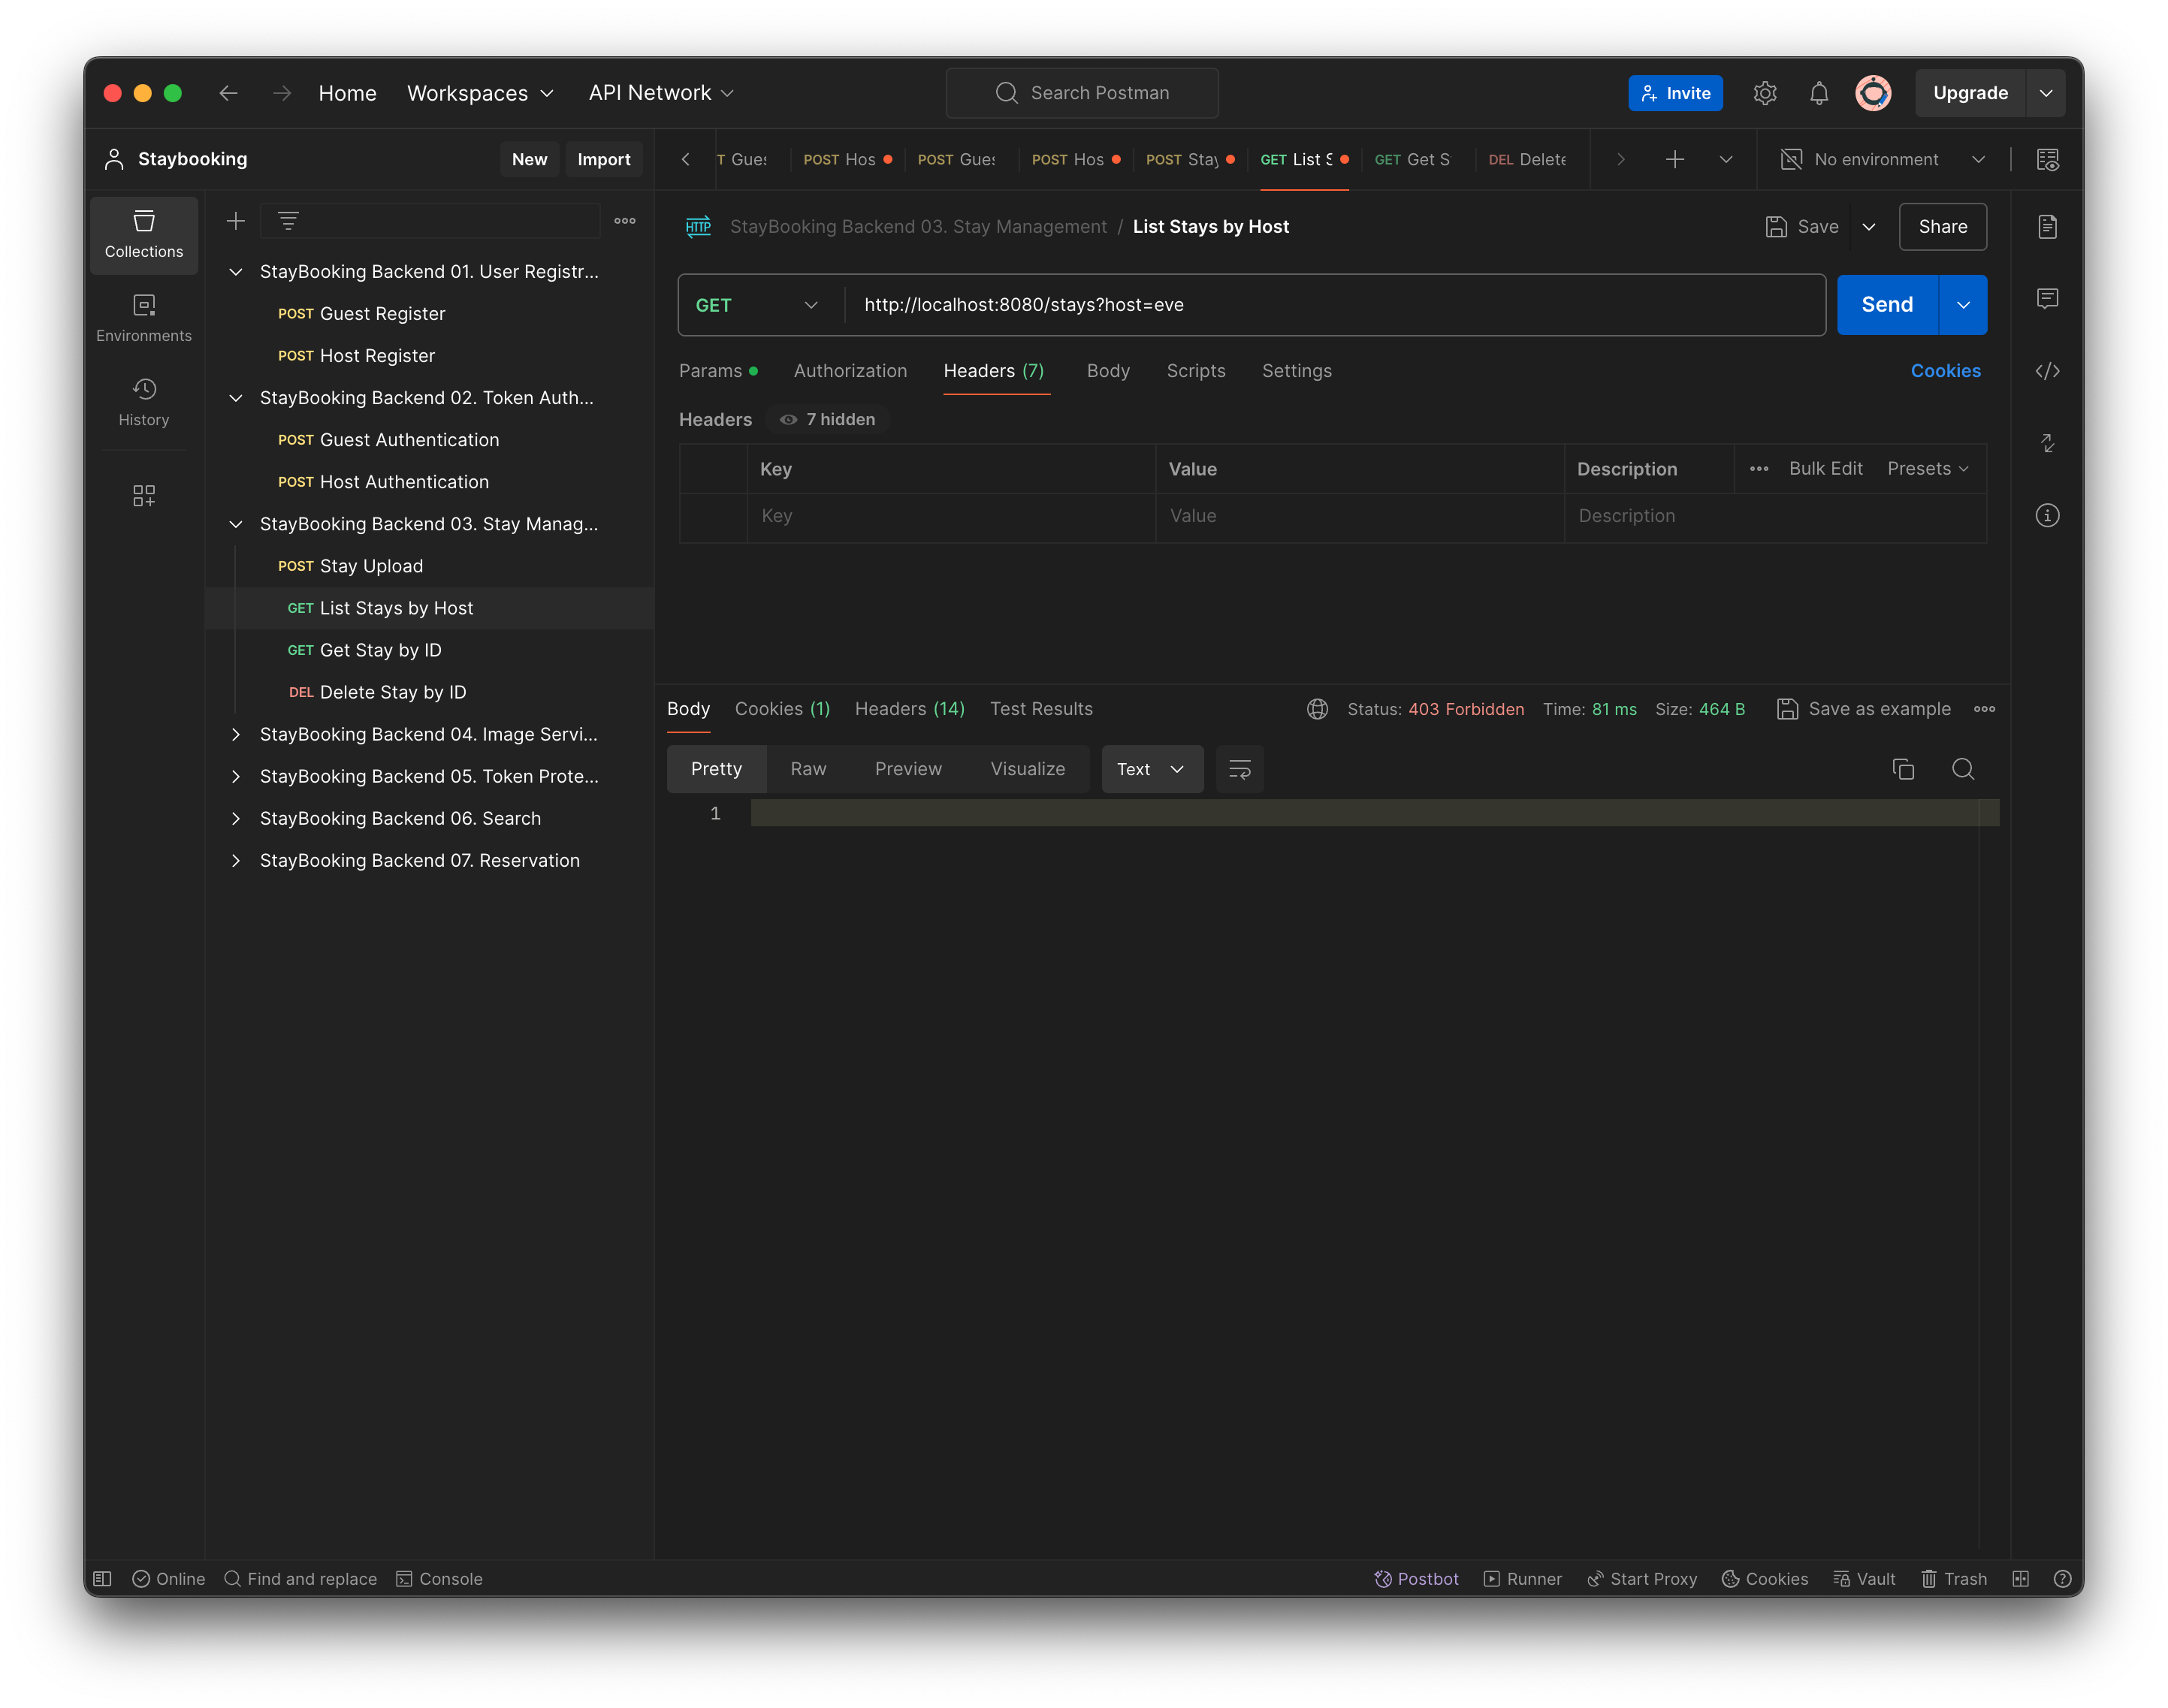
- Open Postman and use the List Stay by Host request. You should see the 403 - forbidden error in the response.
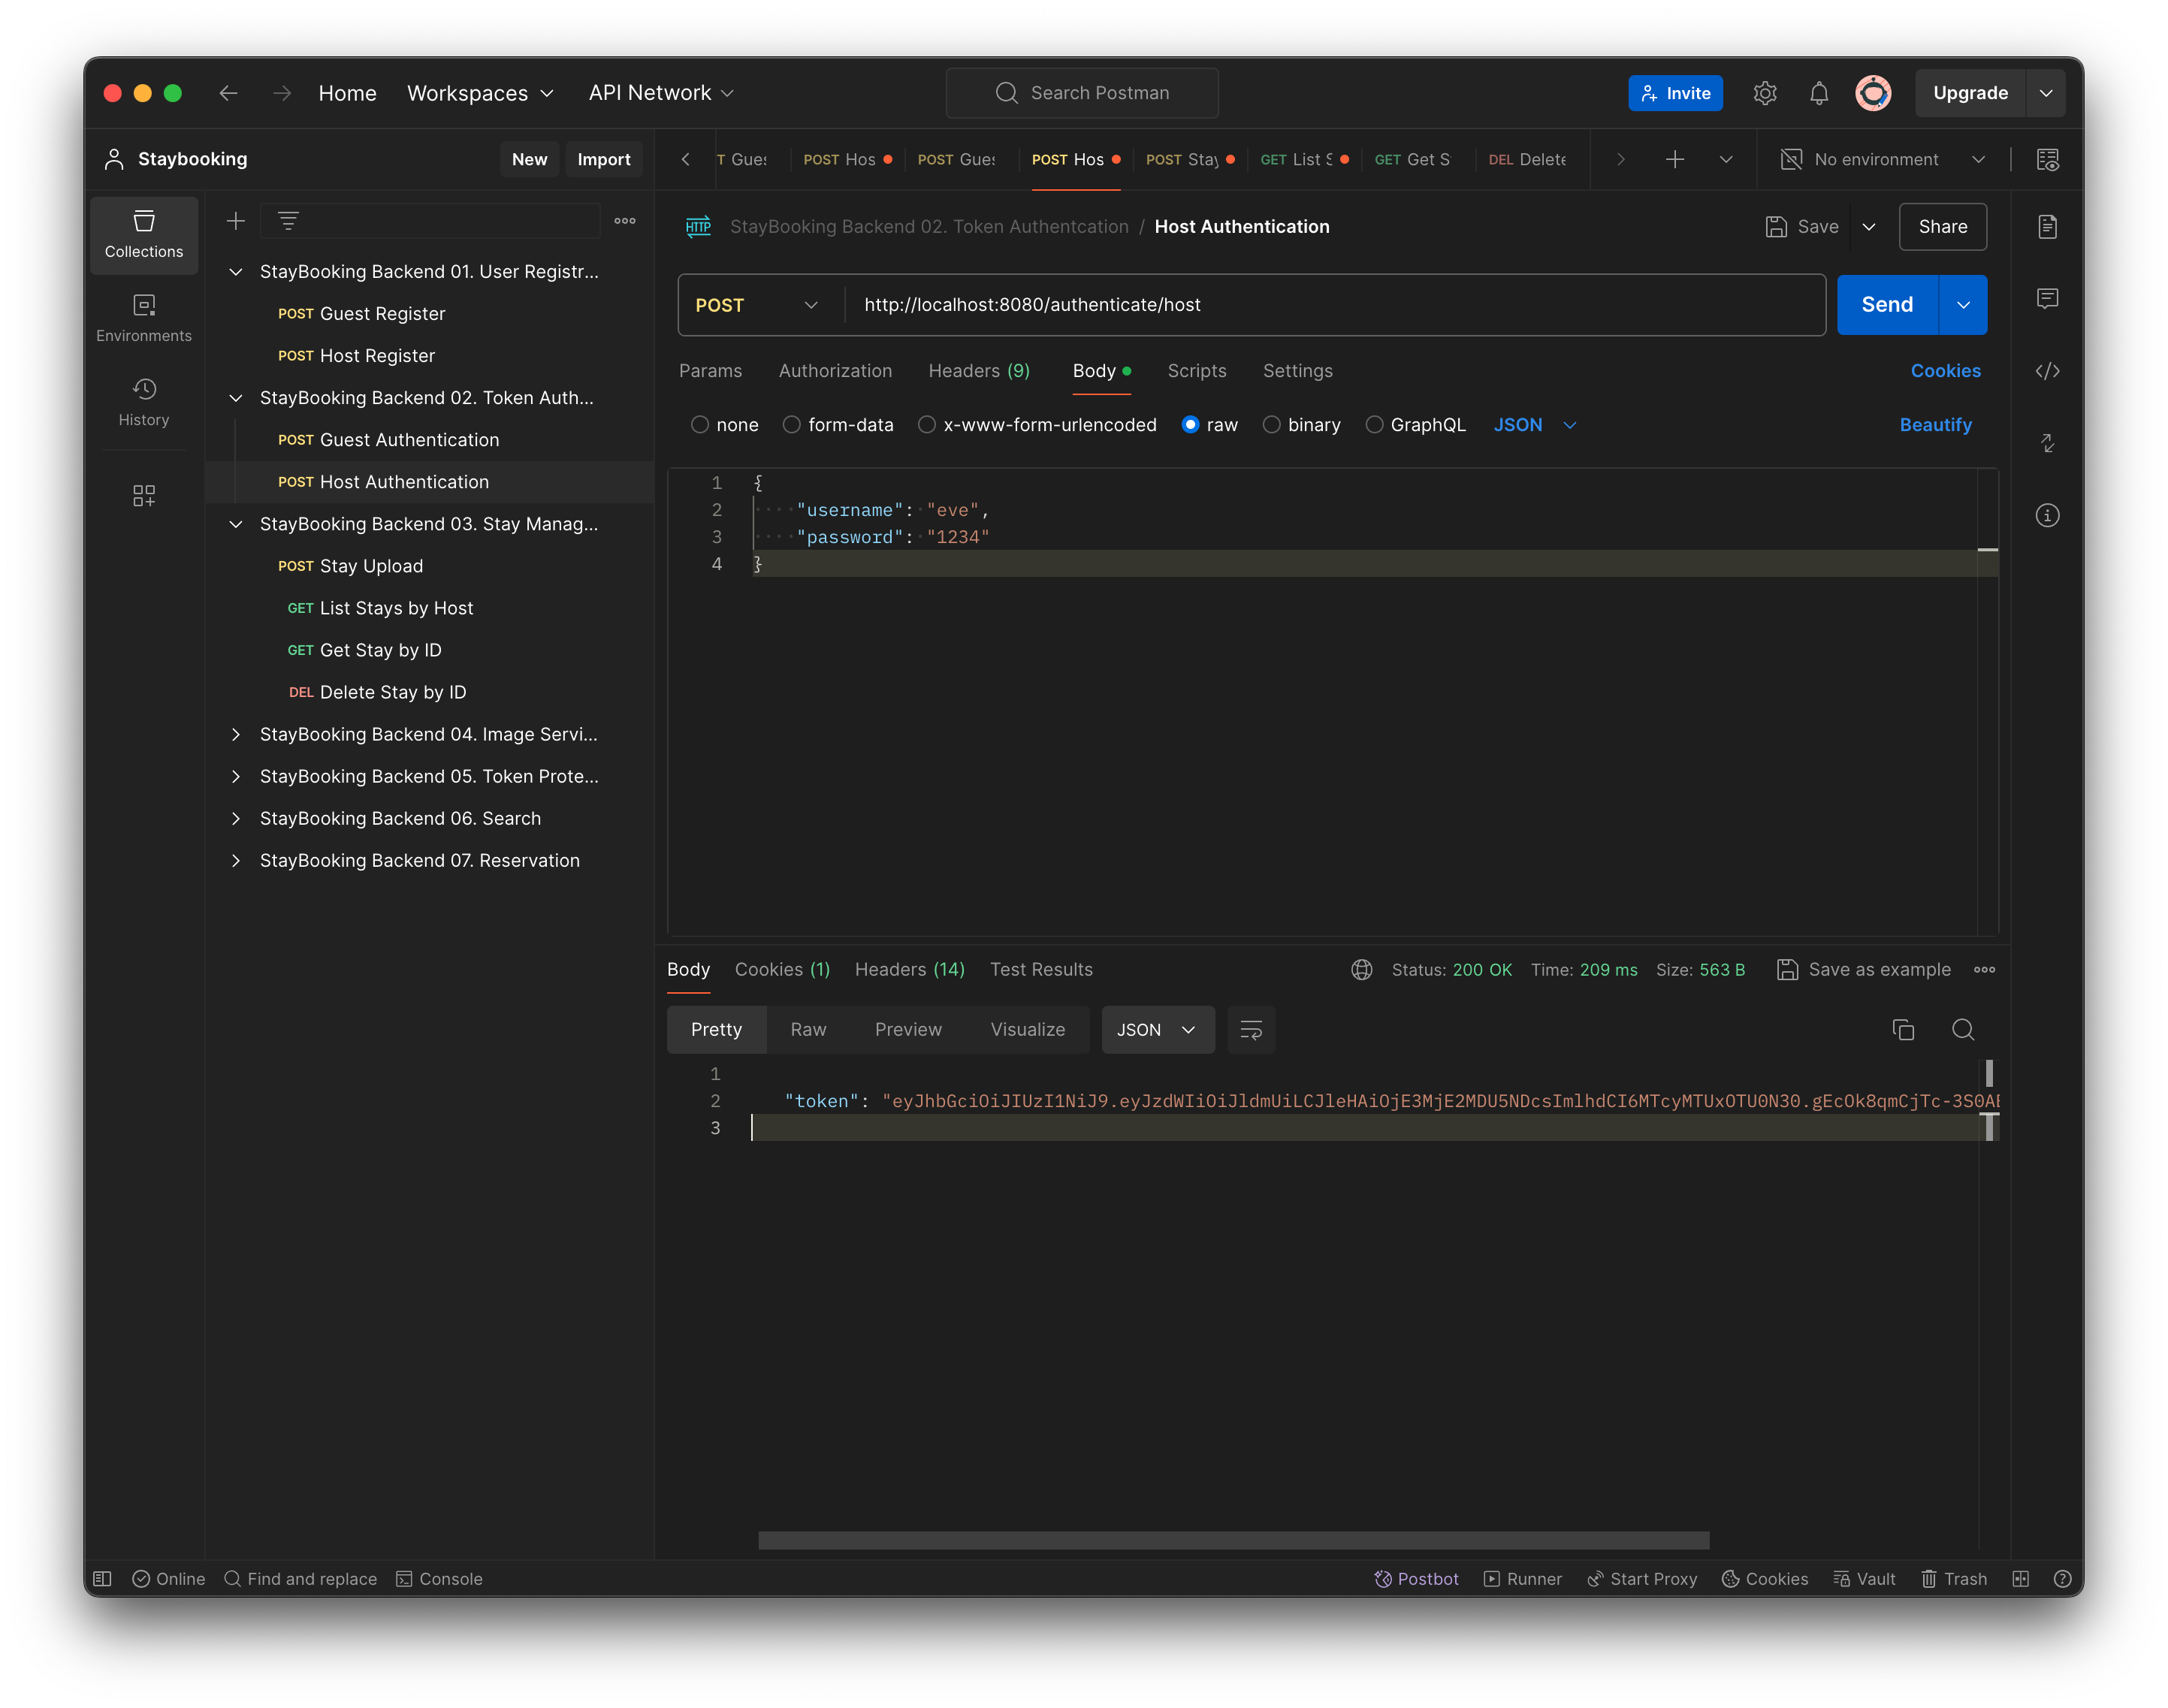
- Use the Host Authenticate request to do the login. Make sure you can see the token information in the response.
- Go back to the List Stay by Host request, under the Authorization tab, select Bearer Token, and copy the token string returned in the last step.
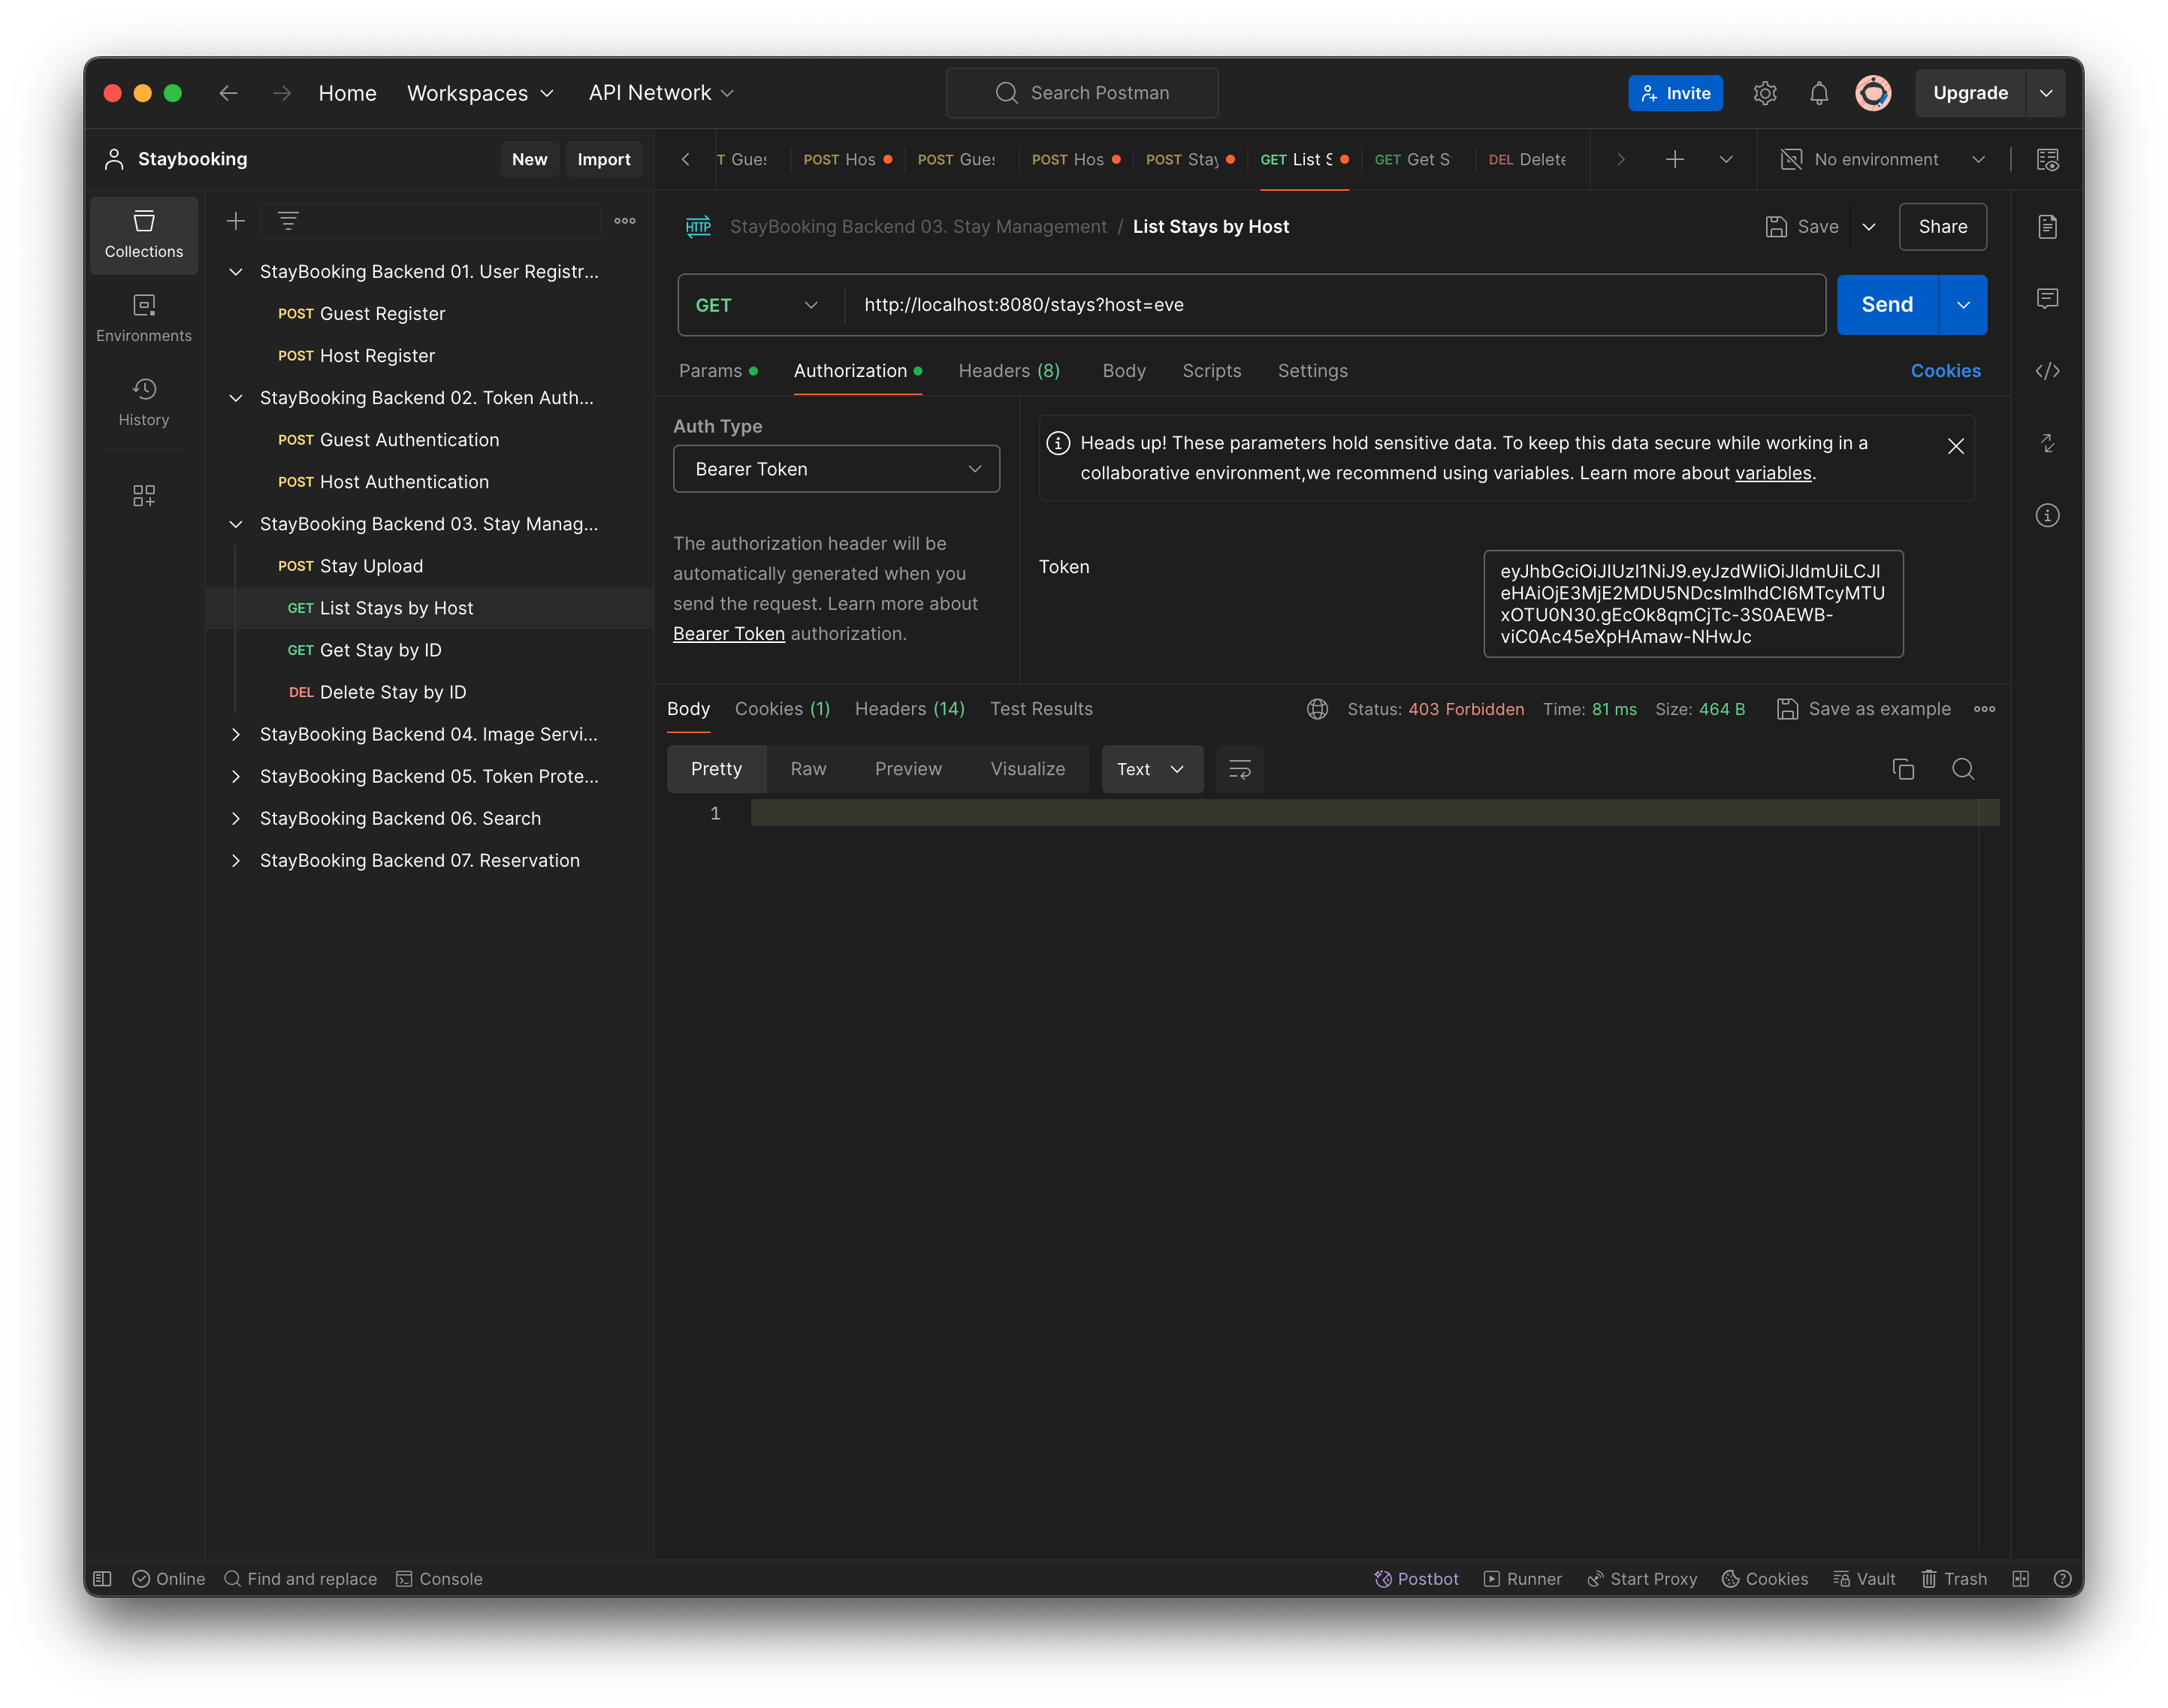
- Send the request and make sure the response is returned with 200 - OK.